2-19
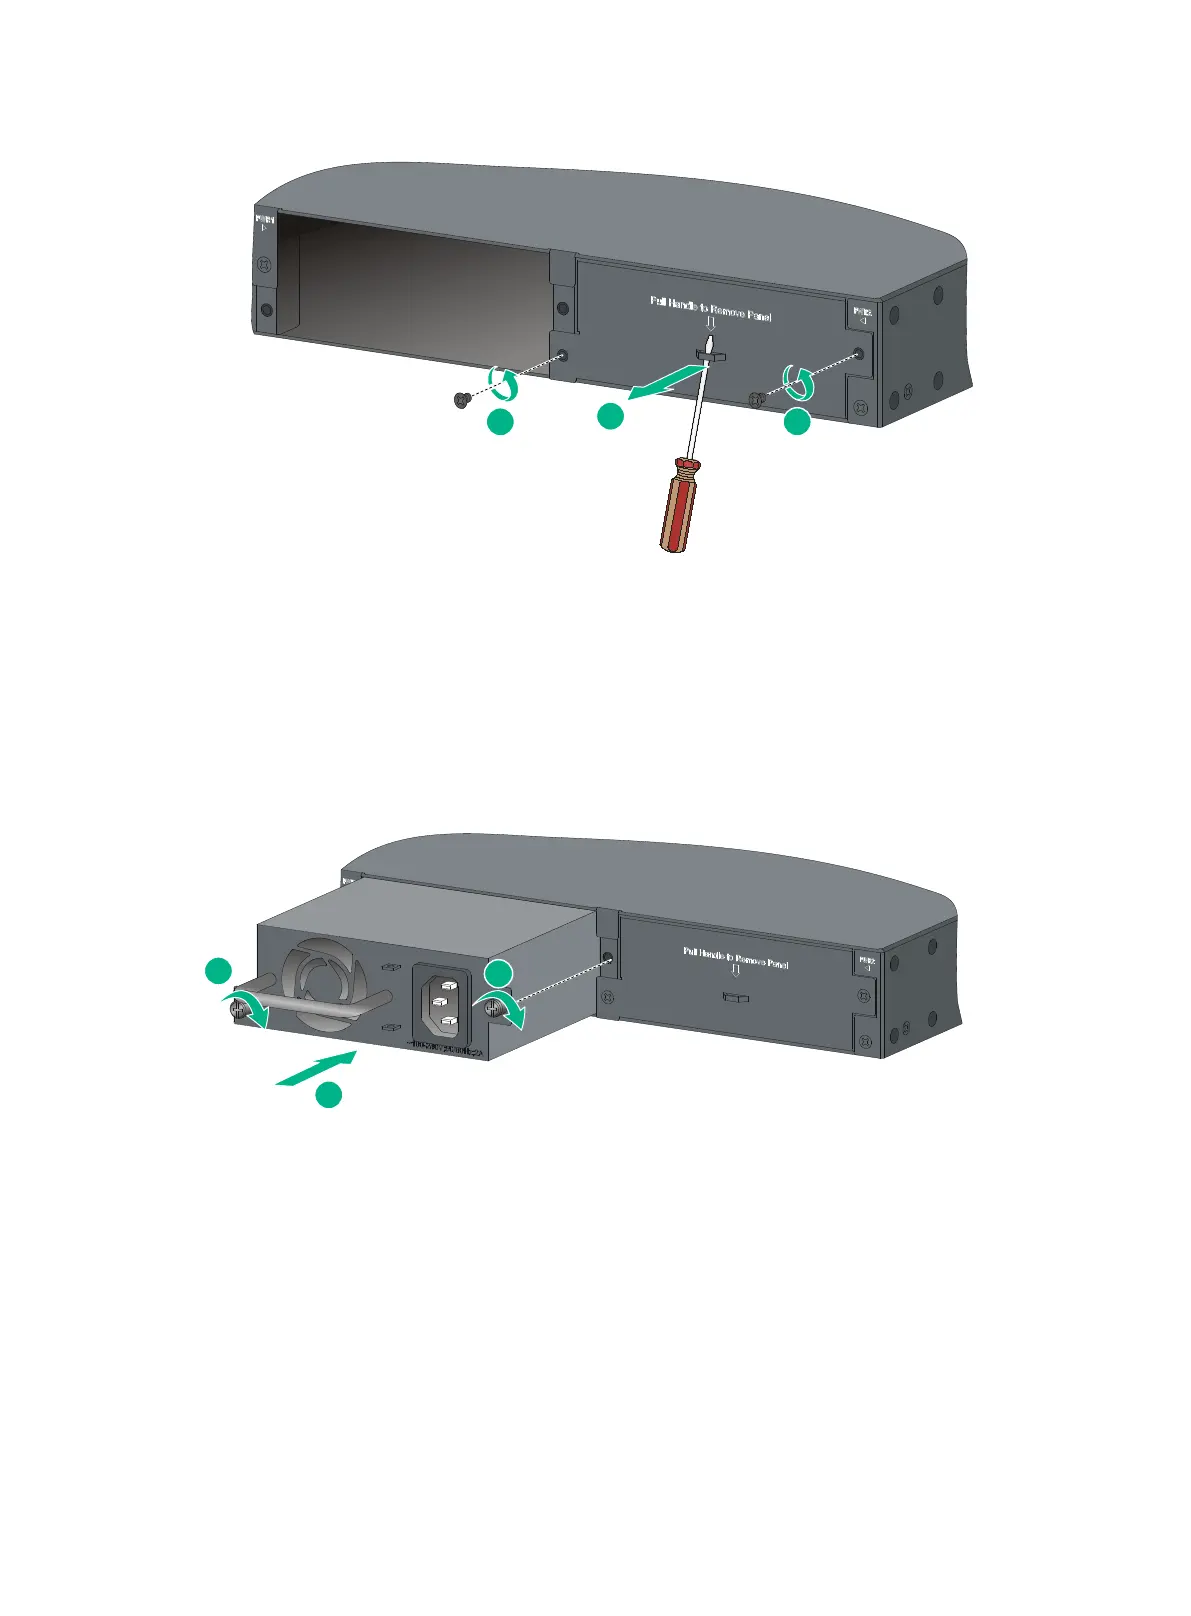
Figure 2-21 Removing the filler panel
3. Unpack the power supply and verify that the power supply model is correct.
4. Orient the power supply so that the lettering on the power supply is upright.
5. Grasping the power supply handle with one hand and supporting its bottom with the other, slide
the power supply slowly along the guide rails into the slot (see callout 1 in Figure 2-22).
6. Fasten the captive screws on the power supply with a Phillips screwdriver to secure the power
supply in the chassis (see callout 2 in Figure 2-22).
If the captive screw cannot be tightly fastened, verify the installation of the power supply.
Figure 2-22 Installing a PSR150-A1 power supply
Removing a PSR75-12A/PSR150-A1/PSR150-D1 power
supply
The removal procedure is the same for PSR75-12A, PSR150-A1, and PSR150-D1 power supplies.
The following procedure uses the PSR150-A1 power supply as an example.
To remove a PSR150-A1 power supply:
1. Wear an ESD wrist strap and make sure it makes good skin contact and is reliably grounded.
2. Disconnect the power cord.
3. Loosen the captive screws of the power supply with a Phillips screwdriver until they are
completely disengaged.

 Loading...


