19
STEP 3
The print head is heated up to the transition temperature („Preheating nozzle for lament injection”), material is injected and then
backed out from the print head (Removing material).
For easier access to the extruder, open the top door.
The Print Head starts to heat up. Do not touch!
STEP 4
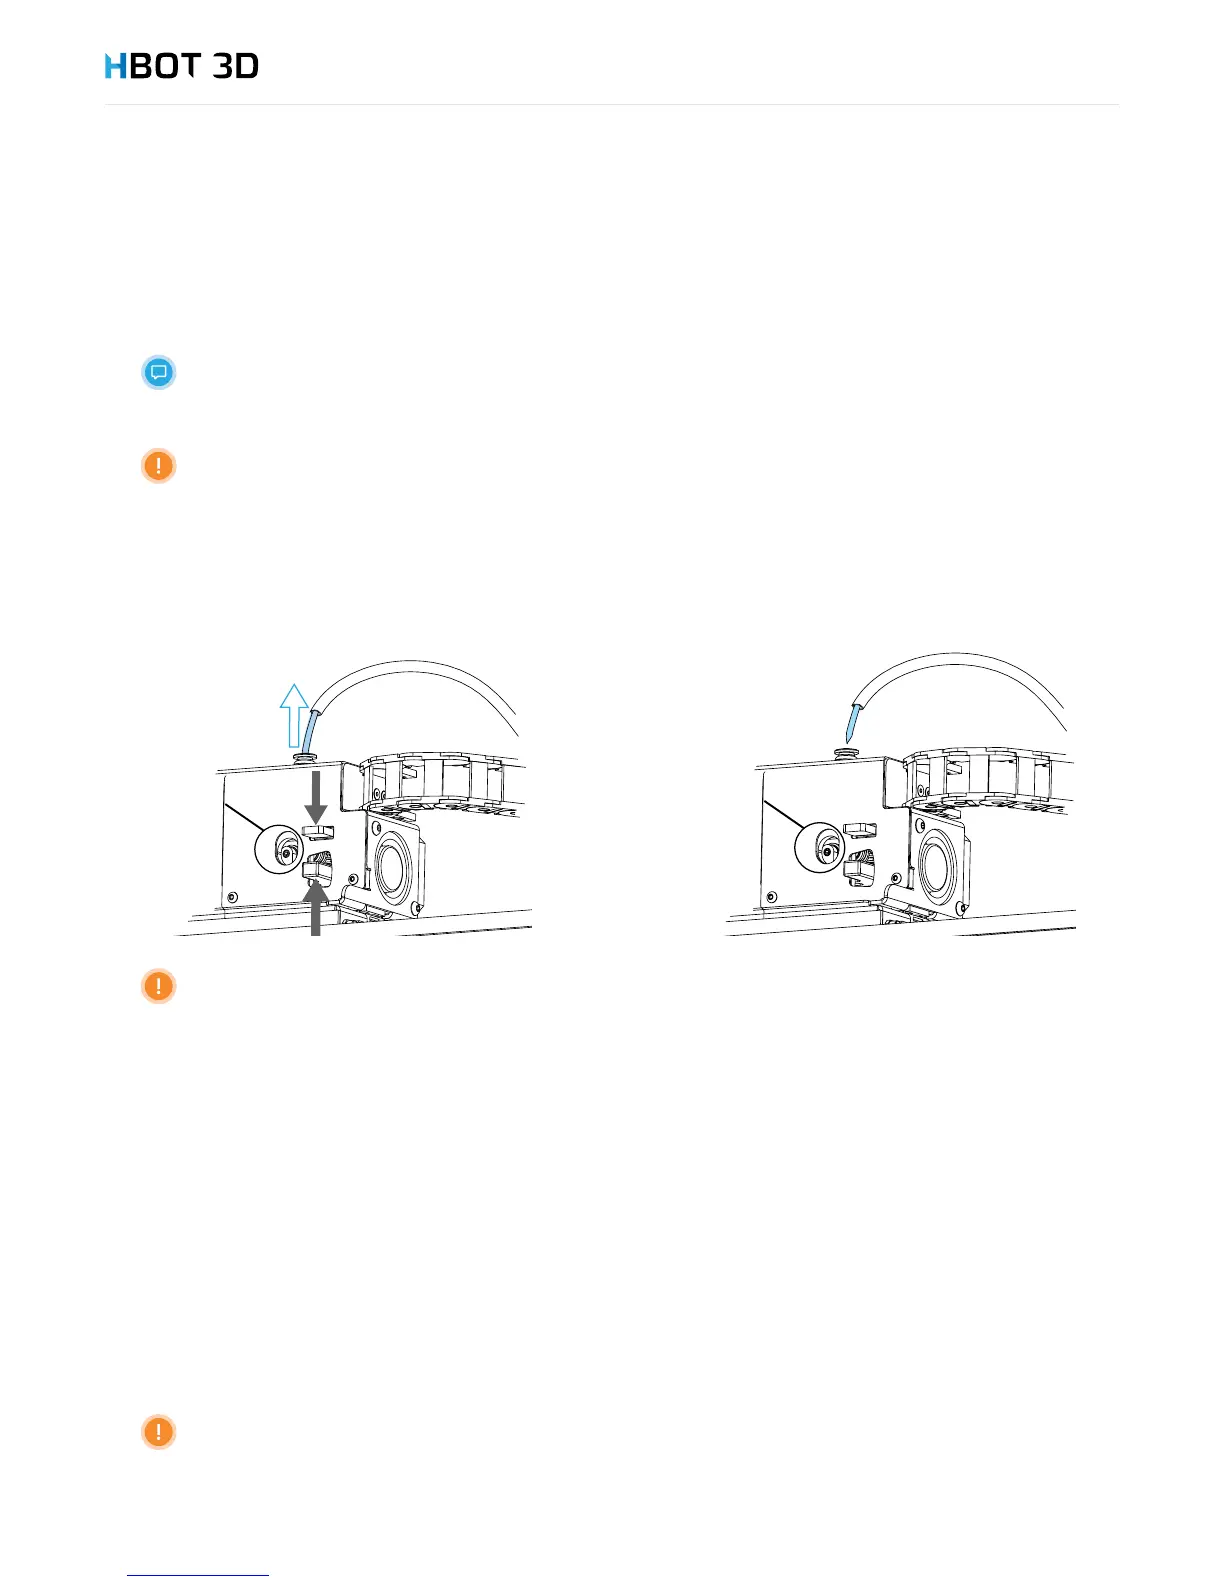
Once the printer has nished the printing process and the message “Pull the lever on the extruder and manually pull out the lament”
appears on the screen, immediately open extruder lever, remove lament and conrm the operation by selecting OK.
Once the message has appeared, remove lament without delay. Do not allow the lament to cool down
inside the extruder.
STEP 5
Using pliers cut the damaged lament tip (ca. 50 mm).
STEP 6
Rewind material back onto the spool, while controlling its end all the time. Once the end exits the lament guide remove the spool
from the device, and insert lament end through a hole in the spool rim.
STEP 7
Conrm the successful removal of material by reselecting OK.
5.5 CHANGING MATERIAL
To switch between different materials you need to combine the material removal procedure (see chapter “Removing material” on page
18) with the material loading procedure (see chapter Initial commissioning - Loading material”, on page 15).
In the event of switching between materials of different types, or between colored and neutral materials it is
helpful to print a small item to completely remove the residues of the previous color in the nozzle.