14
4.7 INITIAL COMMISSIONING
This chapter focuses on the initial commissioning process and a test print. Before commissioning the printer be sure to carefully read all
previous chapters of this Manual.
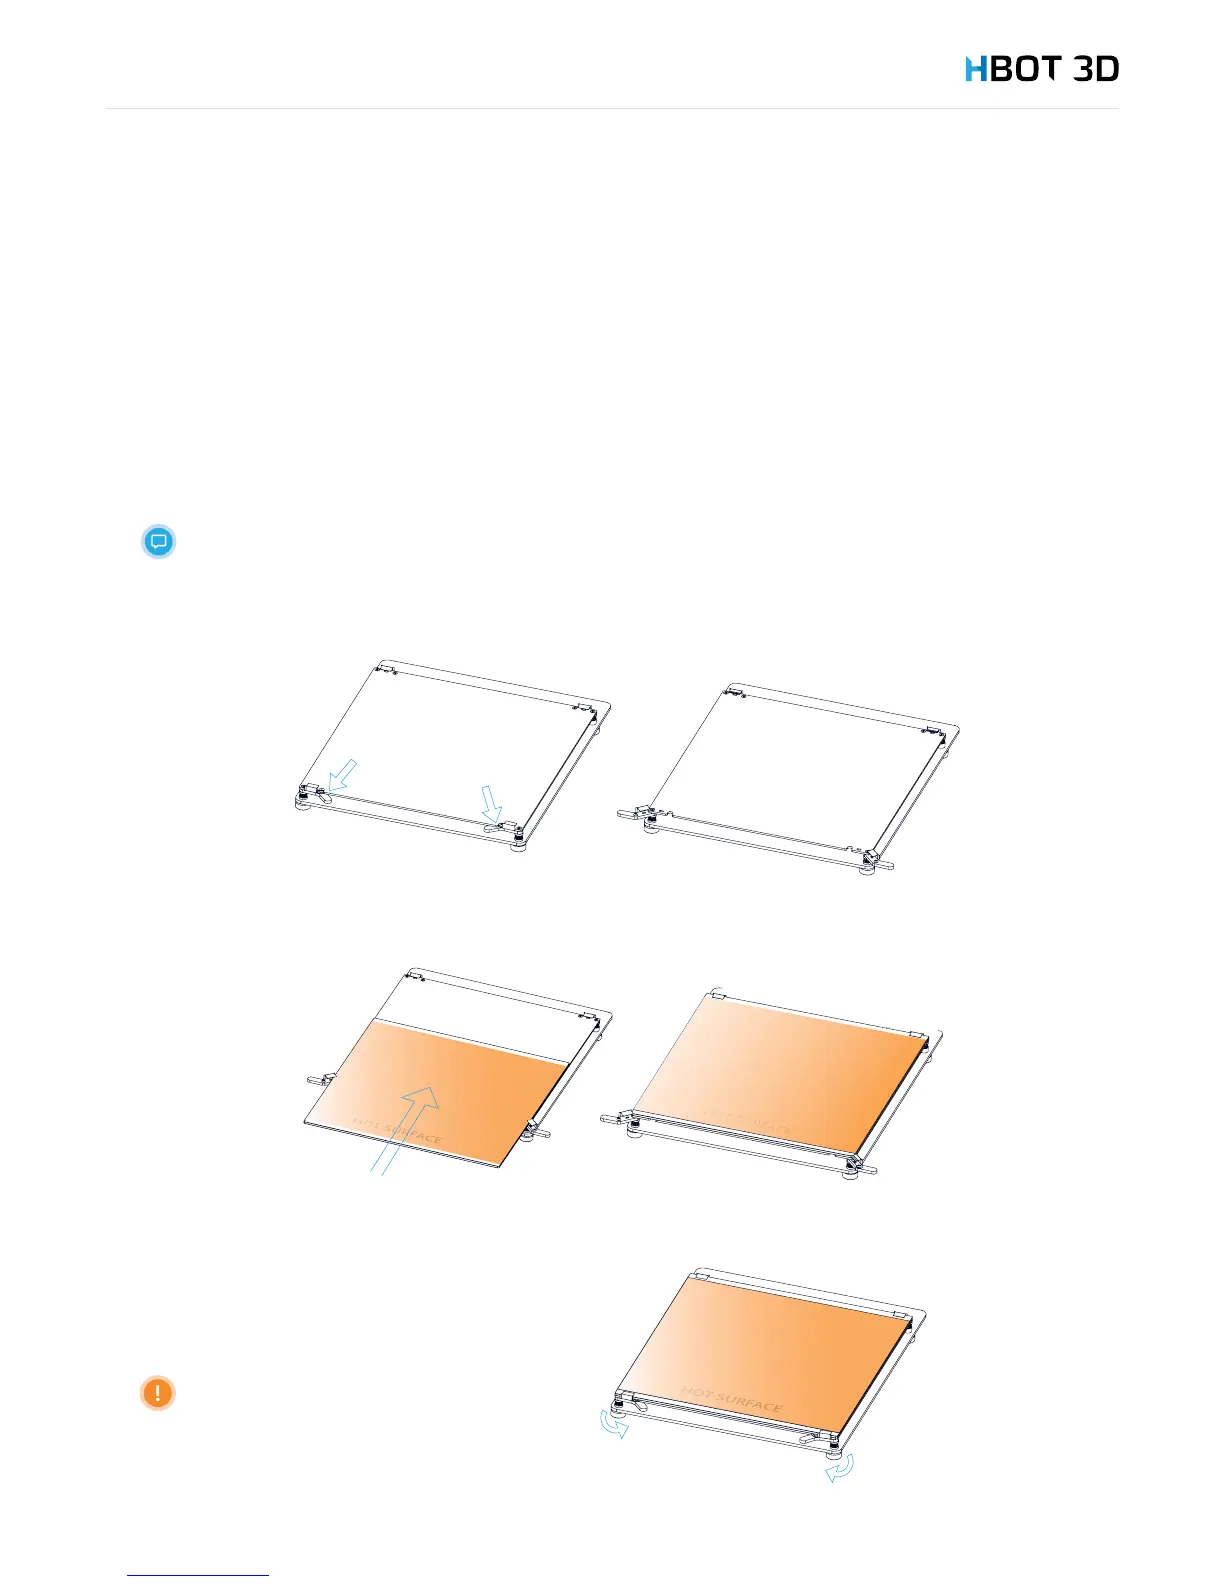
Build platform installation
STEP 1
Unpack the build platform by removing the protective foam pads and make sure that the platform has not been damaged in
transportation.
The build platform included in the kit is a glass platform. It is lined with an exchangeable Kapton lm and
a layer of DIMAFIX adhesive is applied.
STEP 2
Open the hinges holding the glass plate in place.
STEP 3
Slide the glass in the retainer clips, the side with the Kapton lm facing upwards.
STEP 4
Close the hinges holding the glass plate in place.
Make sure that the glass plate
does not project beyond the table
border (either on the left or on the
right).