15
Powering up the device
Make sure that the device is plugged to a correctly rated supply and the power switch is set to “1”.
Otherwise go to Chapter 3.5 “Power Supply Connection”.
To power up the device, press and hold the “Stand by” switch for 2 seconds, until the entire rim of
the switch is backlit in blue and the home screen is displayed on the screen.
If the build table was not in its lowest position before power was last turned off, the printer starts
from homeing its position. Before you proceed to next step wait for the device to nish operation.
Printing platform leveling
This procedure must be carried out to ensure correct device operation.
STEP 1
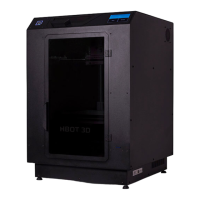
On the control panel select SETUPHOTBED LEVELINGSTART in succession.
STEP 2
The device start calibration from checking the rst corner, and making a series of 3 measurements.
STEP 3
• If the corner is shown in green on the display, it means that the adjustment is not necessary and
the extruder moves to the next corner.
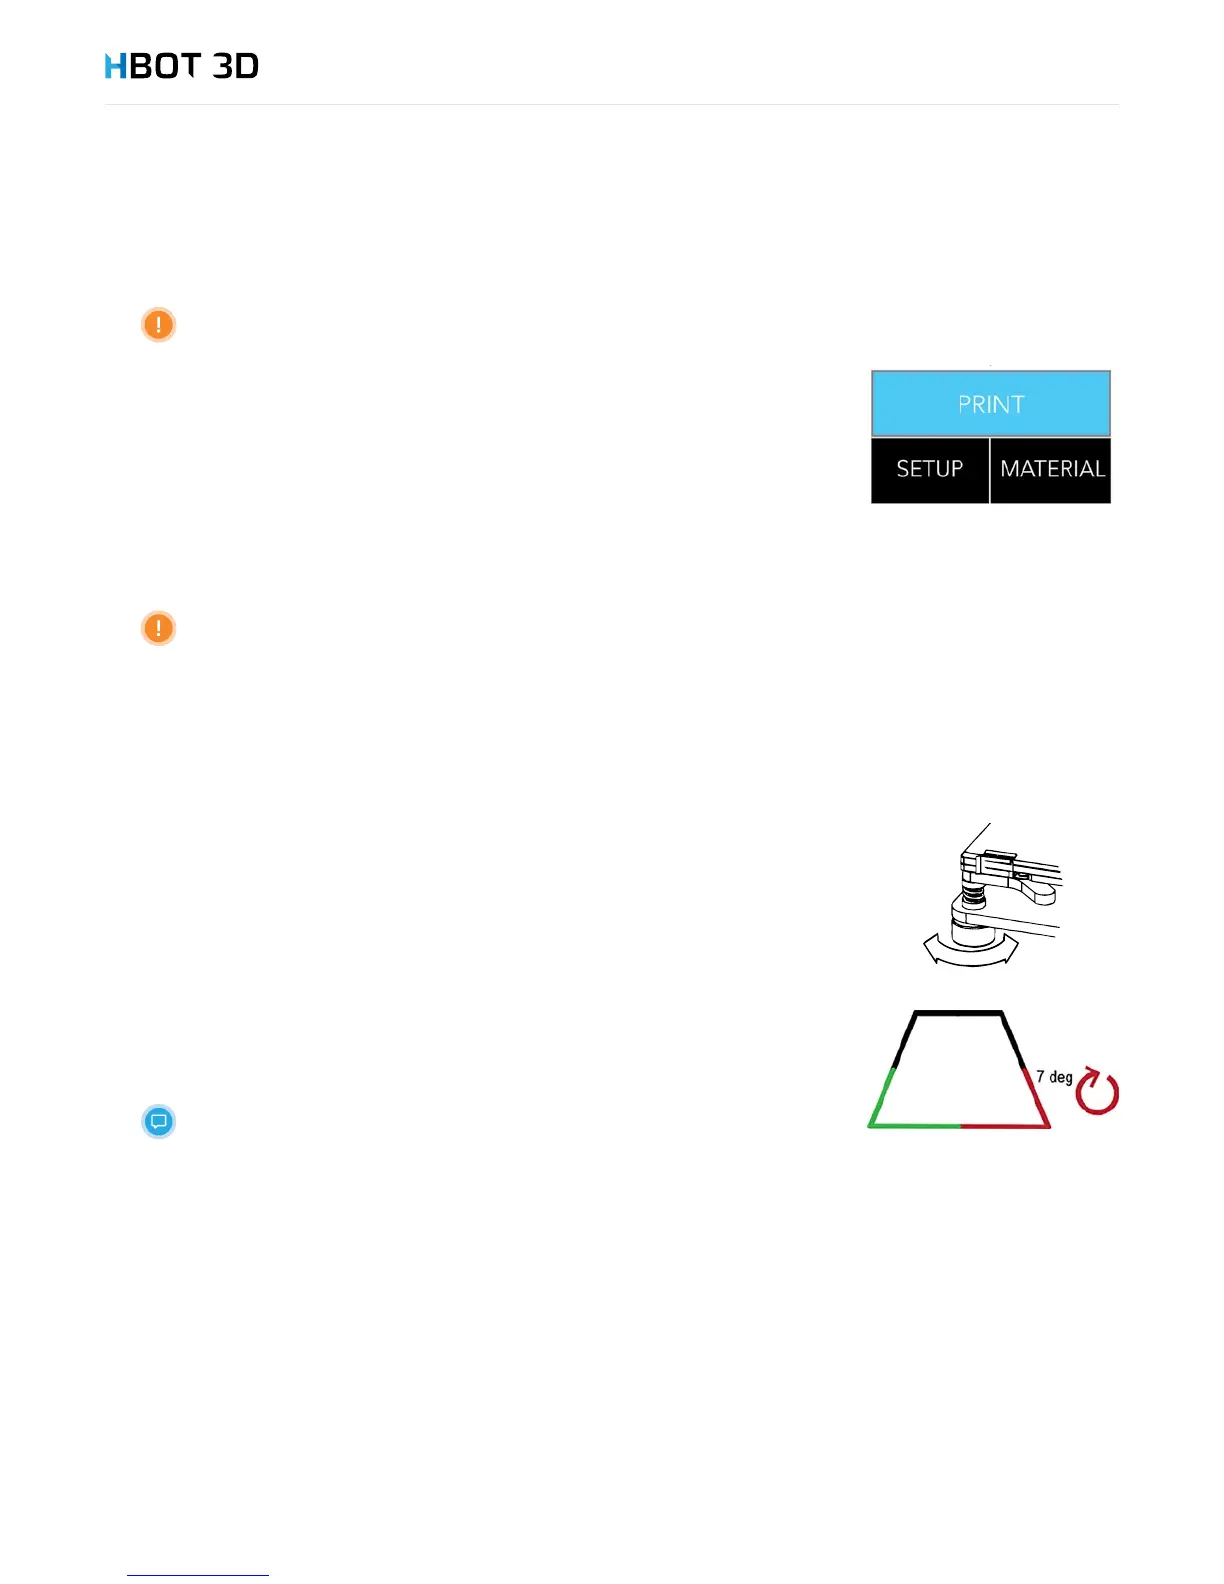
• If the corner is shown in red on the display, it means that you should turn the adjustment nut by
hand in the direction indicated on the display, and then press CHECK. The device repeats the
series of measurements.
In the example shown on the right, turn the front right-hand nut by 7 degrees counterclockwise and
press CHECK.
If any corner require adjustment by more than 45 degrees, the leveling process
must be repeated.
Loading material
STEP 1
The device comes with a 1 kg package of PLA lament. Before proceeding to next steps:
1. Remove the protective foil of the carton;
2. Unpack the lament from the carton;
3. Remove the vacuum packaging foil;
4. Remove desiccant from inside the spool.
STEP 2
On the control panel select MATERIAL INSERT PLAOK in succession.