• This connector must only be used for connecting to the “CB02” maintenance battery charger.
• The charger is restricted to charging valve regulated lead-acid battery only.
• Never use this charger for other types of batteries such as alkaline, lithium, carbon zinc or other
types that are not specified.
• The charging unit should only be used at normal indoor room conditions, do not expose it to
moisture, rain or extreme heat.
• Place charger on a hard flat surface.
• Never use any power cable and transformer other than those originally supplied with the
charging unit.
• The rechargeable batteries may become hot during charging (especially when a high charging
current is chosen).
• Unplug the charging unit from the power source when not in use.
SIGNALLING ON THE CHARGER (FIG. 36A)
• Charging is in progress - the light is red.
• The battery is fully charged - the light is green.
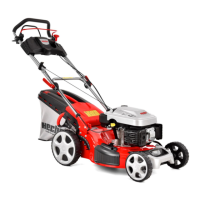
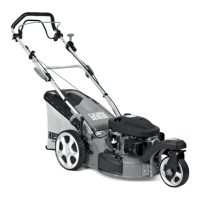
DISMANTLING, SHARPENING AND BALANCING THE BLADE
Check that the blade is sharpened properly, balanced and firmly fixed to the bracket.
– A badly sharpened blade pulls at the grass and causes the lawn to turn yellow.
– A loose blade causes unusual vibrations and can be dangerous.
– An unbalanced blade causes vibrations which can seriously damage the machine.
WARNING! All operations on the blade (dismantling, sharpening, balancing,
remounting and/or replacing) require a certain familiarity and special tools. For
safety reasons, go to Authorised Service Centre if you do not have the right tools
or experience.
To remove the blade, hold it firmly wearing strong gloves and undo the central screw in direction
of arrow (fig. 37).
Sharpen the two cutting edges using a medium grade grinding wheel and check the balance
using a blade balancer.
We recommend to have a blade professionally sharpened and balanced in an authorized service
center.
WARNING! Always replace the damaged blade; never try to repair it! ALWAYS USE
MANUFACTURER´ GENUINE REPLACEMENT BLADES BEARING
WARNING! When re-fitting the blade, always follow the indicated sequence,
making sure that the blade’s wings are facing towards the interior of the cutting
deck and that the concave part of the cup spring (fig. 38A) is pressing against the
blade.
Tighten the fixing screw (fig. 38B) using a torque wrench set to 40-45 Nm. If the knife carrier
(fig. 38C) came off when dismantling the blade, make sure that the gusset (fig. 38D) is firmly in
its right position.