EasyManuals Logo
Home>HIKVISION>Security Camera>DS-2CD2432F-I

HIKVISION DS-2CD2432F-I Installation Manual

HIKVISION DS-2CD2432F-I
131 pages
To Next Page IconTo Next Page
To Previous Page IconTo Previous Page
Page #16 background imageLoading...
Page #16 background image
Installation Manual of Network Camera
15
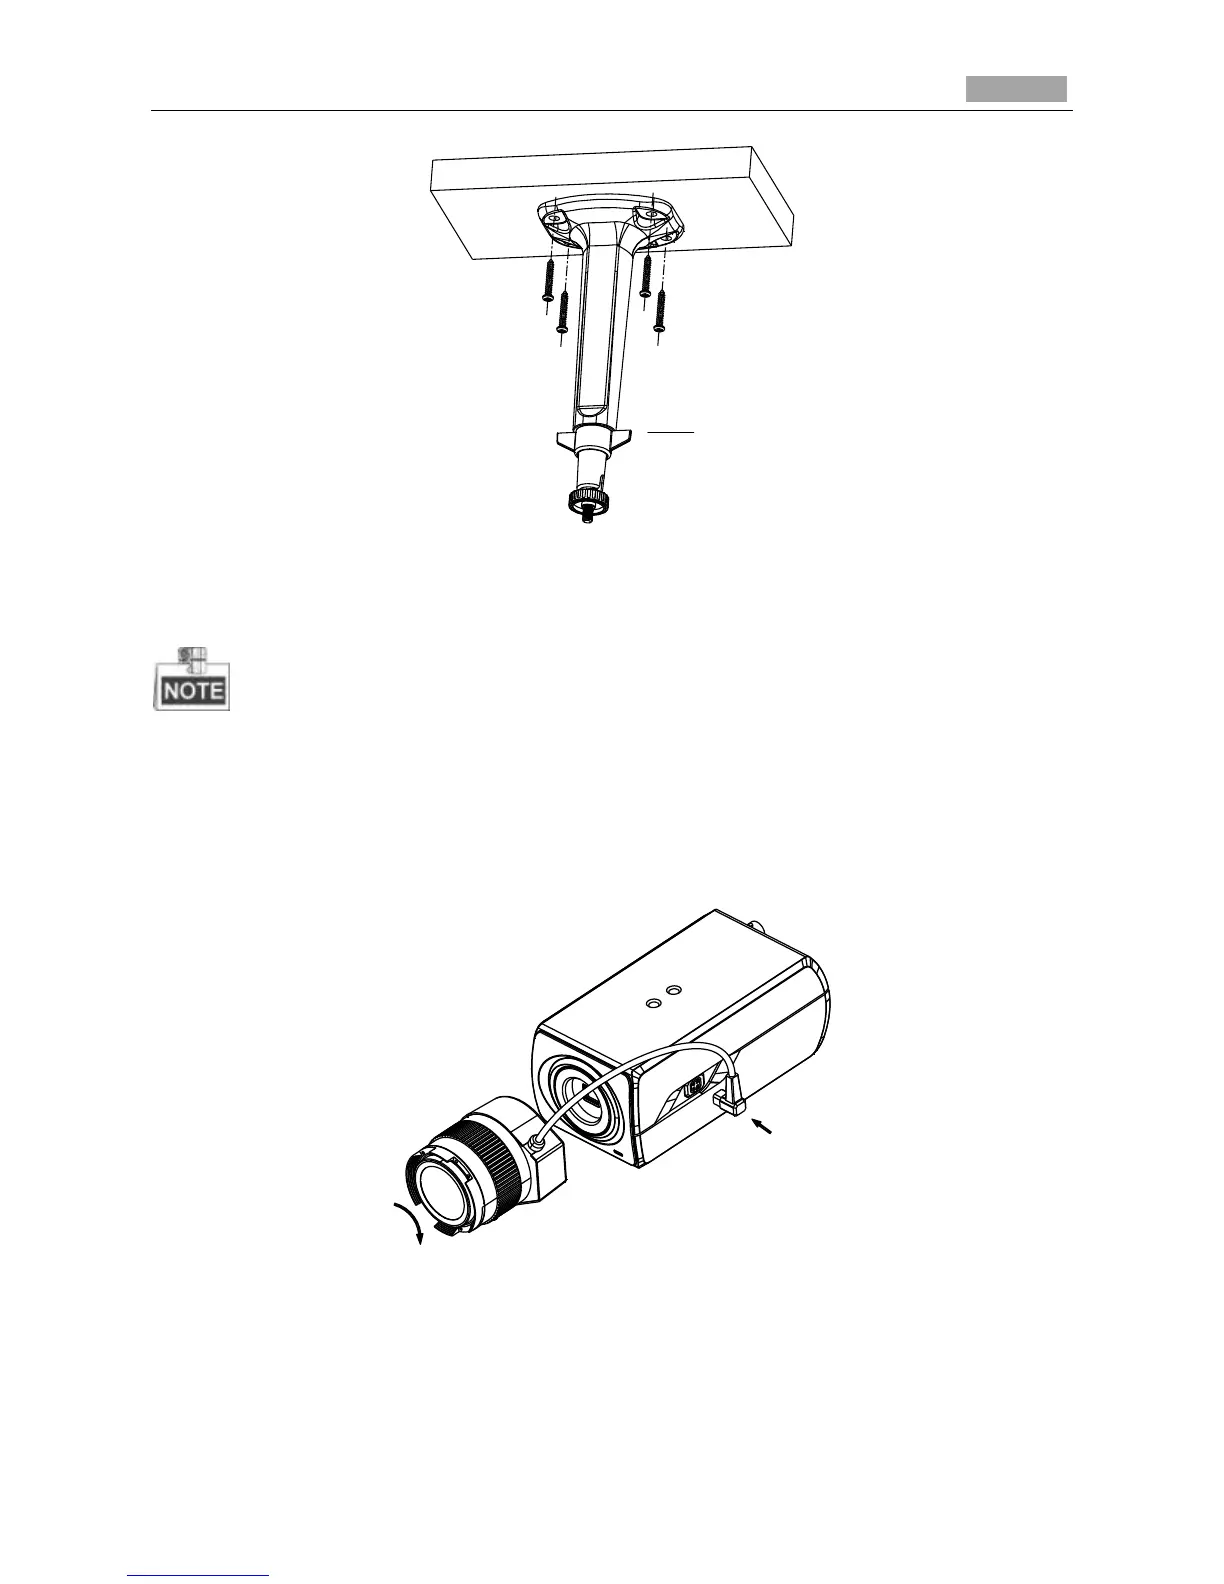
Figure 2-10 Install the Mount
2. Fit the lens (not supplied) to the camera and rotate it to get it tightened.
Install the adapter ring to the lens interface if a C-mount lens is used.
A manual-iris lens can be directly installed to the camera without plugging the power cable of
the auto-iris to the auto-iris interface.
3. Plug the auto-iris cable to the auto-iris interface.
Figure 2-11 Install the Lens
4. Align the screw hole on the camera with the ceiling mount and rotate the camera to get it fixed.
5. Adjust the surveillance angle.
1). Loosen the pan nut to adjust the pan angle [0°-360°].
Adjustable Nut
Lo-Call 1890 866 900
www.cctvireland.ie
shop@cctvireland.ie

Table of Contents

Other manuals for HIKVISION DS-2CD2432F-I

Questions and Answers:

Question and Answer IconNeed help?

Do you have a question about the HIKVISION DS-2CD2432F-I and is the answer not in the manual?

HIKVISION DS-2CD2432F-I Specifications

General IconGeneral
BrandHIKVISION
ModelDS-2CD2432F-I
CategorySecurity Camera
LanguageEnglish

Related product manuals