EasyManuals Logo

HIKVISION DS-2CD2432F-I Installation Manual

HIKVISION DS-2CD2432F-I
131 pages
To Next Page IconTo Next Page
To Previous Page IconTo Previous Page
Page #77 background imageLoading...
Page #77 background image
Installation Manual of Network Camera
76
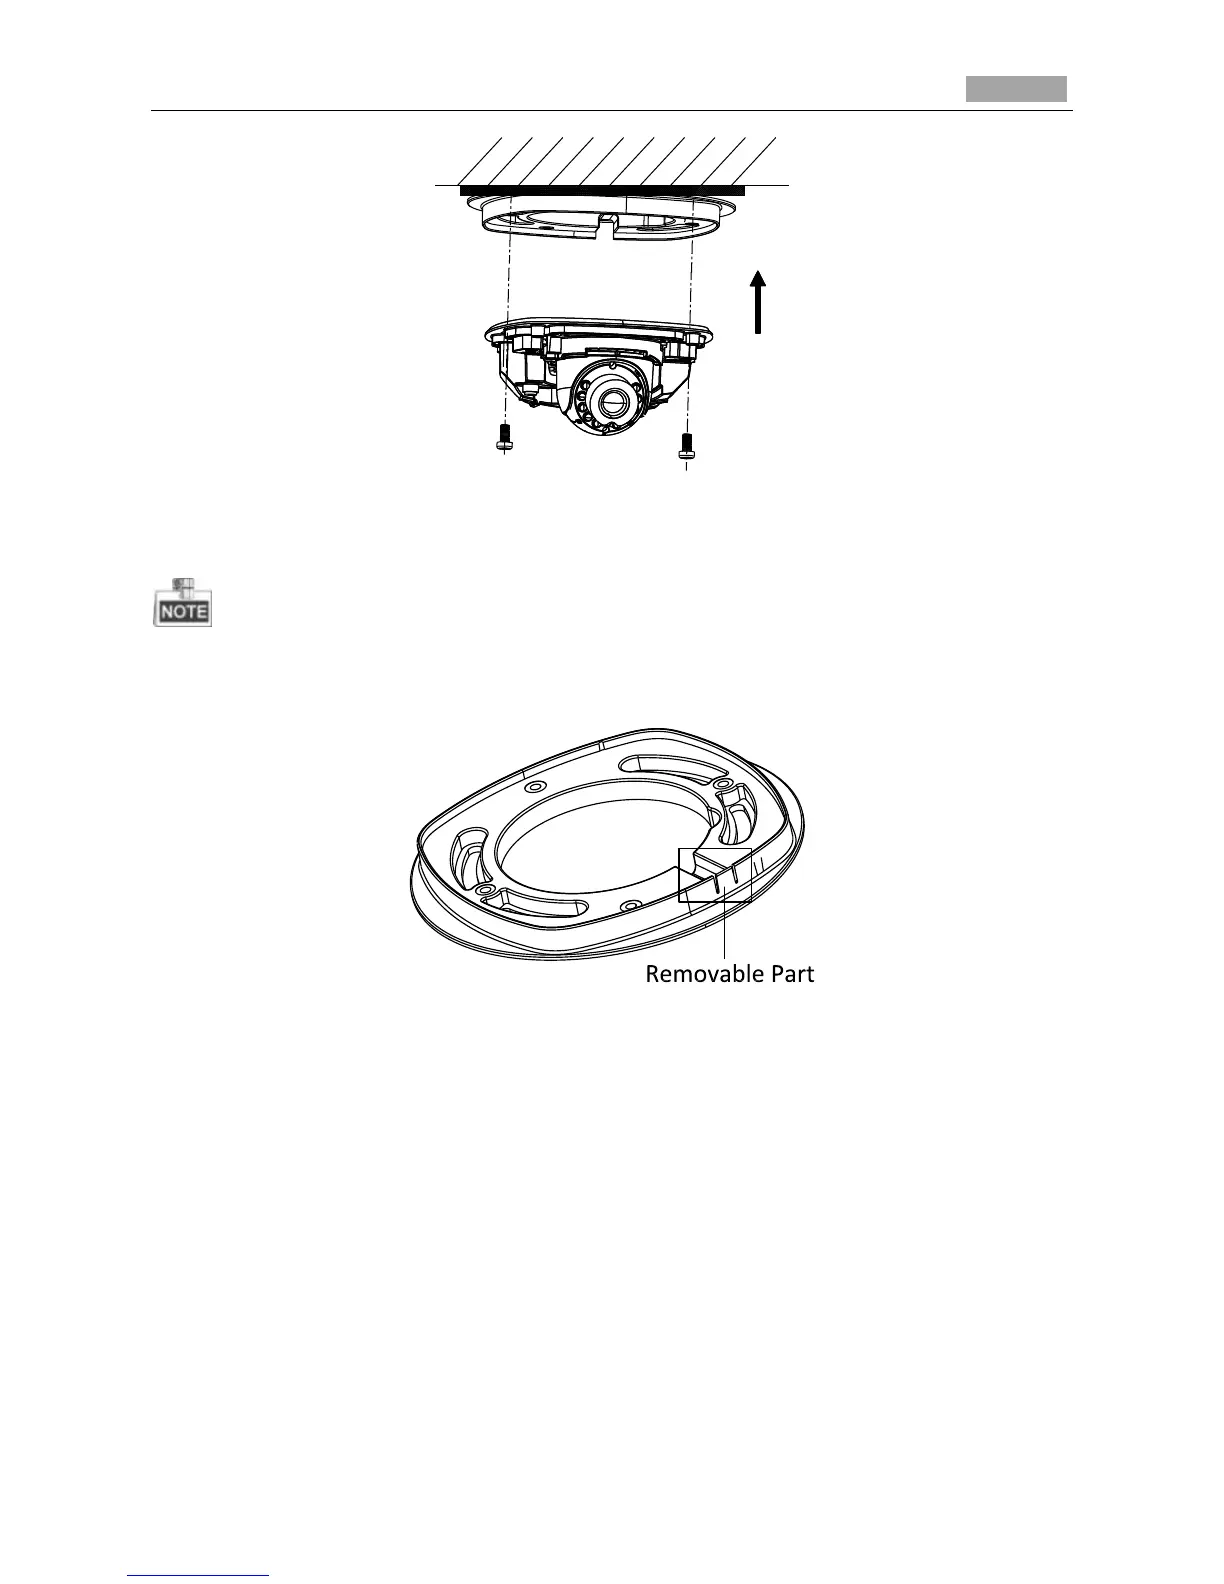
Figure 3-110 Fix the Dome Drive
5. Connect the power cable, network cable, and the alarm/audio cable.
Use a plier to remove the removable part and route the cables via side outlet (as shown in Figure
3-109) if no cable hole is drilled in step 1, and connect the corresponding cables.
Figure 3-111 Remove the Removable Part
6. View the image via the web browser.
7. Slightly loosen the hex screw beside the WPS/RESET button to adjust the surveillance angle.
8. Use the supplied adjusting tool to adjust the pan [±30°], tilt [0~80°], and rotation direction
[0~360°].
Lo-Call 1890 866 900
www.cctvireland.ie
shop@cctvireland.ie

Table of Contents

Other manuals for HIKVISION DS-2CD2432F-I

Questions and Answers:

Question and Answer IconNeed help?

Do you have a question about the HIKVISION DS-2CD2432F-I and is the answer not in the manual?

HIKVISION DS-2CD2432F-I Specifications

General IconGeneral
BrandHIKVISION
ModelDS-2CD2432F-I
CategorySecurity Camera
LanguageEnglish

Related product manuals