EasyManuals Logo

HIKVISION DS-2CD2432F-I Installation Manual

HIKVISION DS-2CD2432F-I
131 pages
To Next Page IconTo Next Page
To Previous Page IconTo Previous Page
Page #88 background imageLoading...
Page #88 background image
Installation Manual of Network Camera
87
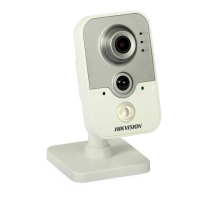
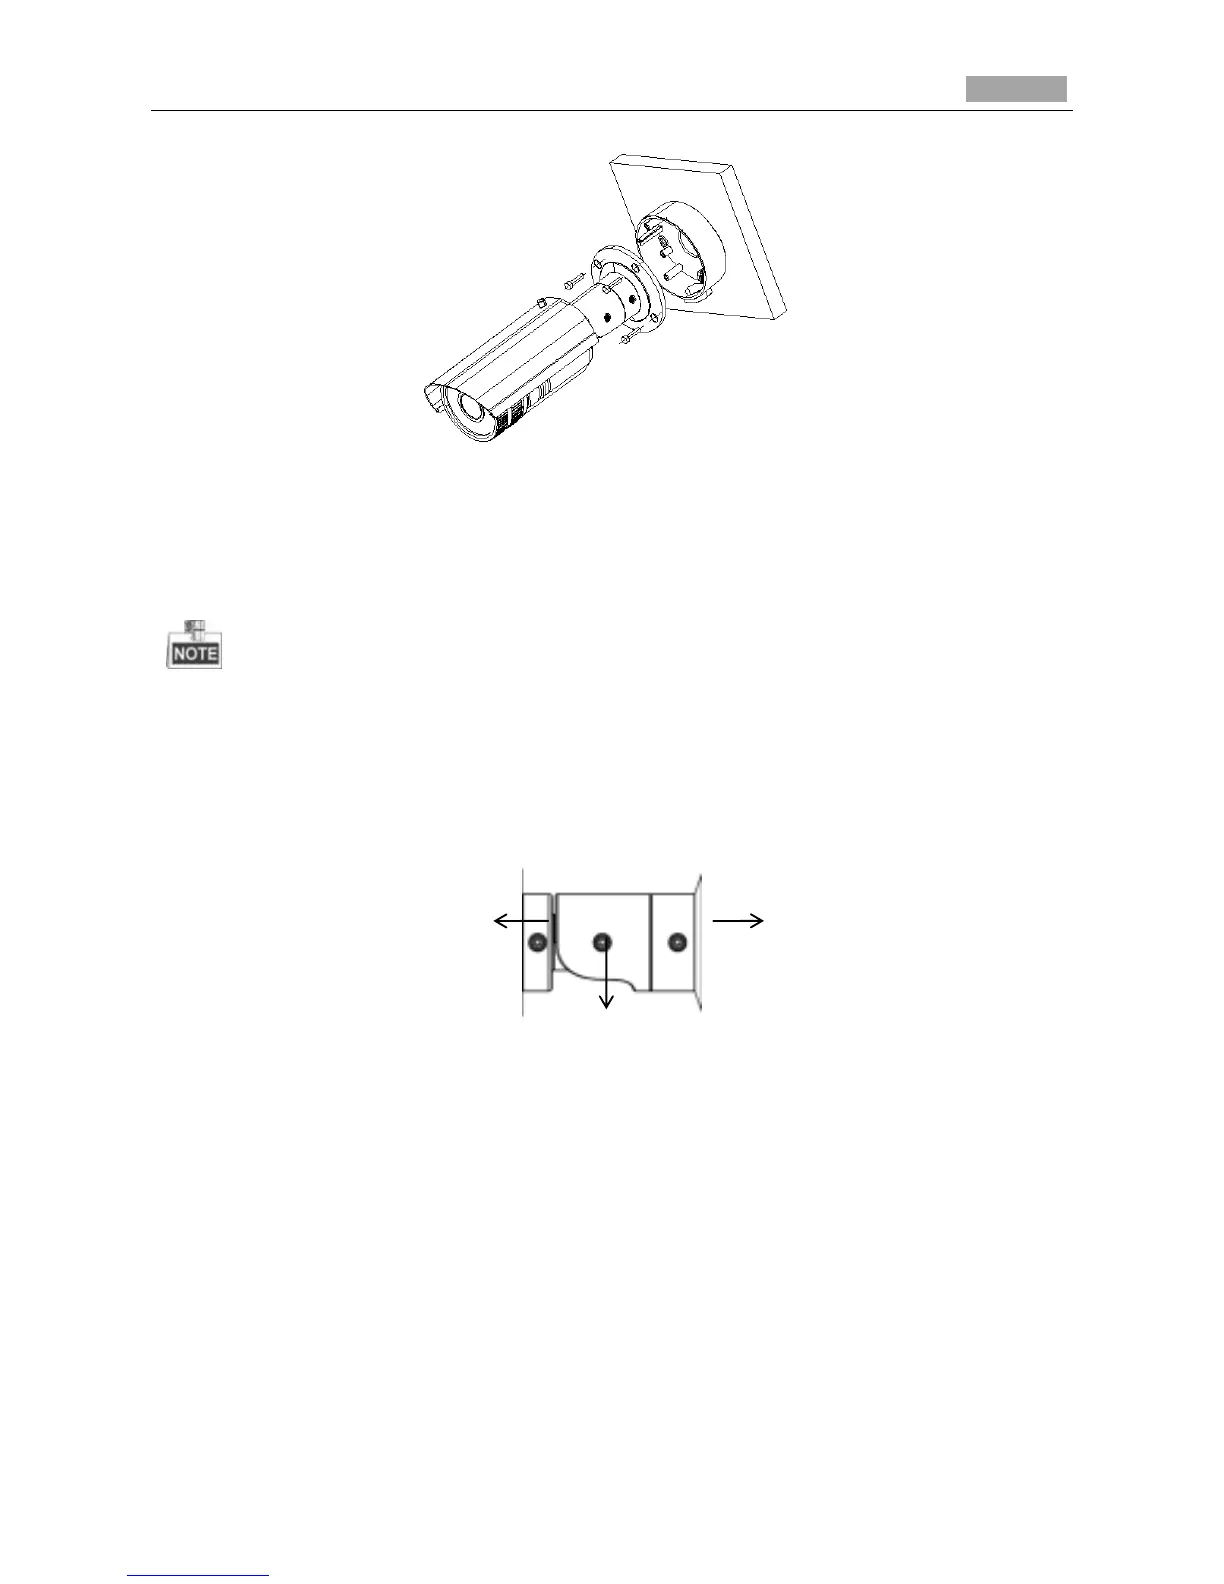
Figure 4-10 Fix the Camera
3. View the image of the camera over the network.
4. Loosen the screws on the bracket slightly.
Please loosen the screws slightly until you can adjust the camera and do not remove the screws
from the bracket.
5. Adjust the camera to the desired surveillance angle and then tighten the screws on bracket to fix
the camera.
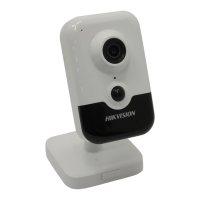
Figure 4-11 Adjust Monitoring Angle
6. Loosen the lock screw on the sun shield and slide the sun shield until you can remove it. Remove
the sun shield.
Rotation
Screw
Panning
Screw
Tilting
Screw
Lo-Call 1890 866 900
www.cctvireland.ie
shop@cctvireland.ie

Table of Contents

Other manuals for HIKVISION DS-2CD2432F-I

Questions and Answers:

Question and Answer IconNeed help?

Do you have a question about the HIKVISION DS-2CD2432F-I and is the answer not in the manual?

HIKVISION DS-2CD2432F-I Specifications

General IconGeneral
BrandHIKVISION
ModelDS-2CD2432F-I
CategorySecurity Camera
LanguageEnglish

Related product manuals