12
Measurement Procedure
Measurement Procedure
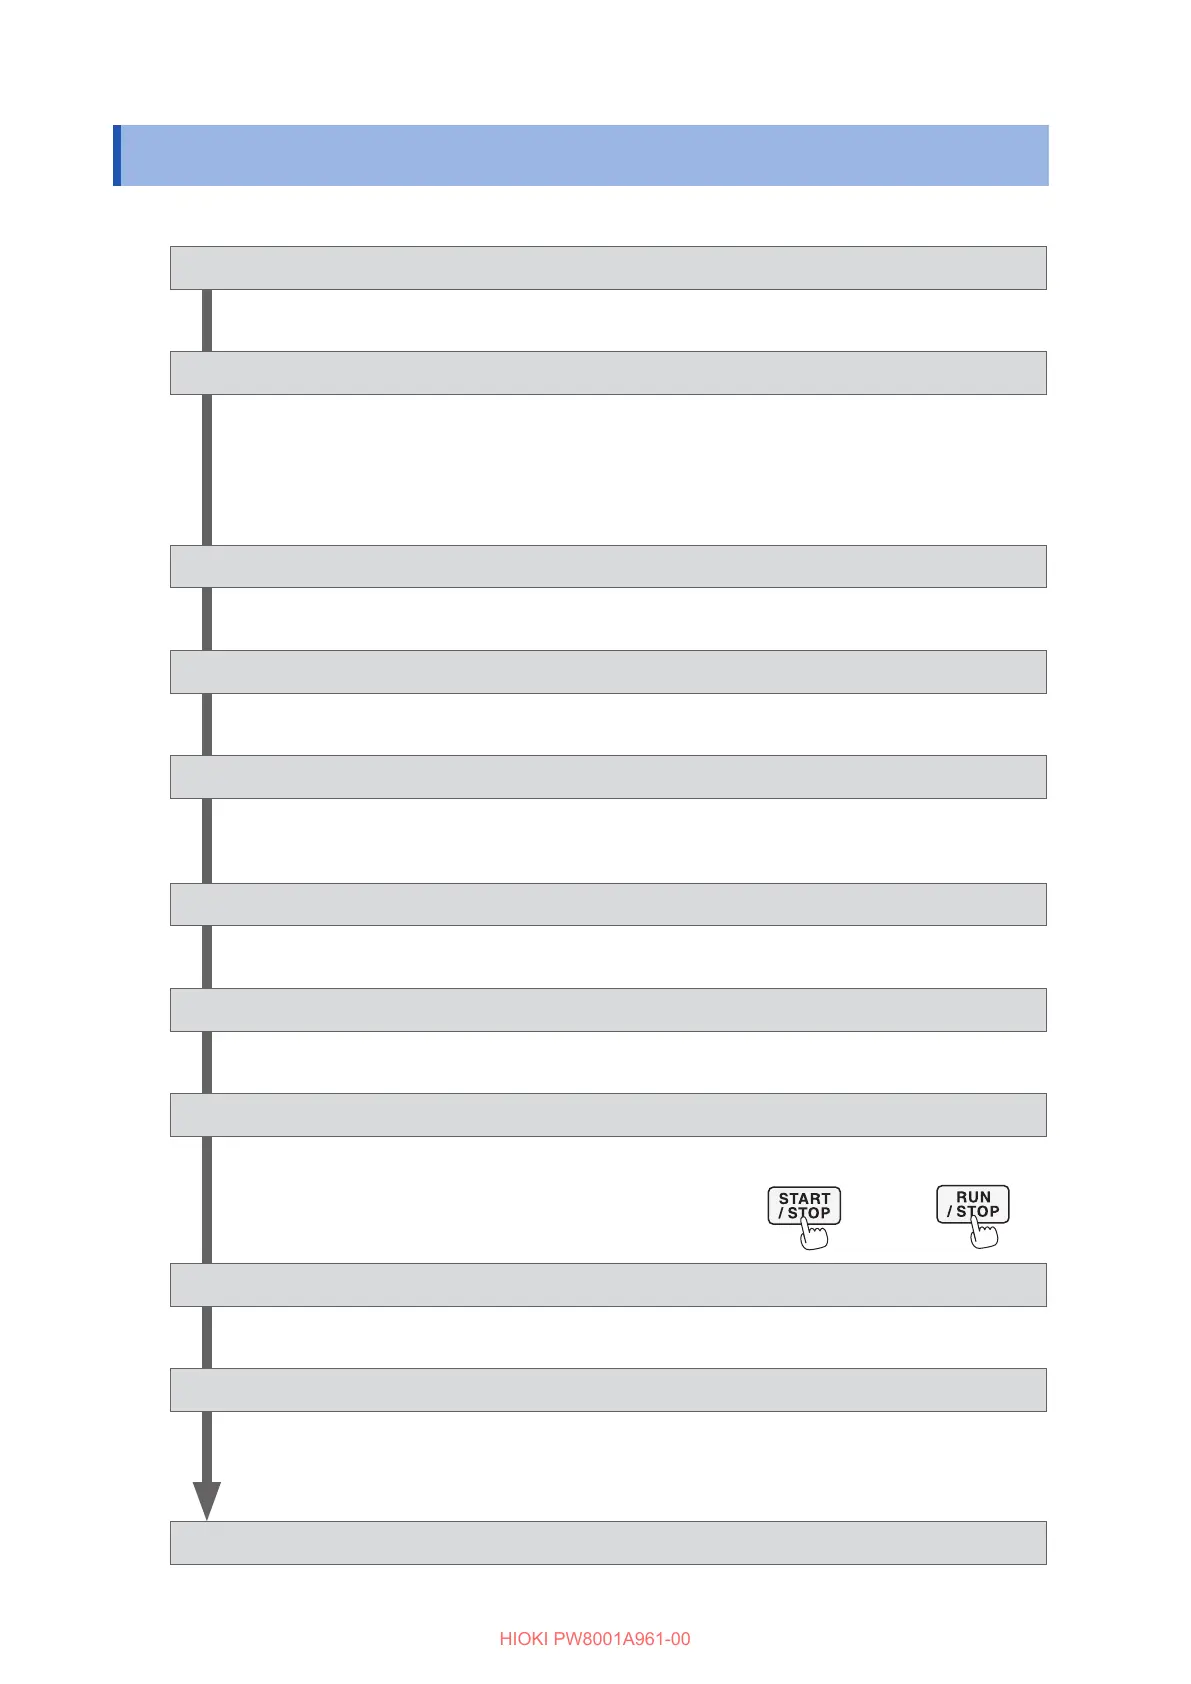
The basic measurement procedure with the instrument is as follows.
1
Inspect the instrument before use
“2.1 Inspecting the Instrument before Use” (p. 32)
2
Prepare for measurement
“2.2 Connecting the Voltage Cords (Voltage Input)” (p. 33)
“2.3 Connecting the Current Sensors (Current Input)” (p. 34)
“2.4 Supplying Power to the Instrument” (p. 39)
For high-precision measurement, allow the instrument to warm up for 30 minutes or more after
turning on the instrument before performing the zero adjustment.
3
Set wiring modes and congure current sensor settings
“2.5 Setting Wiring Mode and Conguring Current Sensor Settings” (p. 41)
4
Conguring Simple Setup (Quick Set)
“2.6 Simple Conguration (Quick Set)” (p. 45)
5
Perform the zero adjustment.
“2.7 Zero Adjustment and Degaussing (Demagnetization)” (p. 46)
Always perform zero adjustment before connecting measurement leads and sensors.
6
Connect measurement leads and sensors to lines to be measured.
“2.8 Connecting Measurement Leads and Sensors to Lines to Be Measured” (p. 47)
7
Verify proper connection.
“2.9 Checking Connections” (p. 49)
8
View the measured values and waveforms
“3 Displaying Power Numerically” (p. 51)
“4 Displaying Waveforms” (p. 95)
Starting/stopping
the integration
Displaying
the waveforms
9
Saving data
“7 Saving Data and Managing Files” (p. 119)
10
Analyze the data
“8 Connecting External Devices” (p. 143)
“9.1 Connecting and Setting the LAN Interface” (p. 158)
“9.8 GENNECT One (PC Application Software)” (p. 179)
11
Finish the measurement
 Loading...


