To insert the upgrade-kit drives into the enclosure:
1. If the enclosure is in a rack, do either of these:
¡
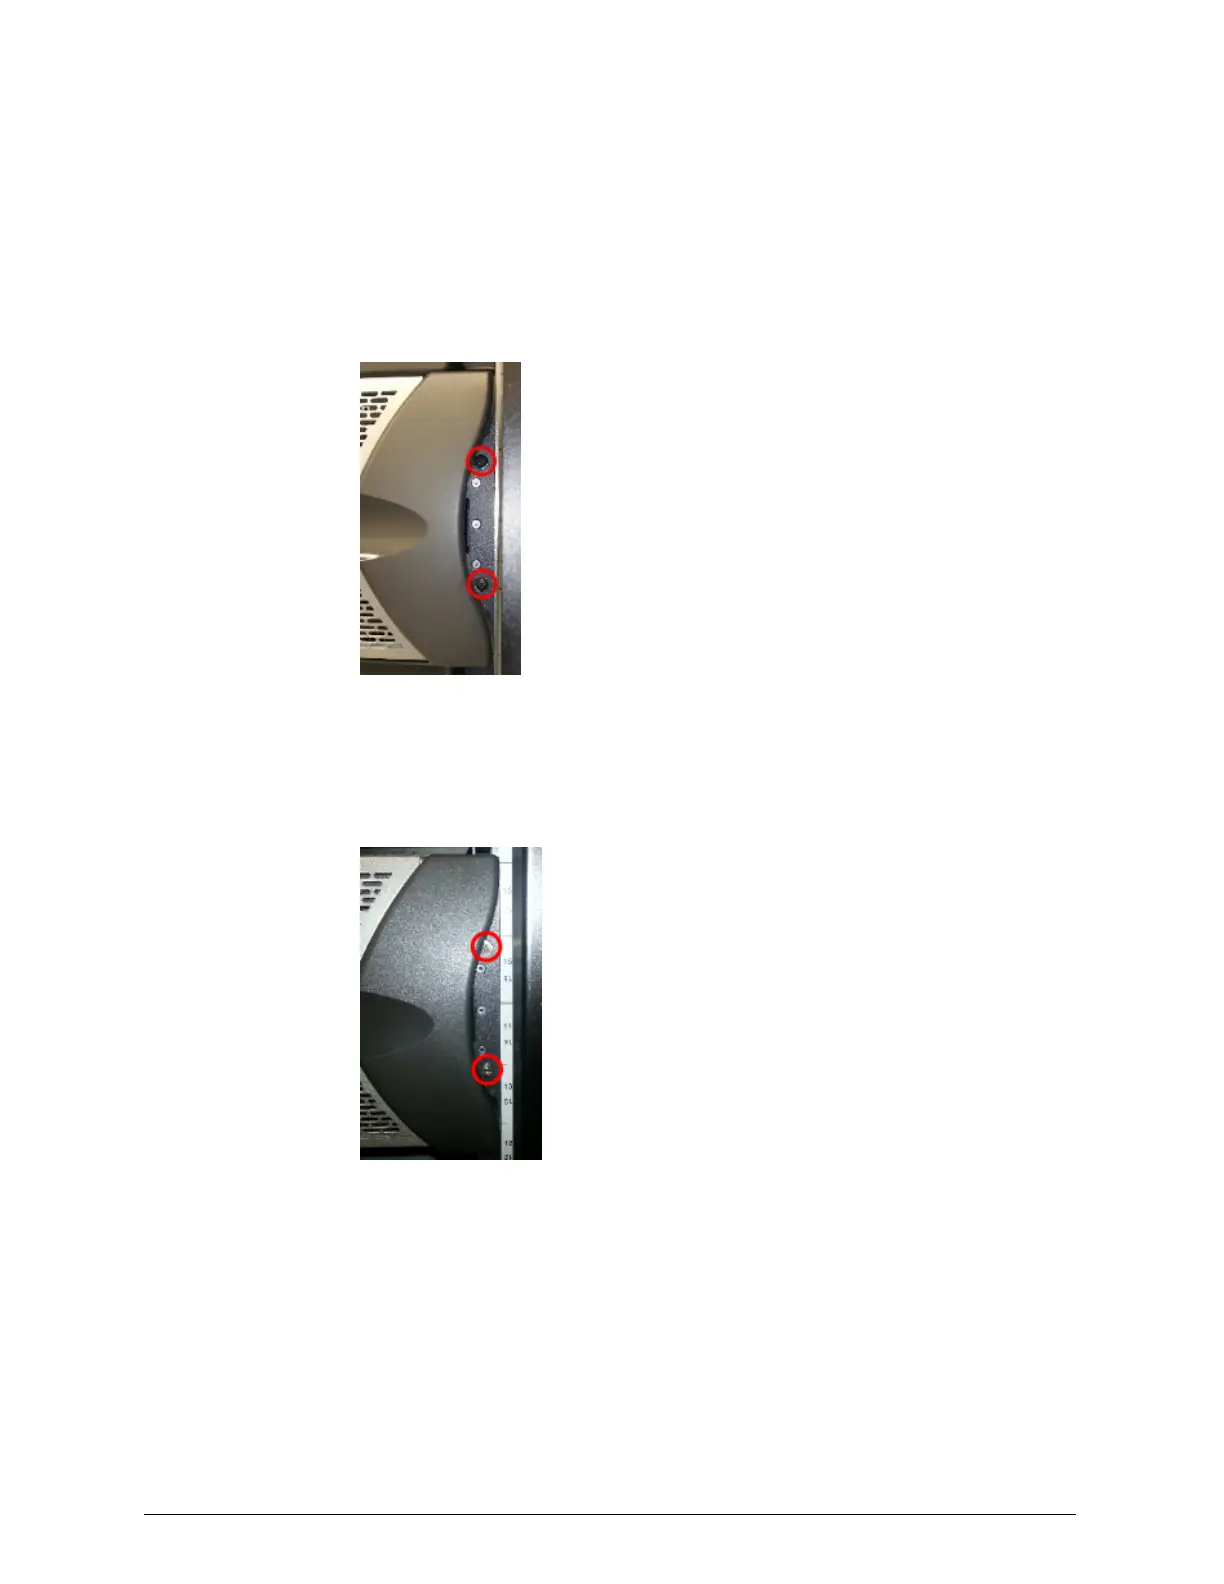
If the enclosure is secured to the rack with two medium black screws
on each side of the front of the enclosure, using the #2 Phillips
screwdriver, unscrew and remove those screws.
¡
If the enclosure is secured to the rack with two small silver locking
screws on each side of the front of the enclosure, using the #1
Phillips screwdriver, unscrew those screws until they are very loose.
The screws do not come out.
2. While bracing the rack from the front, push in the tabs on both sides of
the front of the enclosure behind the front panel and pull the enclosure
forward. Then slide the enclosure out of the rack as far as the enclosure
goes.
3. Lift both latches on the top of the enclosure and pull up to open the right
side of the enclosure cover.
Chapter 3: Refurbishing an HCP S10 Node
27
HCP S Series Node Refurbishment
Step 2 (conditional): Insert the upgrade-kit drives into the enclosure
 Loading...


