106
General Maintenance
4.7 Dirt Shield Replacement
The dirt shield should be inspected daily to ensure
it is tightened properly and that the felt seal is in
good condition.
Use the following procedure to replace a
damaged or worn felt seal:
1. Make sure the waterblasting system is shut-
down and the truck is in the service position.
2. Hold the thru-shaft so it won’t turn with a 3/4”
(19 mm) wrench inserted in the slot at the
base of the thru-shaft motor.
3. Turn the spray bar counterclockwise by hand
until it is free of the shaft.
4. Remove brass button.
5. Use a stainless steel wire brush to clean the
dirt from the thru-shaft threads.
6. While still holding the thru-shaft with the
wrench, remove the dirt shield by turning it
counterclockwise.
7. Remove the felt seal. Then clean the dirt shield
and shroud.
8. Place a new felt seal on the dirt shield and
apply a light coating of anti-sieze to the thru-
shaft threads.
9. Hold the thru-shaft with the 3/4” (19 mm)
wrench, install the new dirt shield and hand
tighten.
NOTICE:
ONLY HAND TIGHTEN THE DIRT SHIELD. NEVER USE TOOLS
TO TIGHTEN THE DIRT SHIELD. IF THE DIRT SHIELD IS
TIGHTENED MORE THAN HAND TIGHT IT WILL CAUSE THE
SPRAY BAR TO ROTATE SLOWLY OR NOT ROTATE AT ALL.
10. Activate the charge water system and purge
the blast head at low pressure to remove de-
bris that could clog the nozzles.
11. Shutdown the waterblasting system and return
the truck to the service position.
12. Install a new brass button seal, hold the thru-
shaft with the wrench and reinstall the spray
bar.
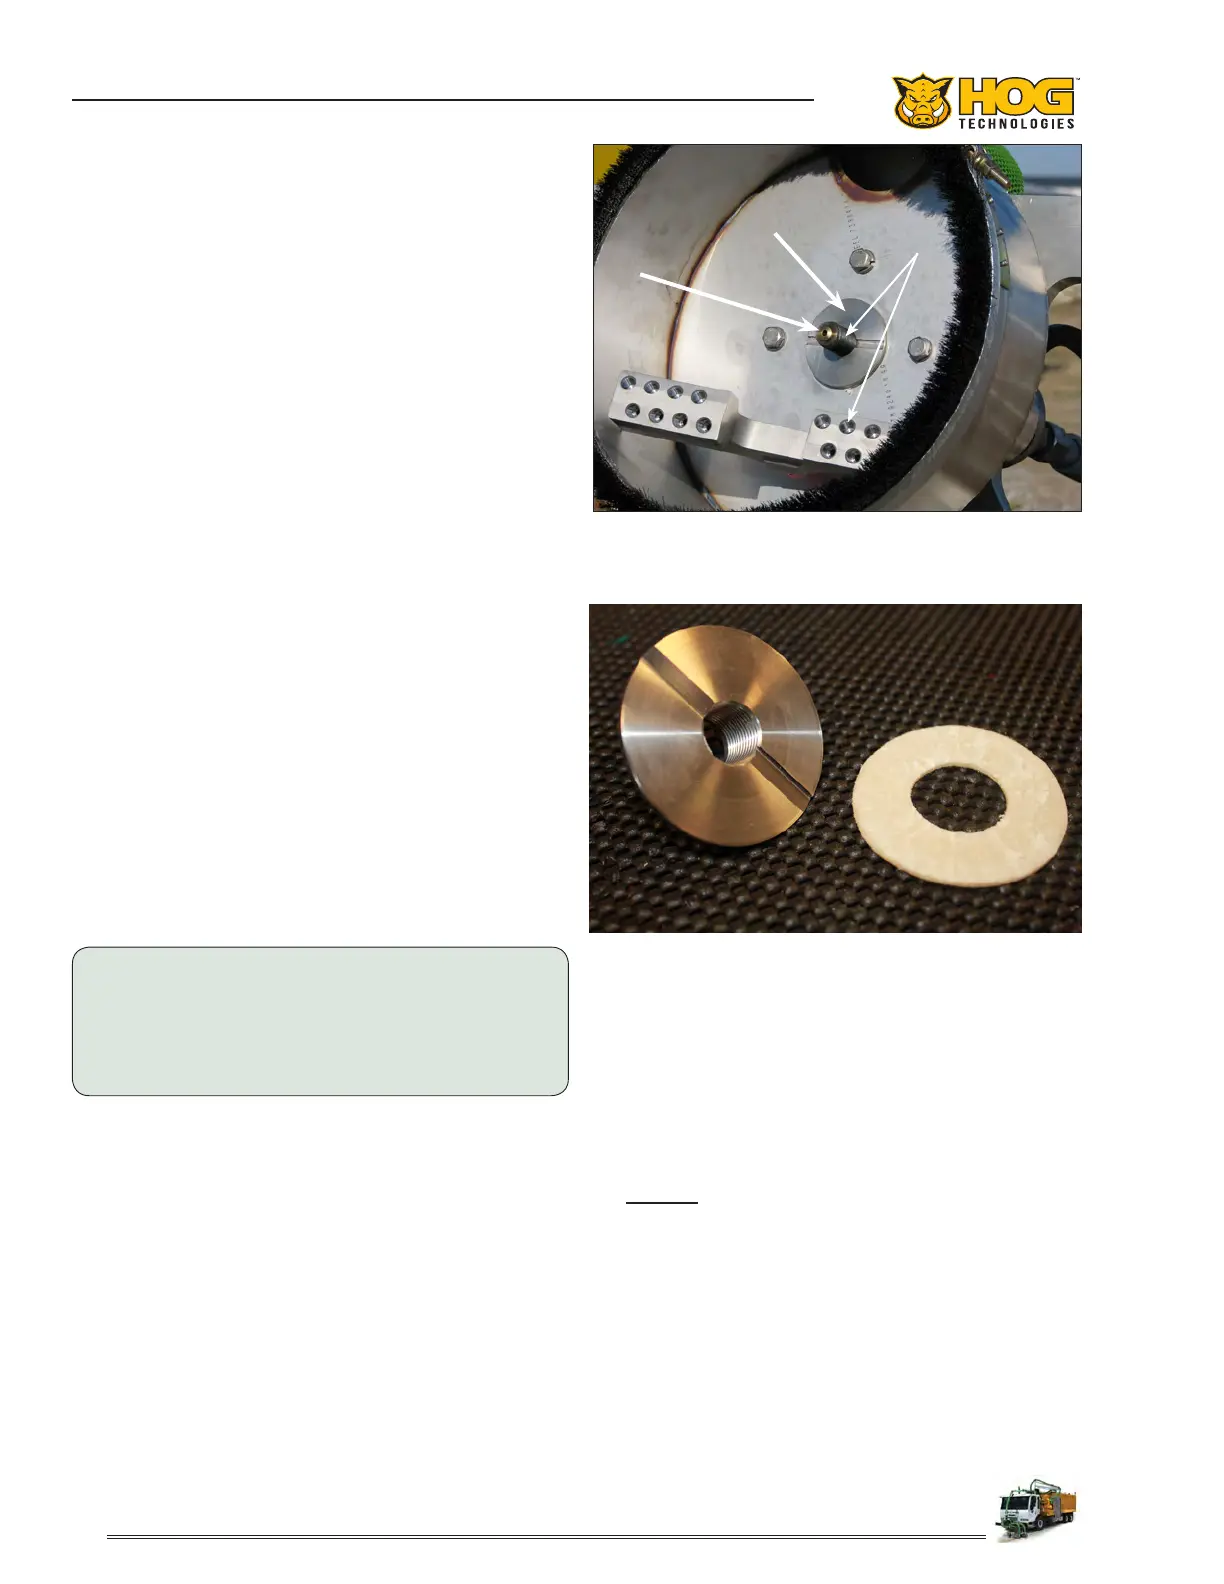
Dirt Shield
Button Seal
Apply Anti-Seize
Brass Dirt Shield & Felt Seal
Typical Dirt Shield Installation
13. Tighten the spray bar by turning it clockwise
slowly until it stops. Then seat the seal by
turning the spray bar another 15%. Make sure
you remove the wrench when the installation
is complete.
14. Install the spray bar protector.
 Loading...