126
Scheduled Maintenance
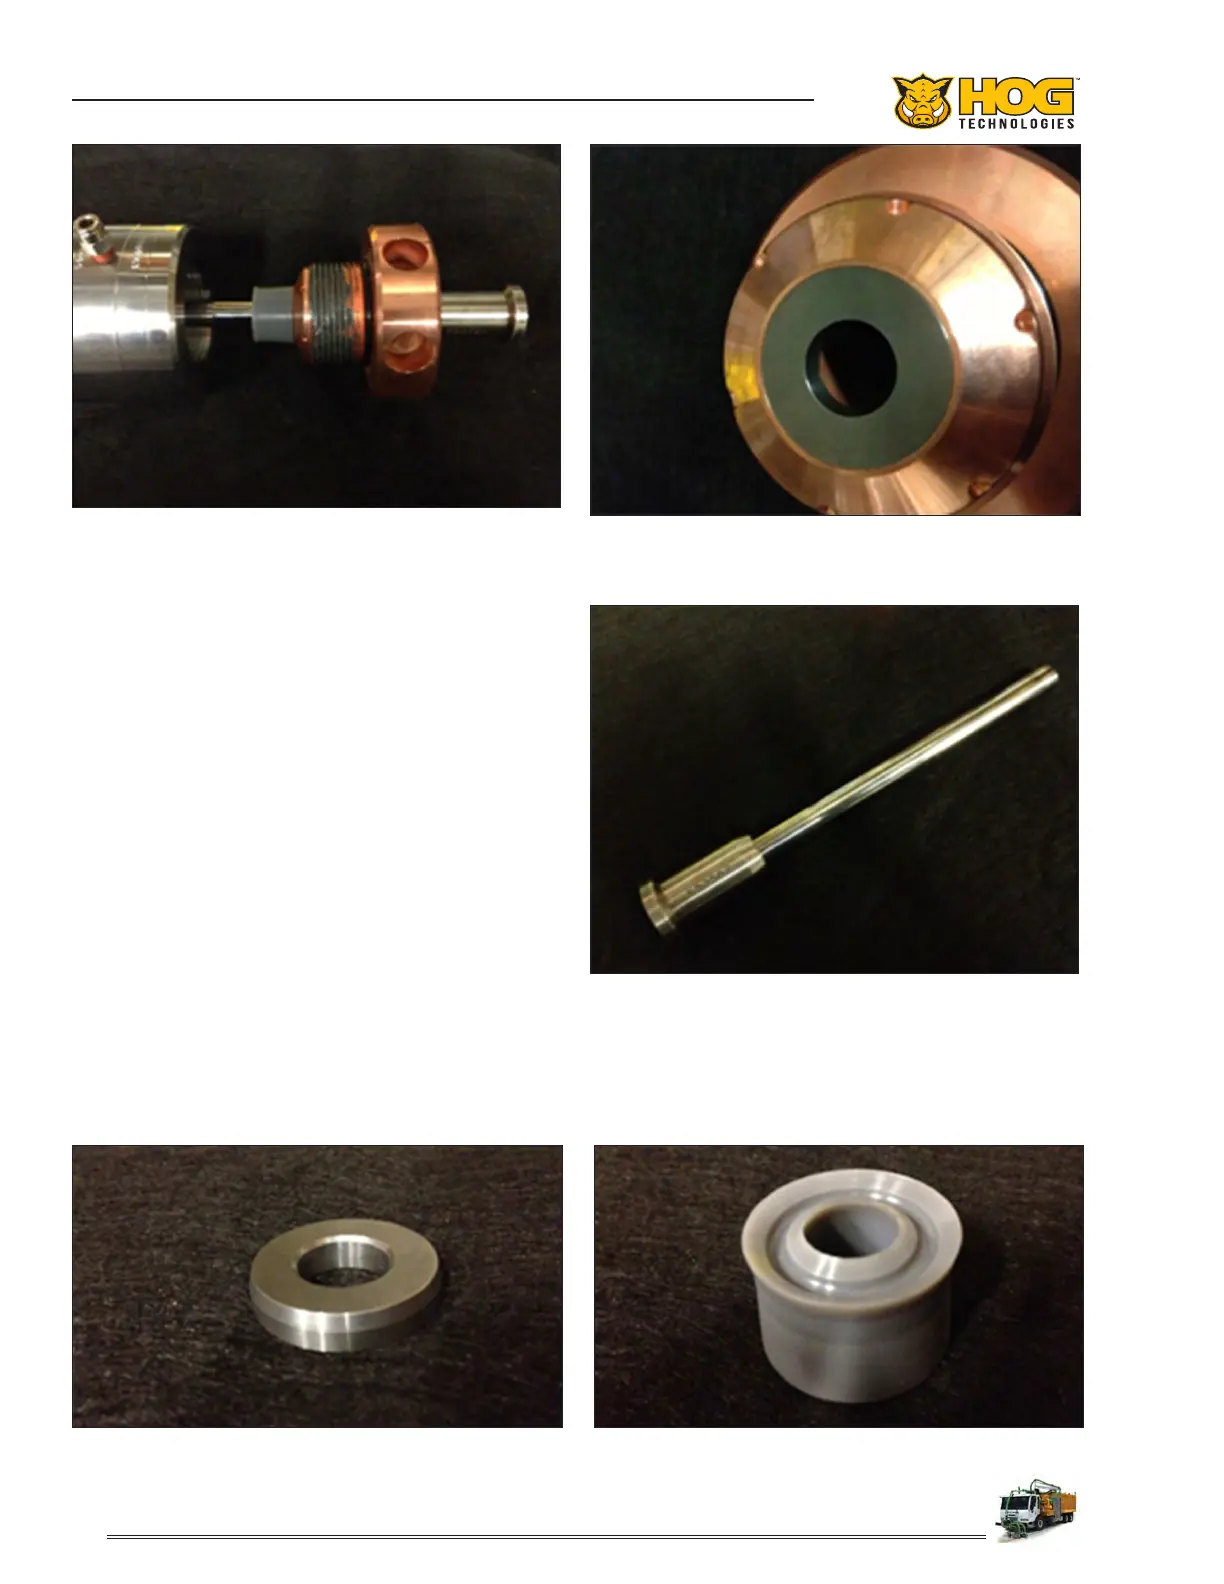
9. Check the plunger for scoring and wear. Polish
or replace if necessary.
10. Reinstall the guide bushing in the gland nut
and apply anti-seize to the gland nut threads.
11. Insert the plunger fully into the gland nut. Be
careful to not dislodge the guide bushing.
12. Install new packing onto the plunger. Push it
tight against the guide bushing.
13. Carefully install the plunger, packing and gland
nut assembly into the stung box
14. Hand tighten the gland nut. Then insert the
Jetstream Tool into the gland nut and hit the
tool three times with the hammer in a clock-
wise direction to tighten.
15. Slide the plunger back against the pony rod.
Reinstall the plunger coupling to the plunger
and pony rod. Make sure both halves of the
plunger coupler face the same way.
Carbide Ring
Packing
Stung Box, Glandnut, Packing & Pony Rod
Plunger
Guide Bushing & Carbide Ring
 Loading...