43 33-00462—05
WIFI SETUP
During the initial installation, after the Installer setup the
thermostat will prompt you to set up WiFi and guide you
through the steps. If you are setting up WiFi after the initial
installation has already been done, follow the steps below:
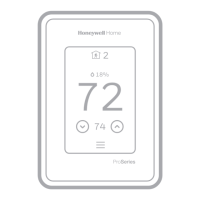
1. Select the Main Menu icon.
Fig. 77. Main menu icon.
2. Then select WiFi.
3. There is a slider labeled “Enable WiFi”. Make sure this
is set to the right.
4. Touch Choose Network.
5. After a brief delay, the thermostat should show the
available networks. Choose your home network from
the list.
6. If this is a secure network, it should prompt you to “Enter
WiFi password”. After a brief delay the display should
show “Success! Your thermostat successfully
connected to the network.” Press the OK button.
NOTE: If you did not successfully connect to the network,
attempt to:
7. Download the Resideo app from the App store or
Google Play.
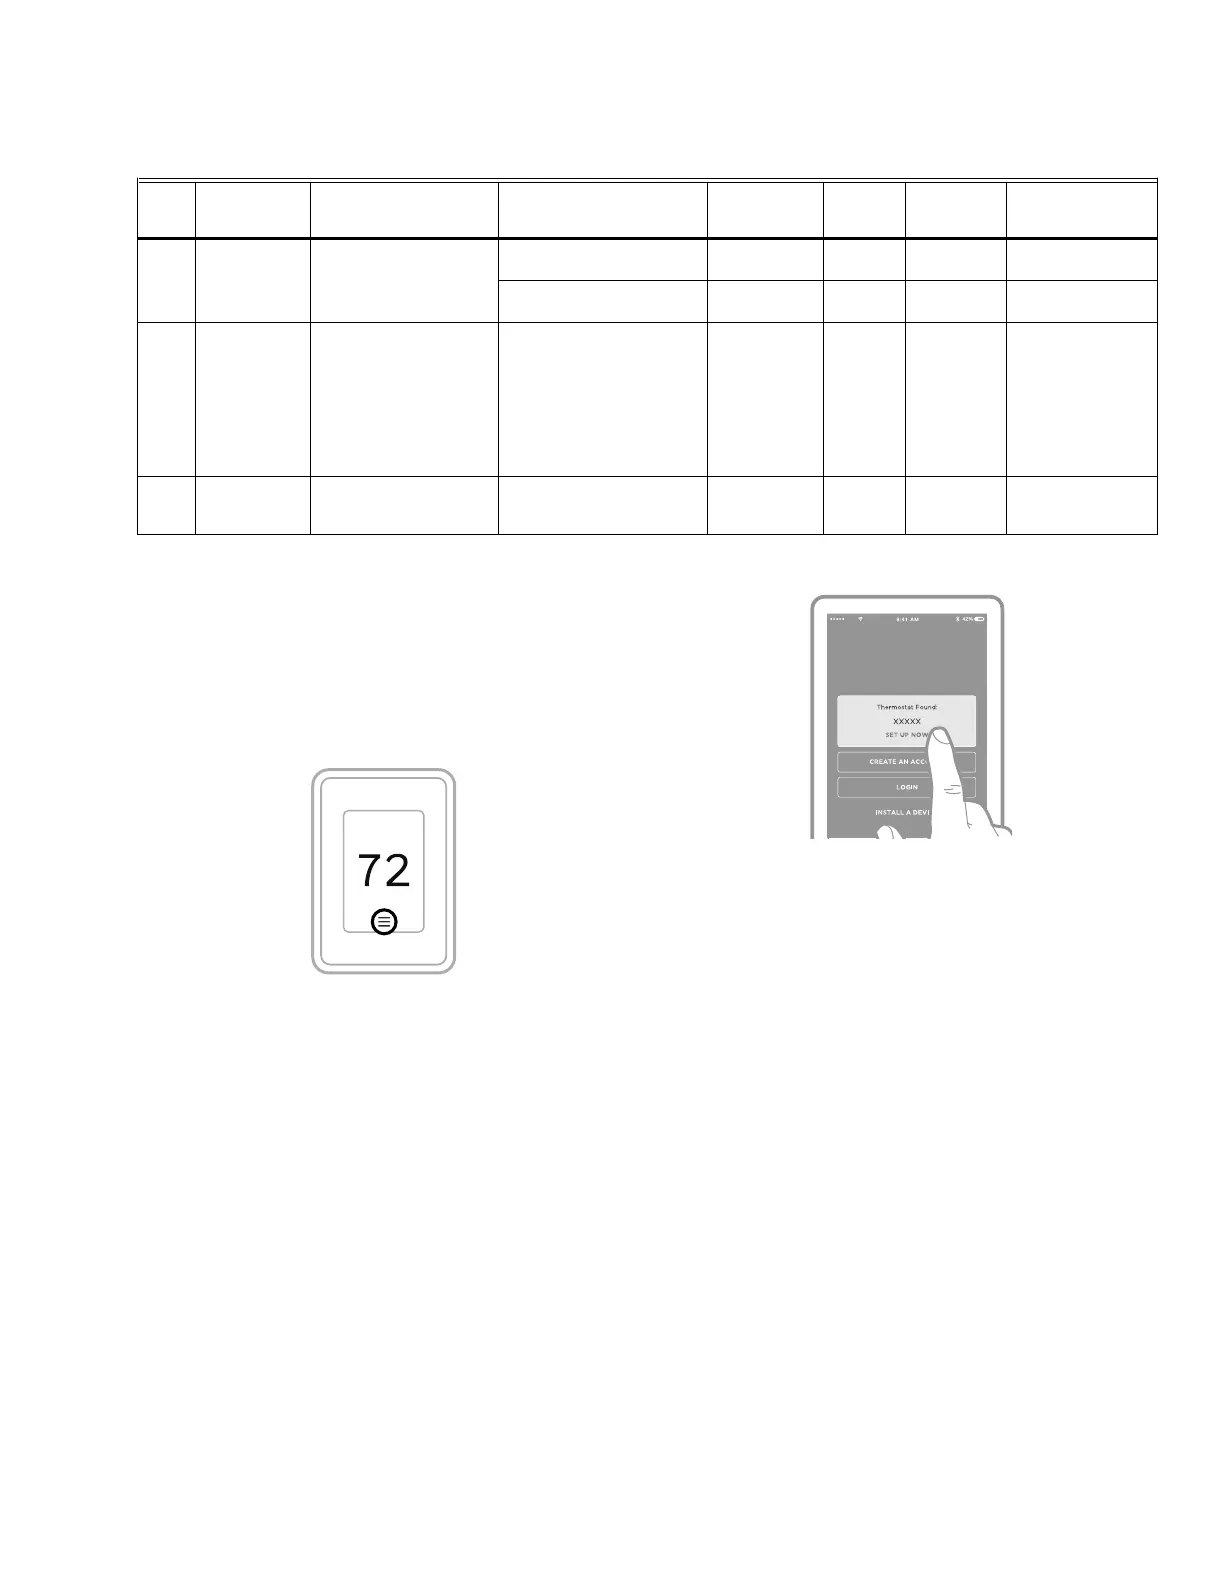
8. Open the Resideo app. Tap SET UP NOW as shown
here to continue. Tap INSTALL A DEVICE and follow
the prompts to continue. The app will walk you through
the rest of the setup.
Fig. 78. SET UP NOW screen
Connect to a Hidden WiFi Network
1. Touch MENU, then WiFi Setup.
2. Touch Other, then Select.
3. When prompted, press the screen to edit the network
name.
4. Enter the network name.
Press the
or buttons to change the letter or
number. Press the
button to move to the next
character, or the
button to move to the previous
character. Use the
or buttons at the bottom to
change letter case. Press Done when complete.
5. Select the appropriate network security setting, then
press Select.
6. Enter the WiFi network password as explained above in
“Connecting to WiFi Network”, step 6.
Unsuccessful WiFi Connection
If you are unsuccessful in connecting the thermostat to the
WiFi network, you will see a Connection Failed screen. Press
the
button for other tips about this failed connection. Here
are three specific reasons the connection might be
unsuccessful.
For all Connection Failed screens, pressing Done will return
to the Menu screen.
14030 Display Offsets Outdoor Display Offsets Outdoor Temperature = -3F
to 3F (-2.50F to 2.50C)
C7089R3013
sensor used
No T10+
Outdoor Humidity = -5% to
5%
C7089R3013
sensor used
No T10+
14050 Indoor
humidity
Show indoor humidity on
home screen
Yes, No No T10+ If set to control a
humidifier or
dehumidifier, the
T10+ will still
show the indoor
humidity reading
under the Humidity
and Dehumidity
setting screens
15000 Dealer
Information
Dealer Information Enter Company name,
phone number, website,
email, message
No Both
Table 9. Installer Setup (ISU). (Continued)
Firmware is occasionally updated at the factory or over the air. Some ISU settings may not be shown on models that lack the latest firmware.
ISU # Heading Question Options
Contingent
previous
setting?
EIM
needed?
T10, T10+
or both Notes
M37798
 Loading...