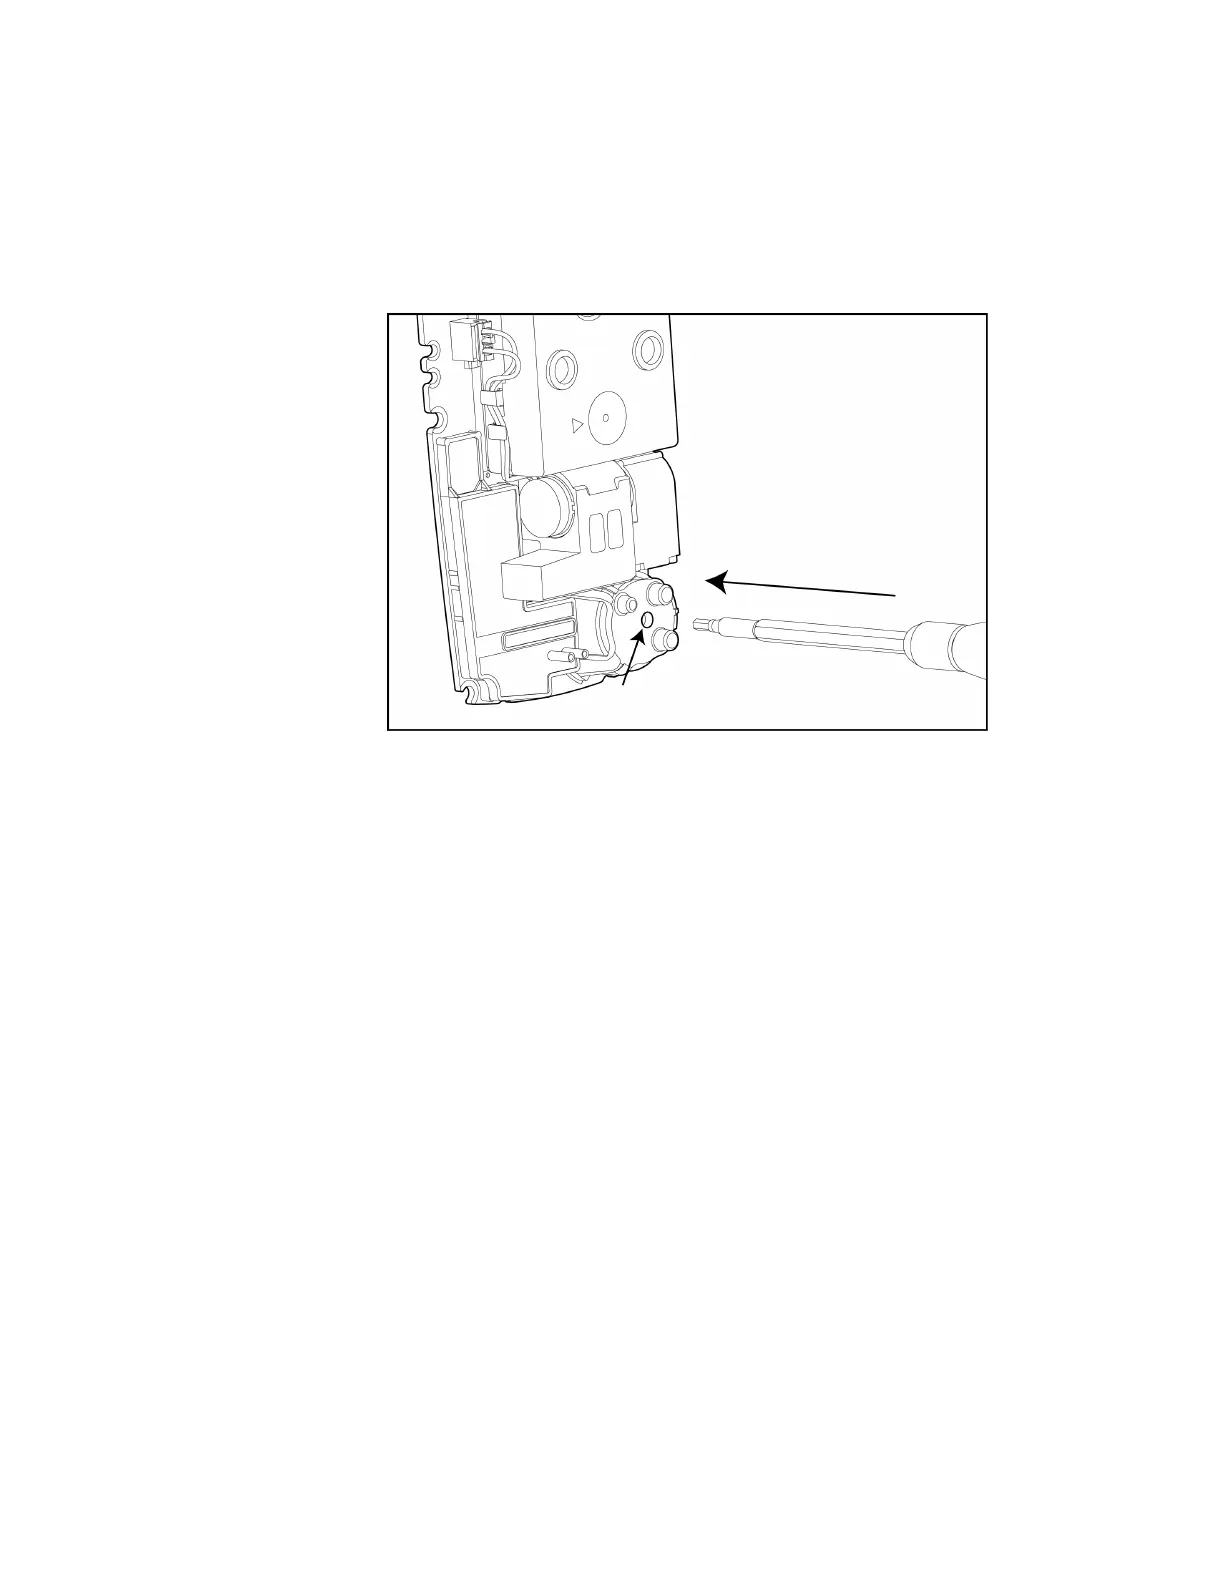
5. Remove the two PCB screws.
6. Lift the PCB upward and tilt to the left. Lay the PCB (sensors facing up) onto the rear
shell.
7. For CO, H
2
S, and LEL sensors, slide outward to remove.
To remove the O
2
sensor gently insert a screwdriver to the back of the oxygen sensor
to push out the sensor.
8. Insert the new sensor(s).
9. If required, replace the sensor filter.
Note: When inserting a new sensor filter, ensure the white side is facing the sensors and
the black side is facing the front shell.
10. Replace the particulate and/or moisture filter if required. Refer to See "Replacing the
Pump Filters" on the facing page for more information..
11. Re-assemble the detector and replace the PCB screws.
12. Replace the machine screws using 3-4 in-lbs. torque. Tighten the screws using a
crisscross pattern to ensure a proper seal.
13. Replace the pump inlet and the pump inlet screw.
14. Activate the detector and calibrate the sensor(s). Refer to See "Calibration" on page70
for more information..
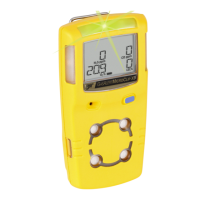
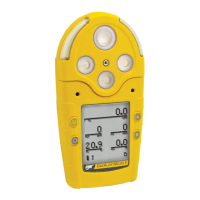
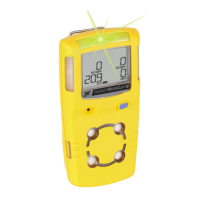
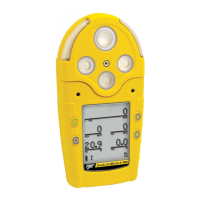
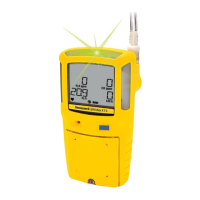
BW MaxXT II 93 User Manual
 Loading...