Logging In and Viewing Live Video
7
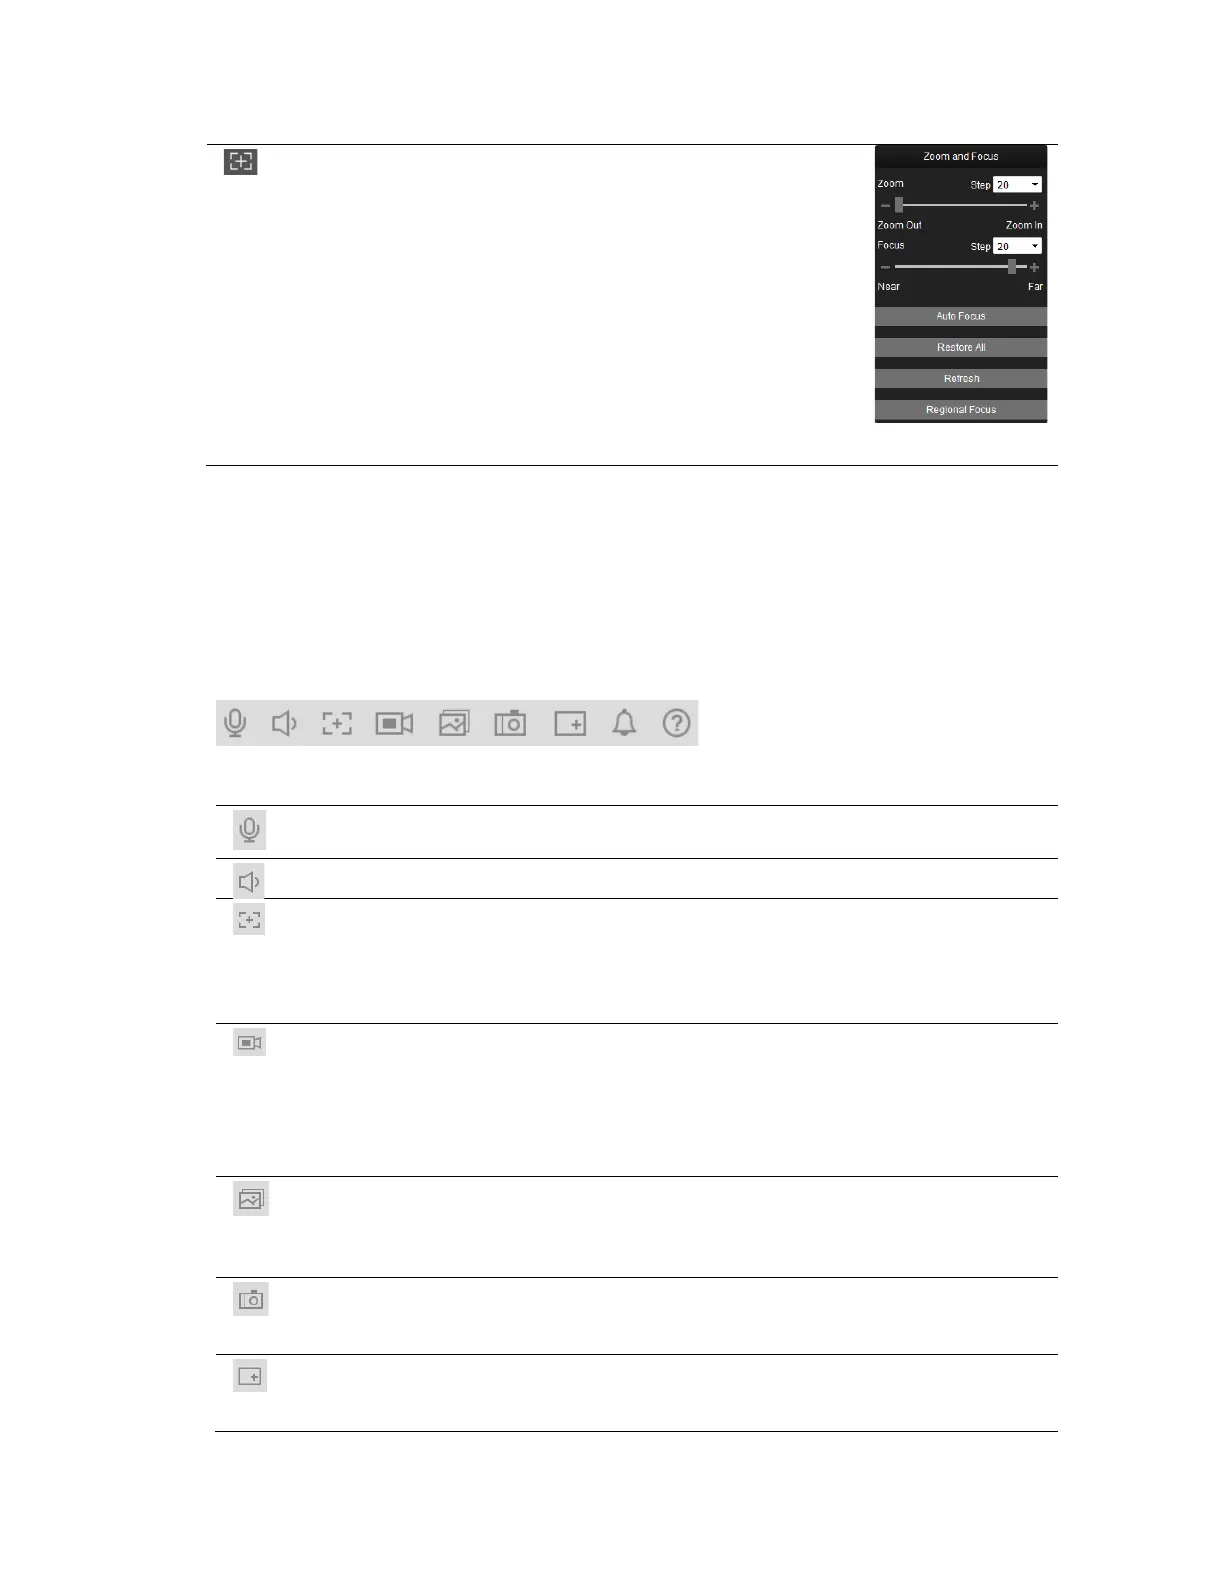
Zoom and
Focus
Opens the Zoom and Focus panel.
Move the sliders to adjust the zoom
and focus settings. Click the – and +
signs to make fine adjustments. The
Step number determines the
magnitude of the adjustment. To set
the focus automatically, click Auto
Focus. To restore the default zoom
and focus settings, click Restore All.
To focus on a specific region, click
Regional Focus, and then drag your
mouse over the area in the video
Working in the Live Interface
The toolbar in the upper left corner of the screen, immediately above the video window,
provides quick access to commonly used controls.
Figure 2-3 Quick Access Toolbar
Table 2-2 Quick Access Controls
Talk
Click to enable or disable bidirectional talk (audio must
Audio Click to enable or disable the audio input stream.
Easy Focus
Displays the current video definition (AF Peak) and target
video definition (AF Max). For auto focus to work, the AF
Peak and AF Max values must be close together. If the
values are far apart, the camera must be re-aimed or
Record Click to start or stop recording video. The icon appears red
when video is being recorded, gray when video is not being
recorded.
The recorded video is saved to the location specified in
Setup
Storage Setup
Destination
Path
Live
Triple
Snapshot
Click to take three snapshots in quick succession (1 per
second). The snapshots are saved to the location specified
in Setup
Storage Setup
Destination
Path
Live
Snapshot
Click to take a snapshot of the current video. The snapshot
is saved to the location specified in Setup
Storage
Setup Destination Path Live Snapshot.
Digital Zoom
When this function is enabled, you can drag your mouse
over an area of the video to enlarge that area. Right-click to
return to the previous magnification.
 Loading...