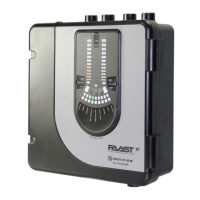
FAAST FLEX Product Guide FAASTFLEX
47 www.xtralis.com
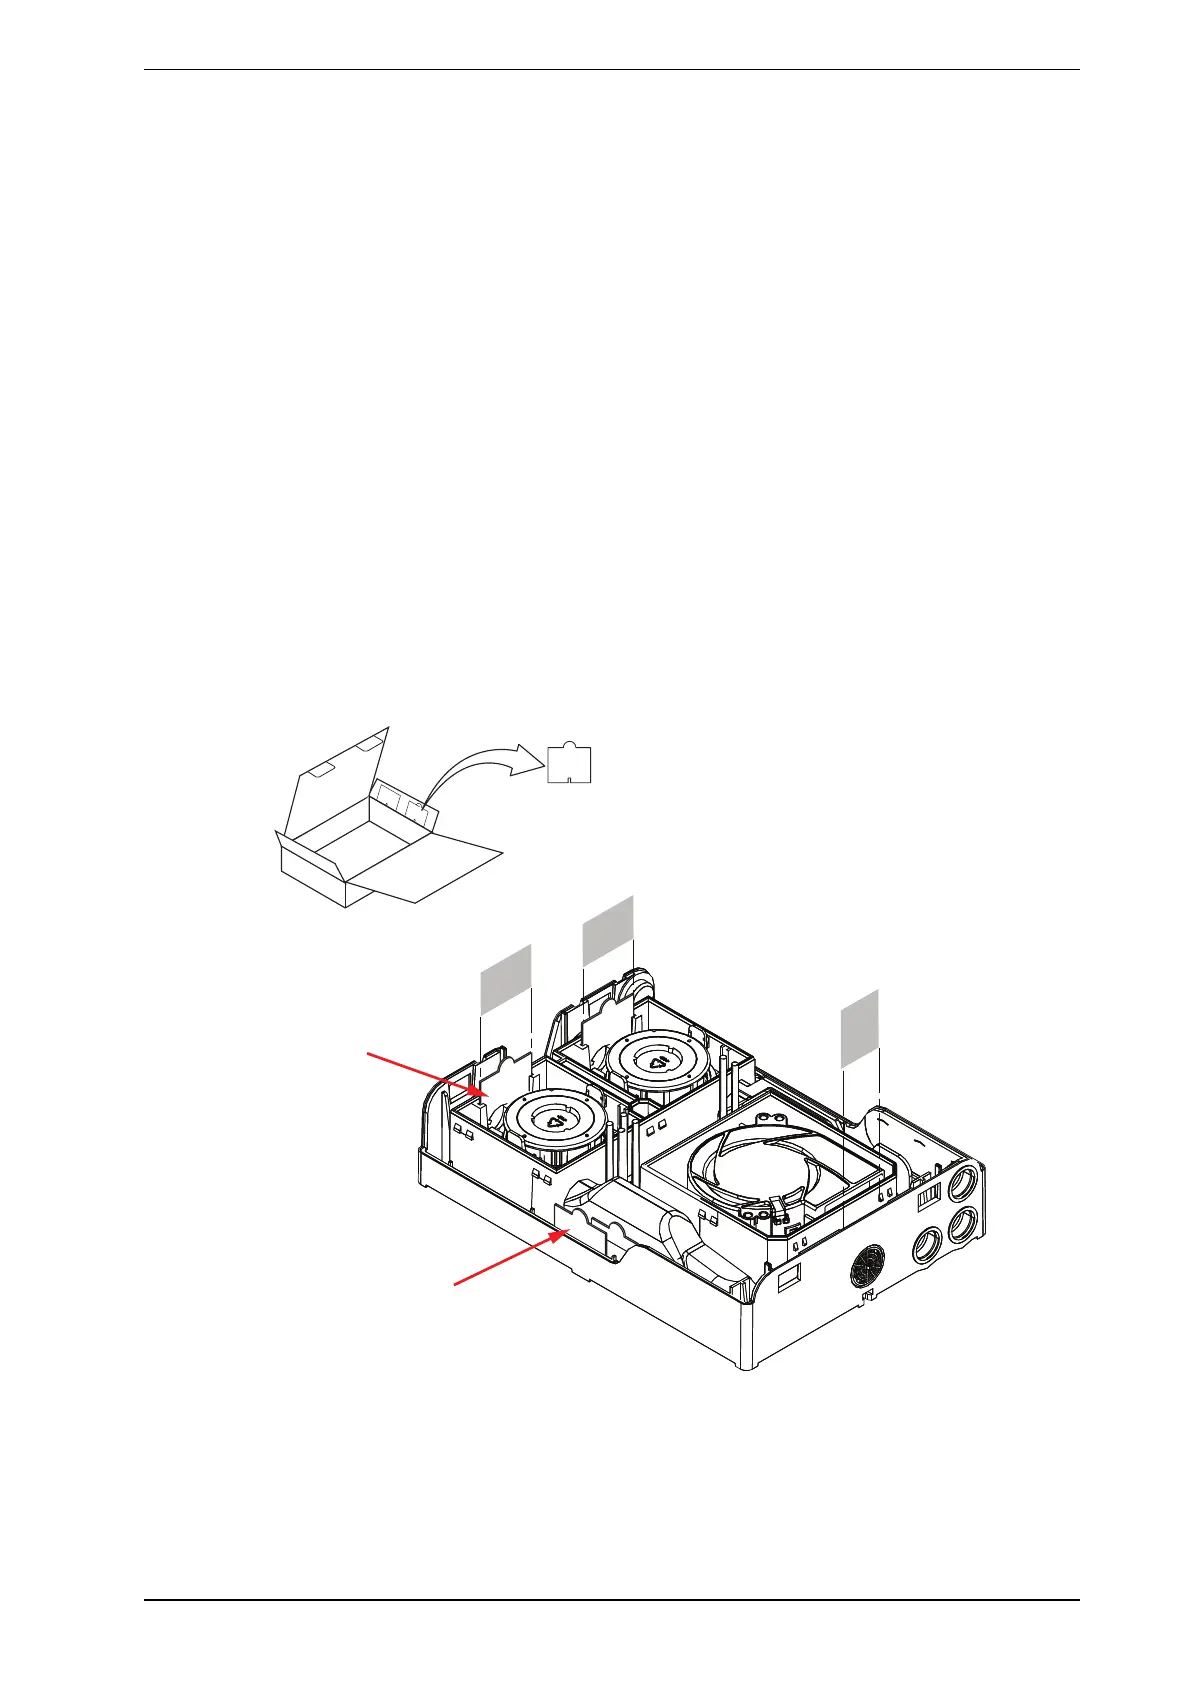
8.2 Filters Replacement (FLX-SP-02)
The FAAST FLEX has two filters to prevent dirt and debris from entering the Sensors, and a third filter on the
air outlet. Filters should be replaced annually to ensure proper operation.
Note: In harsh operating environments (excessive dust, insects, exposure to chemicals) the filter screens
may need to be replaced more frequently.
During maintenance, the sensors should be protected whenever the filters are removed. The shipping box is
designed with four cardboard protection tabs that can be removed and inserted in place of the filters to provide
protection. See Figure8-2.
1. Remove cover (see Figure3-4).
2. Using a small screwdriver, release six locking tabs, and remove Sensor Cover (see Figure8-2). The
filters cover and the rubber gasket may stick together when removing the cover. Apply pressure to pull
the sensor cover off.
3. Using a small screwdriver, release six locking tabs, and remove Aspirator Cover.
4. Insert the two cardboard tabs to protect the detector from dust.
5. Remove Channel 1 Filter, Channel 2 Filter, and Outlet Filter.
Note: The filters can be cleaned using compressed air in case of grease water. Soap can be used to
degrease it or replace with new filters.
6. Replace Aspirator Cover and press down to engage locking tabs.
7. Replace Sensor Cover and press down to engage locking tabs.
8. Replace the cover.
CARDBOARD TABS
TO PROTECT
SENSORS
CHANNEL 1
FILTER
CHANNEL 2
FILTER
OUTLET
FILTER
(ROTATE
90°)
INSERT CARDBOARD
TABS BEFORE
REMOVING FILTERS
CARDBOARD
T
ABS CAN BE
STORED HERE
Figure8-2: Filter Replacement
 Loading...