EasyManuals Logo

HP 1910 Getting Started Guide

HP 1910
52 pages
To Next Page IconTo Next Page
To Previous Page IconTo Previous Page
Page #16 background imageLoading...
Page #16 background image
12
(2) Holes for attachin
g
to the switch chassis
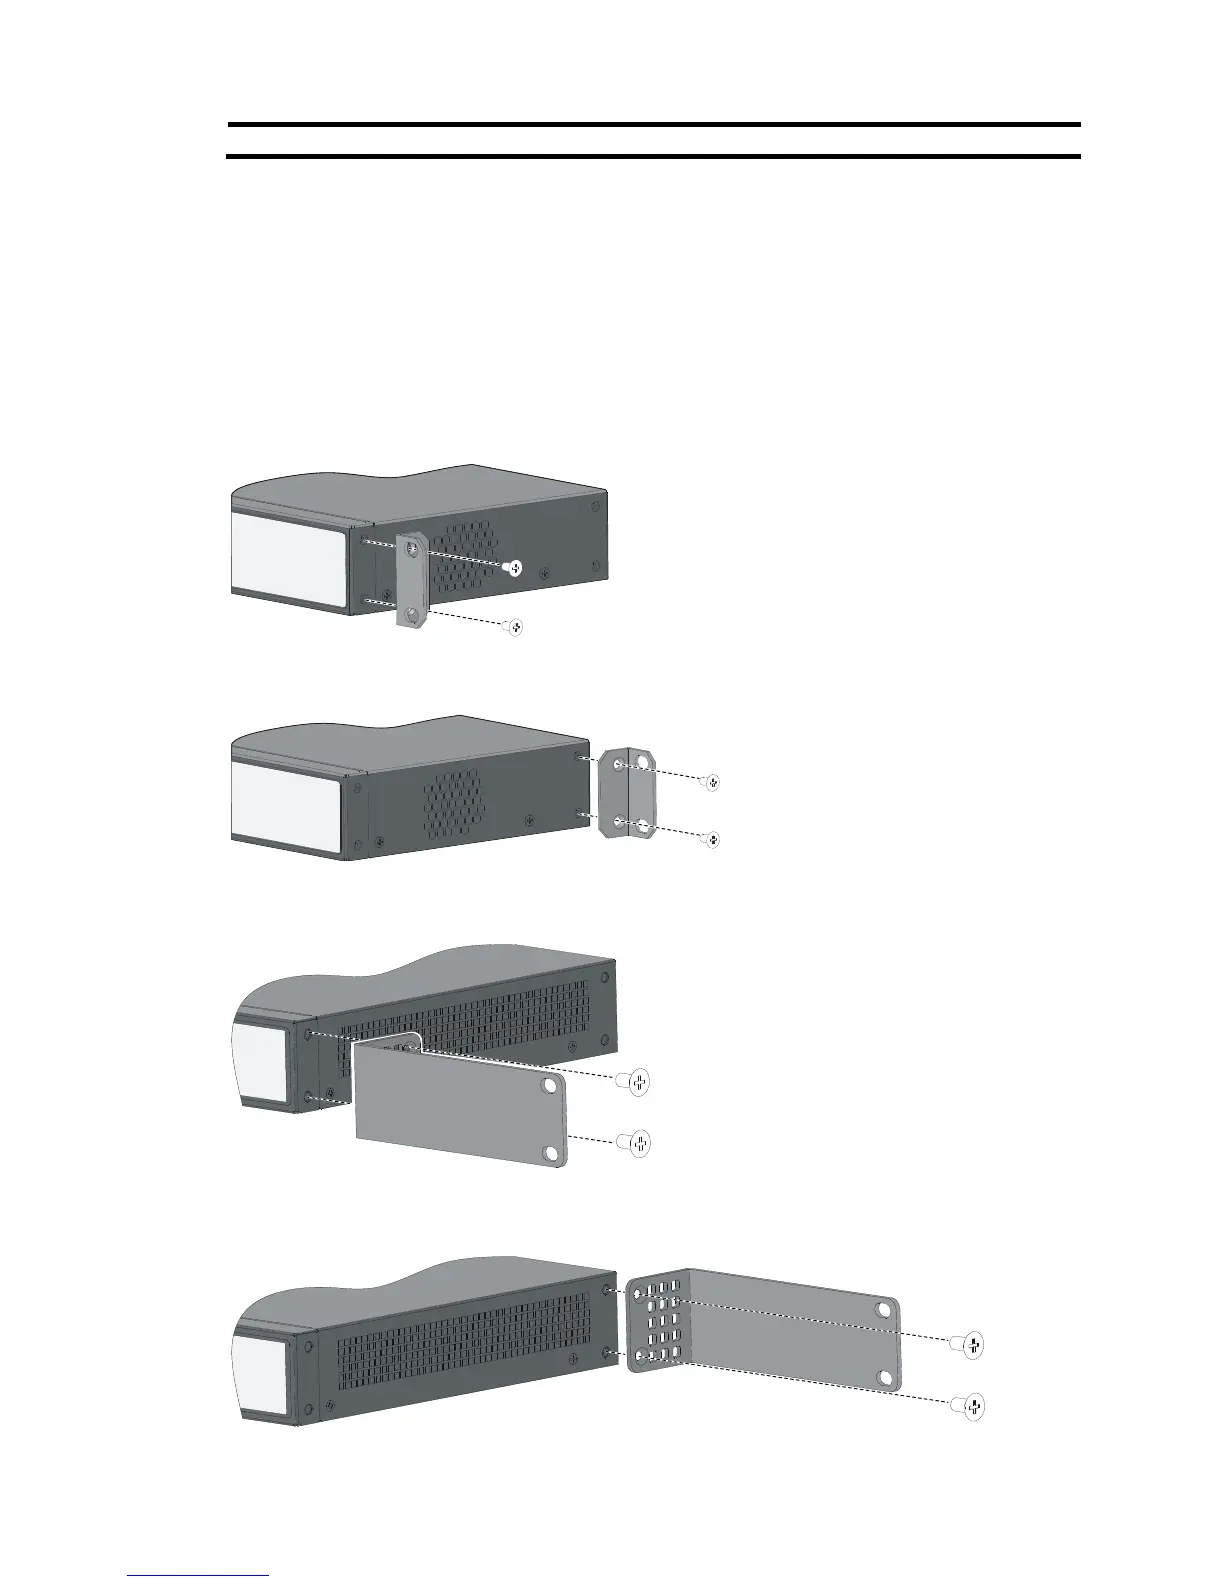
Attaching the mounting brackets to the switch chassis
To attach the mounting brackets to the switch chassis:
1. Identify the correct mounting position (see Table 5).
2. Align the round holes in one bracket with the holes in the mounting position.
3. Use screws to attach the mounting bracket to the chassis.
4. Repeat the preceding steps to attach the other mounting bracket to the chassis.
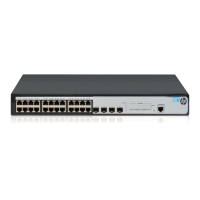
Figure 20 Front mounting position for V1910-16G/V1910-24G
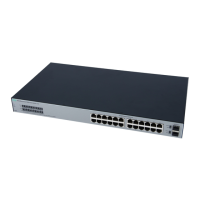
Figure 21 Rear mounting position for V1910-16G/V1910-24G
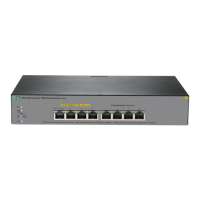
Figure 22 Front mounting position for 1910-8G
Figure 23 Rear mounting position for 1910-8G

Table of Contents

Other manuals for HP 1910

Questions and Answers:

Question and Answer IconNeed help?

Do you have a question about the HP 1910 and is the answer not in the manual?

HP 1910 Specifications

General IconGeneral
ModelHP 1910
CategorySwitch
Port Type10/100/1000BASE-T
LayerLayer 2
PoE SupportNo
MAC Address Table Size8K entries
VLAN SupportYes
ManagementWeb-based GUI
Switching Capacity56 Gbps
Forwarding Rate41.7 Mpps
Jumbo Frame SupportYes
Ports24

Related product manuals