33
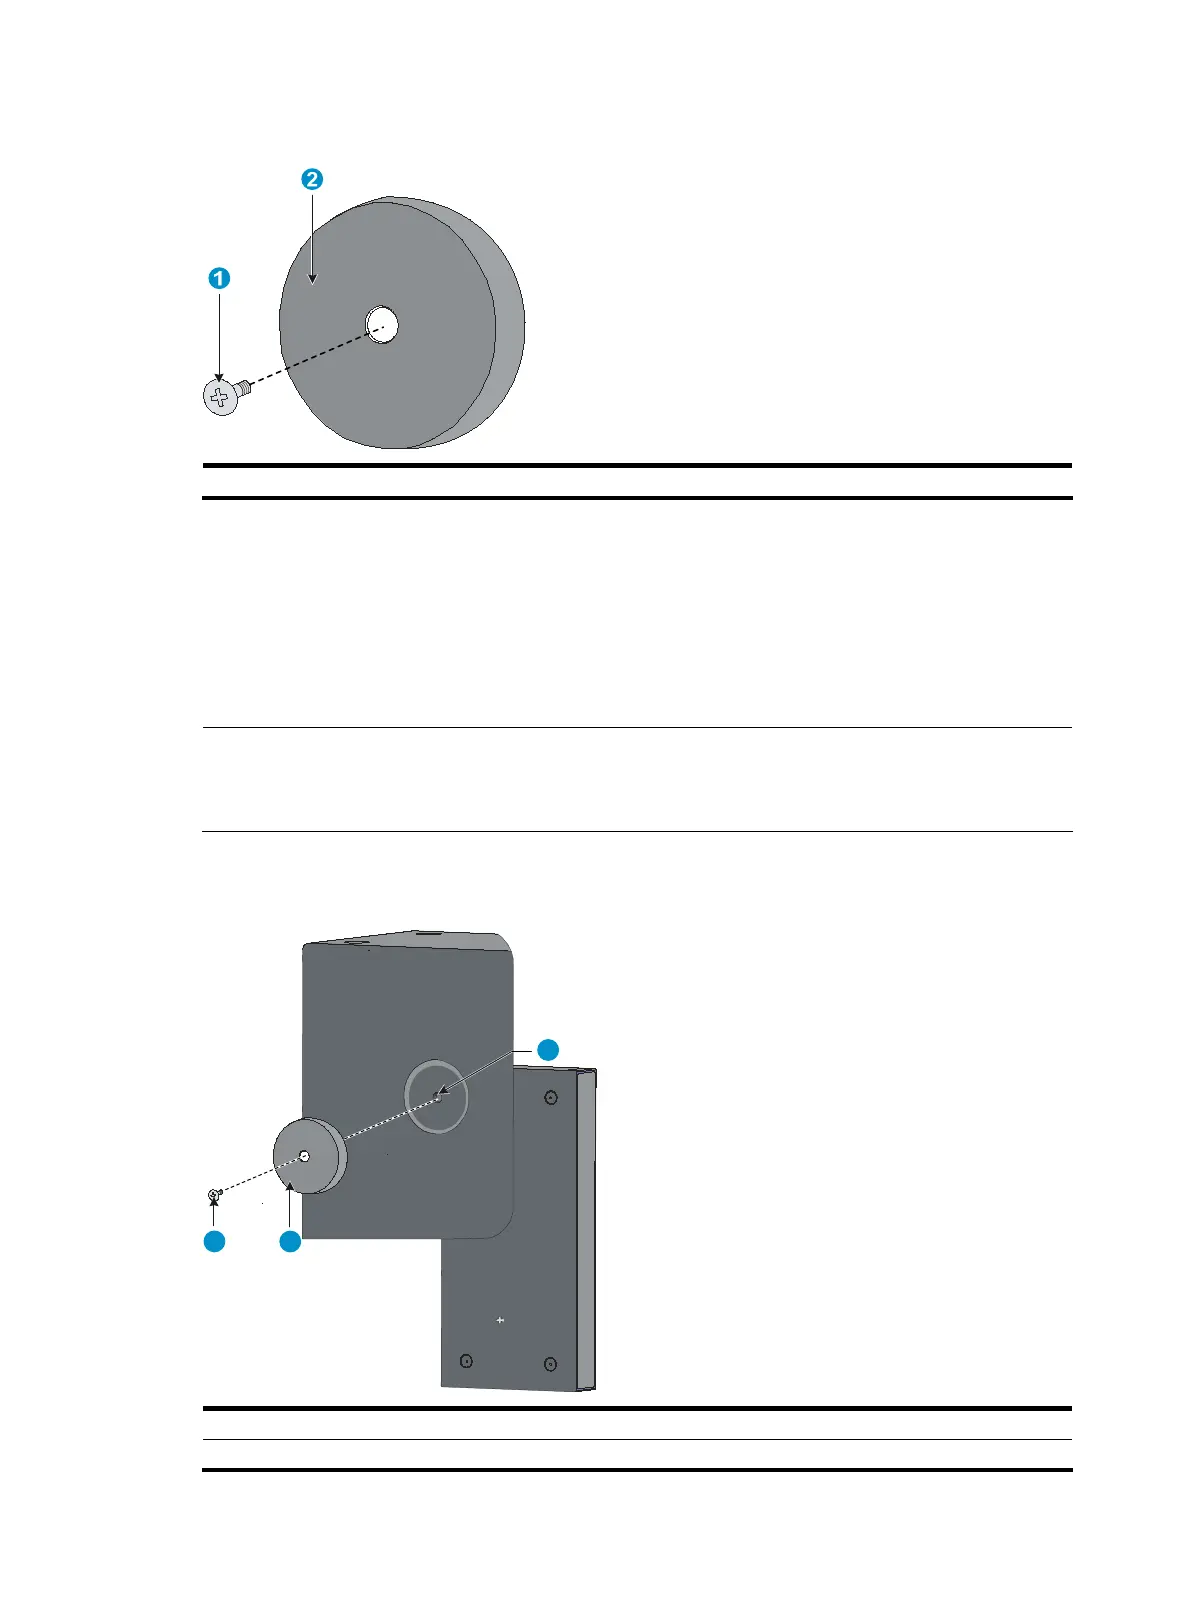
Figure 55 Magnet mounting kit
(1) M3*6 countersunk head screw (2) Permanent magnet
Installation procedure
To complete magnet mounting:
1. Use a Phillips screwdriver to pass the countersunk head screw through the round hole at the center
of the permanent magnet, fasten it to a blind nut in the dent of the switch bottom, and make sure
that the permanent magnet and the switch are fastened reliably. See Figure 56.
NOTE:
• Remove the cushion, if any, from the dent before installation.
• To ensure the firmness of installation, be sure to use four permanent magnets to secure each switch.
2. Attach the magnet-mounted switch to the specified location. Do not get your fingers stuck between.
Figure 56 Magnet mounting
1 2
3
(1) M3*6 countersunk head screw (2) Permanent magnet
(3) Blind nut in the dent of the switch bottom

 Loading...