1
Set up the oscilloscope.
a
Press
Setup
, then press the
Default Setup
softkey.
b
Adjust the channel 1 Position knob to place the baseline at
approximately 0.5 division from the bottom of the display.
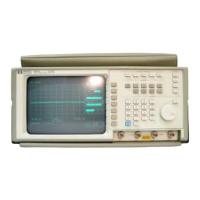
Channel 1 is labeled "1" on HP 54645A and "A1" on HP 54645D.
c
Set the Volts/Div to the first line of the following table.
d
Press
Display
. Then press the
Average
softkey and set
# Average
to
64
. Wait a few seconds for the measurement to settle; the
Av
letters
in the status line indicate how much of the averaging process is
finished by turning to inverse video as the oscilloscope performs
averaging.
2
Press
Cursors
, then press the
V1
softkey.
3
Using the Entry knob, set the V1 cursor on the baseline of the signal.
4
Connect the power supply to the oscilloscope and to the multimeter,
using the BNC tee and cables.
5
Adjust the power supply output so that the multimeter reading
displays the first Power supply setting value in the following table.
Wait a few seconds for the measurement to settle.
6
Press the
V2
softkey, then position the V2 cursor to the center of the
trace.
The
∆
V value on the lower line of the display should be within the test limits
of the following table. If a result is not within the test limits, see
"Troubleshooting the Oscilloscope."
Testing, Adjusting, and Troubleshooting
To verify voltage measurement accuracy
7-17
 Loading...