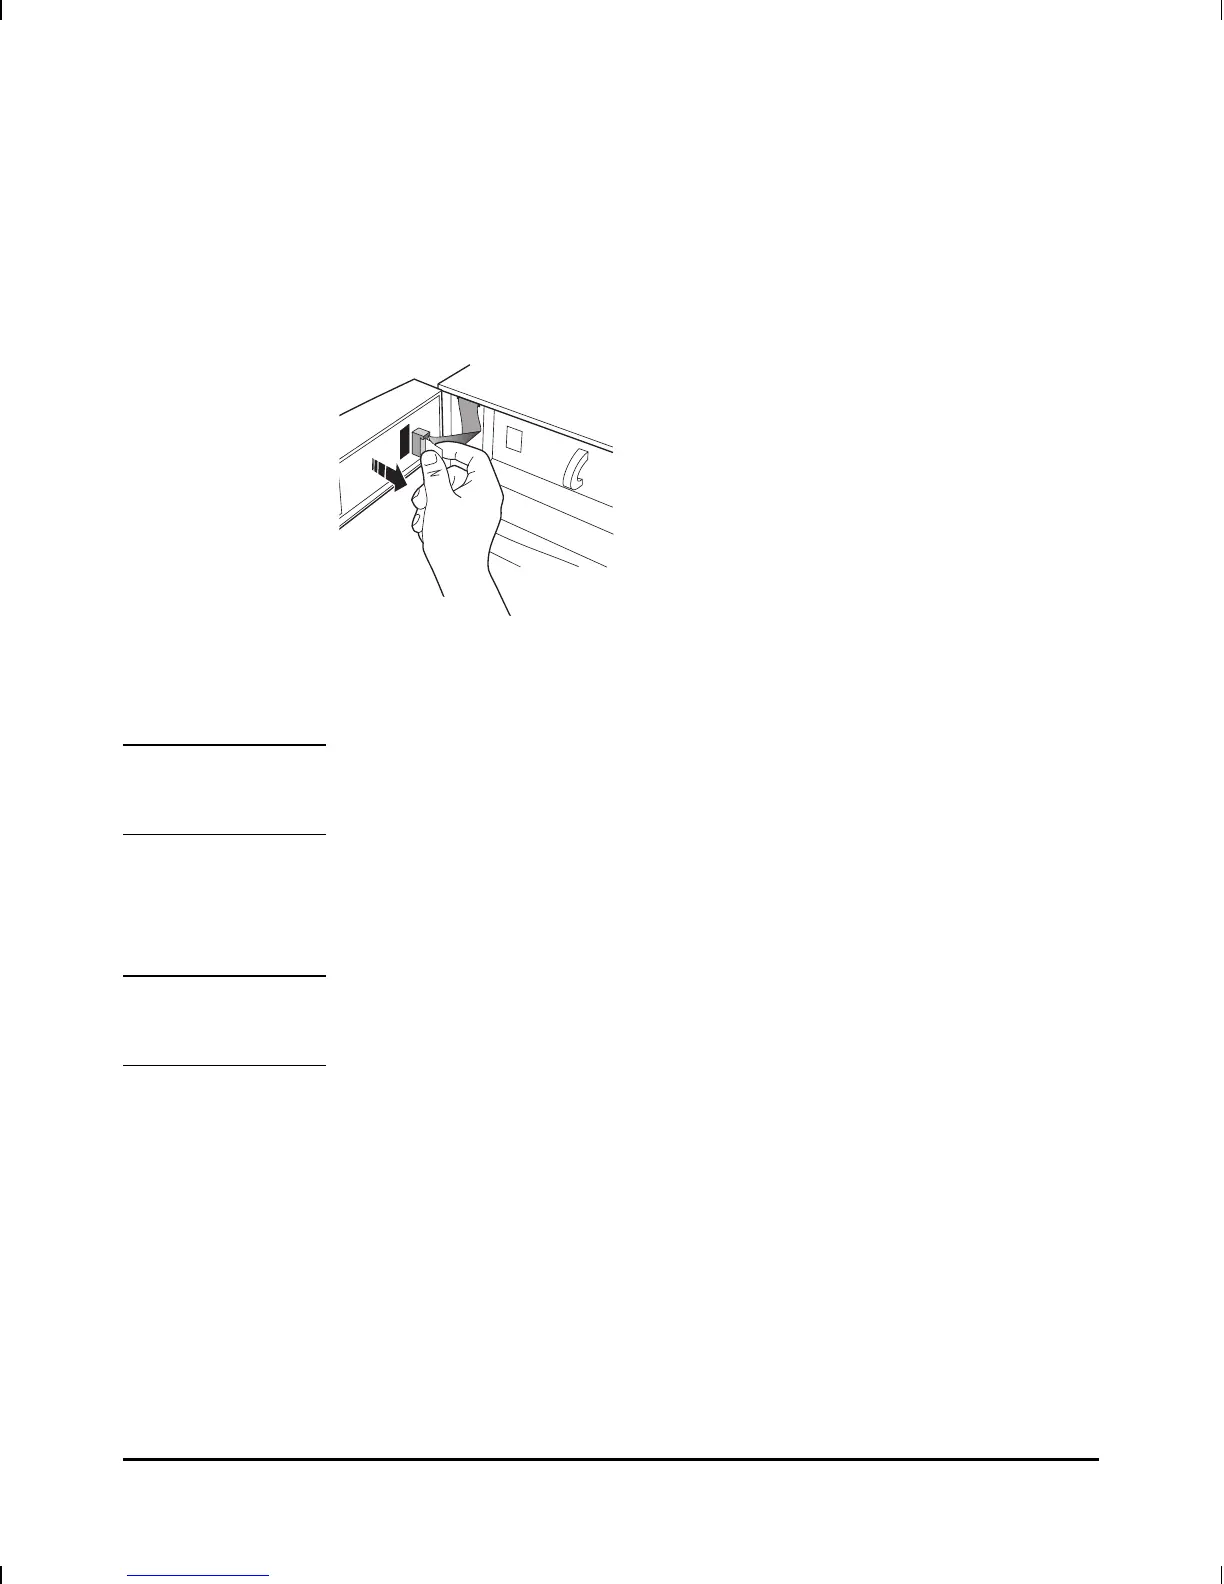
4. Holding the door open at 90°, pull the white tab to disconnect the
cable from its connector.
Note While removing the cooling module from its compartment in the next
step, ensure that the cooling module housing does not catch on the three
screws on the inside of the router door.
5. Holding the door open at 90°, grasp the handle on the cooling module
and remove it from its compartment.
Note In the next step, be sure that the cooling module is perfectly vertical and
is perfectly parallel to the router. If the module is tilted, you might not be
able to insert it further into the module housing.
6. Holding the door open at 90°, place the new cooling module at the
front of its housing, then carefully push it back into the housing until
the mounting ears for the screws are about 1 inch from the holes in
the router chassis. You may need to wiggle the cooling module
and/or adjust its position so that it slides in properly.
7. Reconnect the cable that you disconnected in step 4 (see figure
3-17). Press the connector in place with your finger.
Figure 3-17. Disconnecting Cable
Troubleshooting
Replacing a Module
3-37