6-43Removal and Replacement
BAIL ASSEMBLY REMOVAL
To remove the bail assembly, perform the following procedure:
1. Raise the window and move the pen carriage assembly to the extreme left.
2. Slide the cutter assembly to the extreme right.
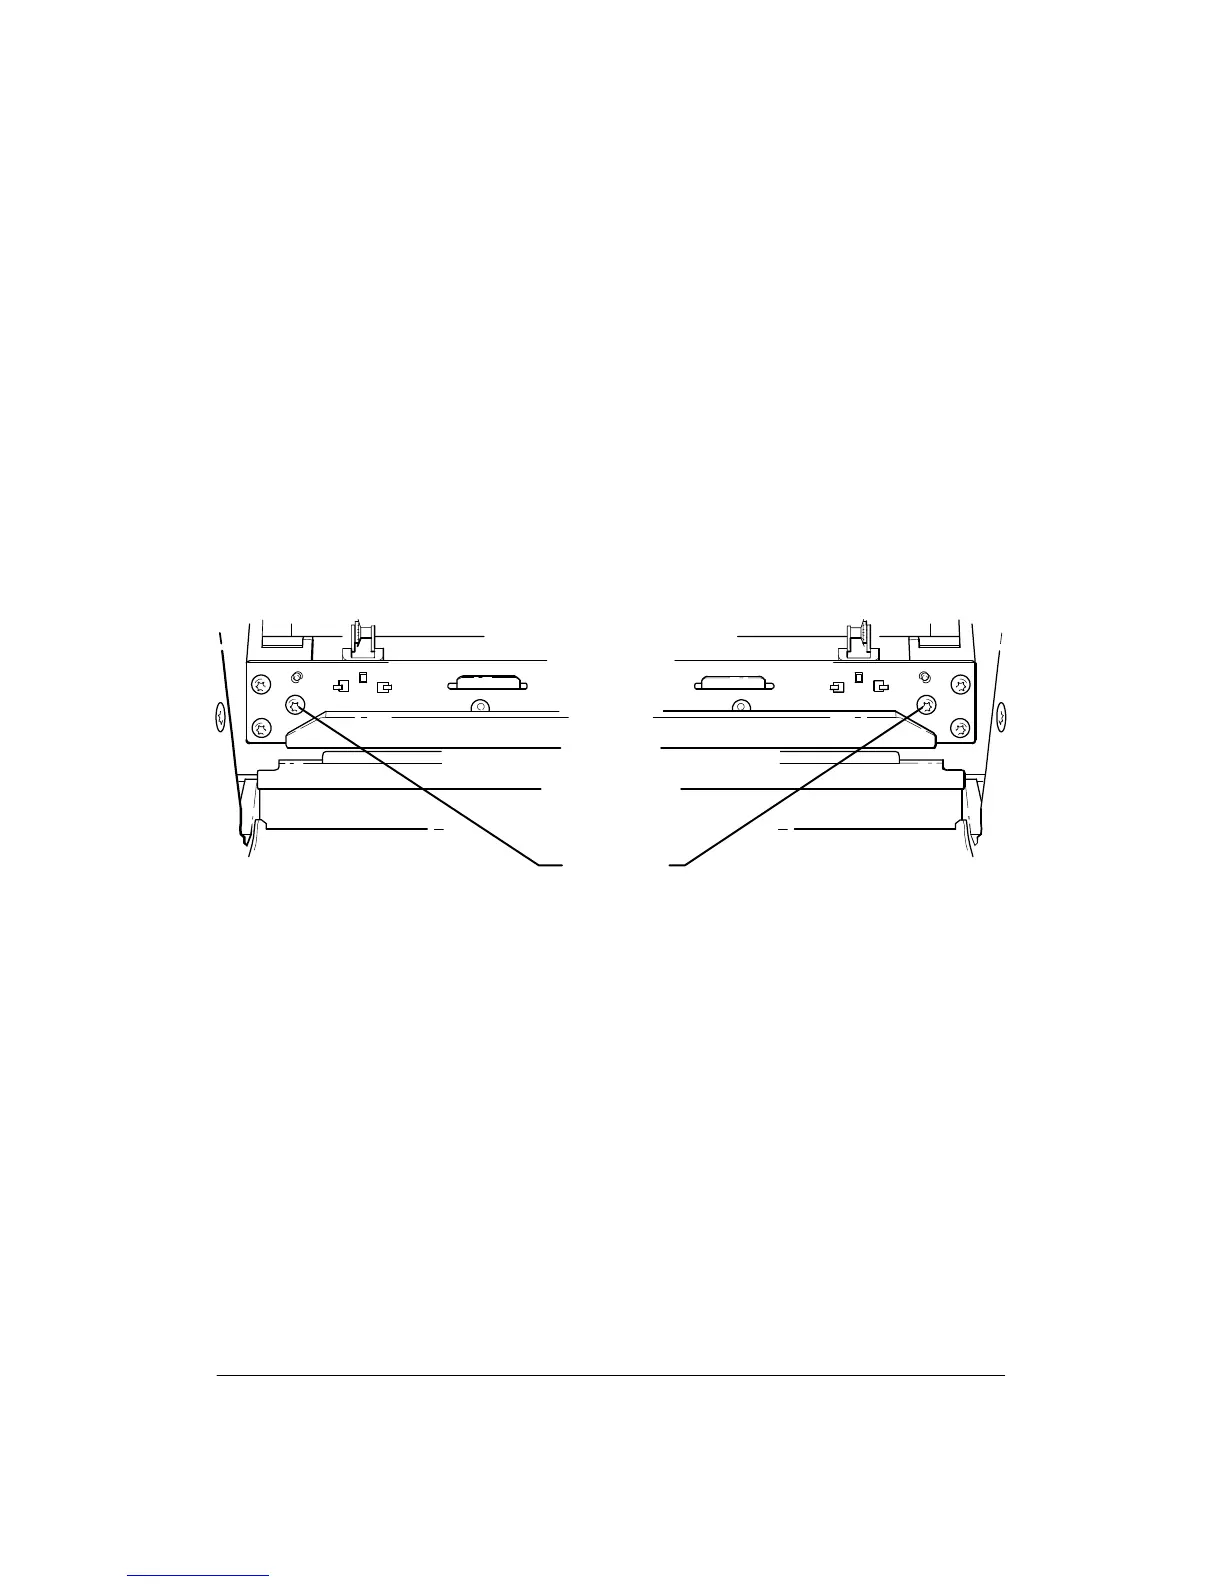
3. Using a TORX T-15 screwdriver, remove the three screws at the left and right ends of
the bail that attach the bail to the left and right bail brackets. See Figure 6-29.
4. Lift the bail up and clear of the plotter.
Figure 6-29.
Bail
Screws (3
Each End)
(C)C2858-11 (C)C2858-11