6-24 Removal and Replacement
FRONT PANEL ASSEMBLY REMOVAL
To remove the front panel assembly, perform the following procedure:
1. Remove the right endcover.
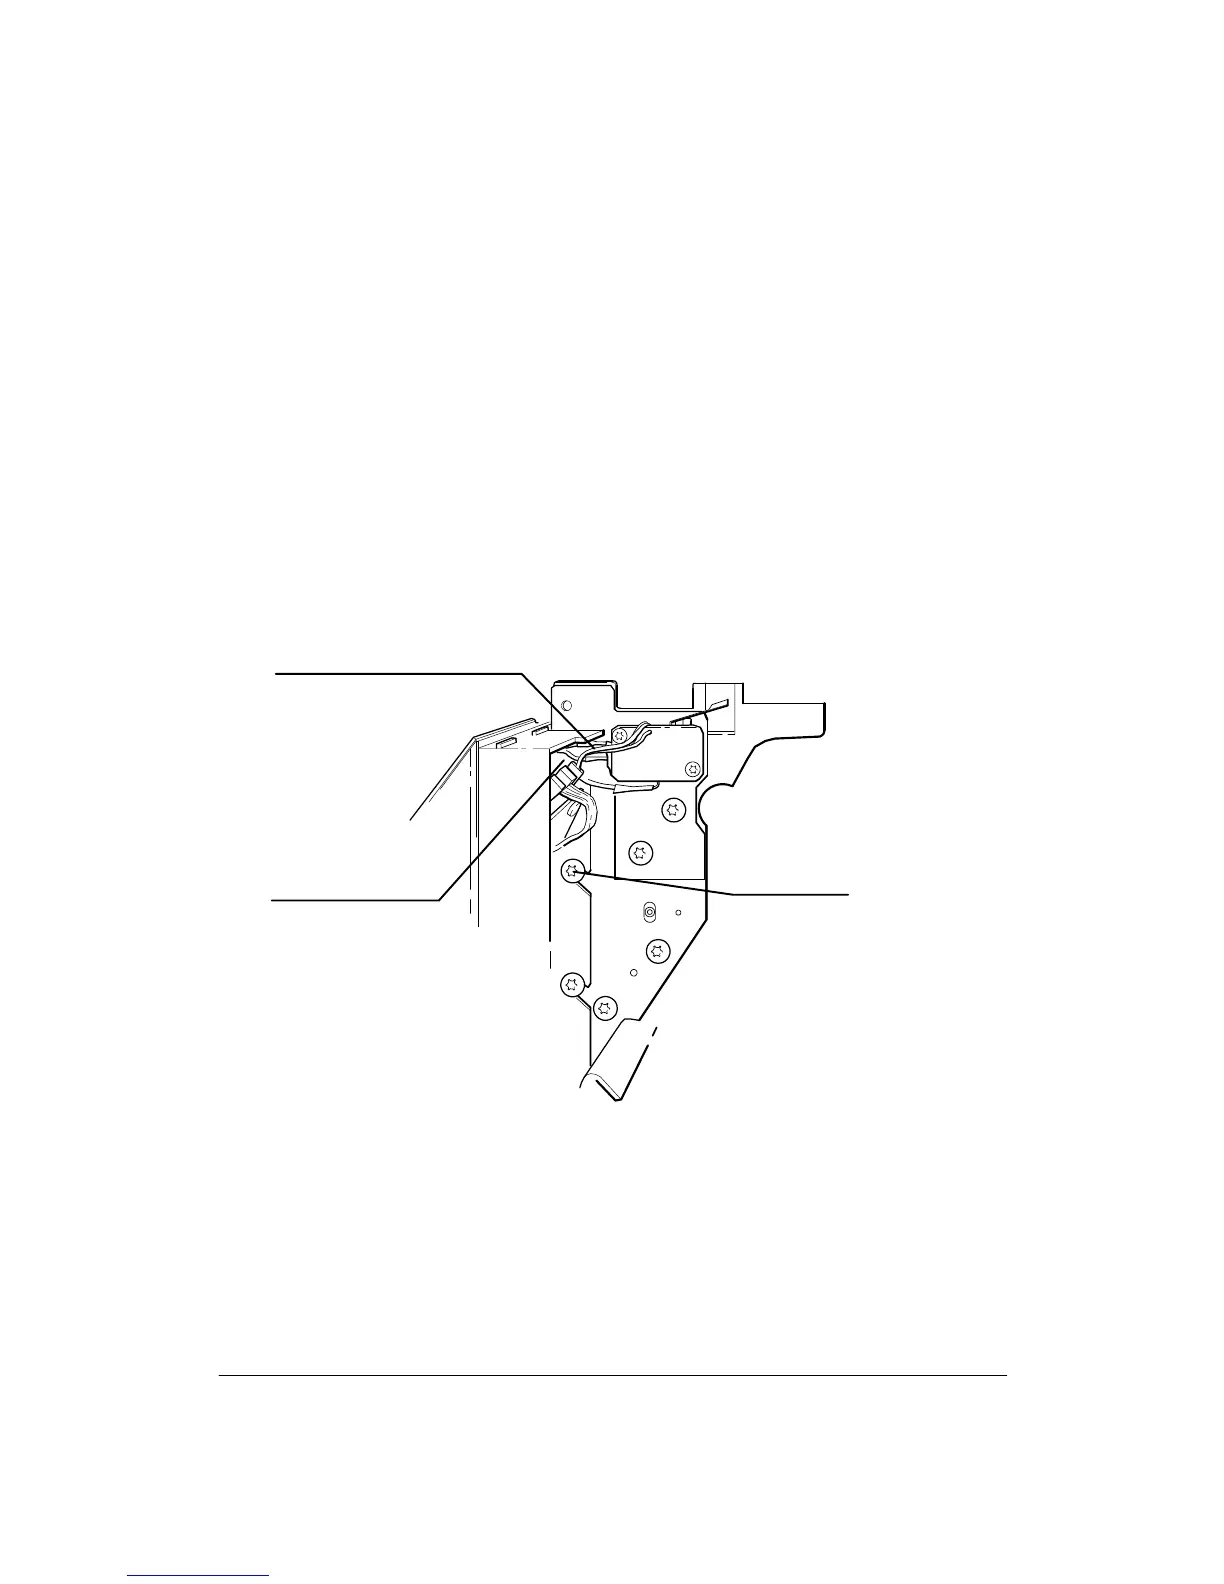
2. Disconnect the window sensor connector and the front panel cable connector from
the front panel assembly. See Figure 6-17.
3. Release the front panel cable from the clamp on the front panel assembly.
4. Using a TORX T-20 screwdriver, loosen the three screws that connect the front panel
assembly to the right sideplate and slide the front panel assembly clear of the plotter.
Figure 6-17.
Window Sensor Connector
Screws (3)
Front Panel Cable
Connector
(C)C2858-49b