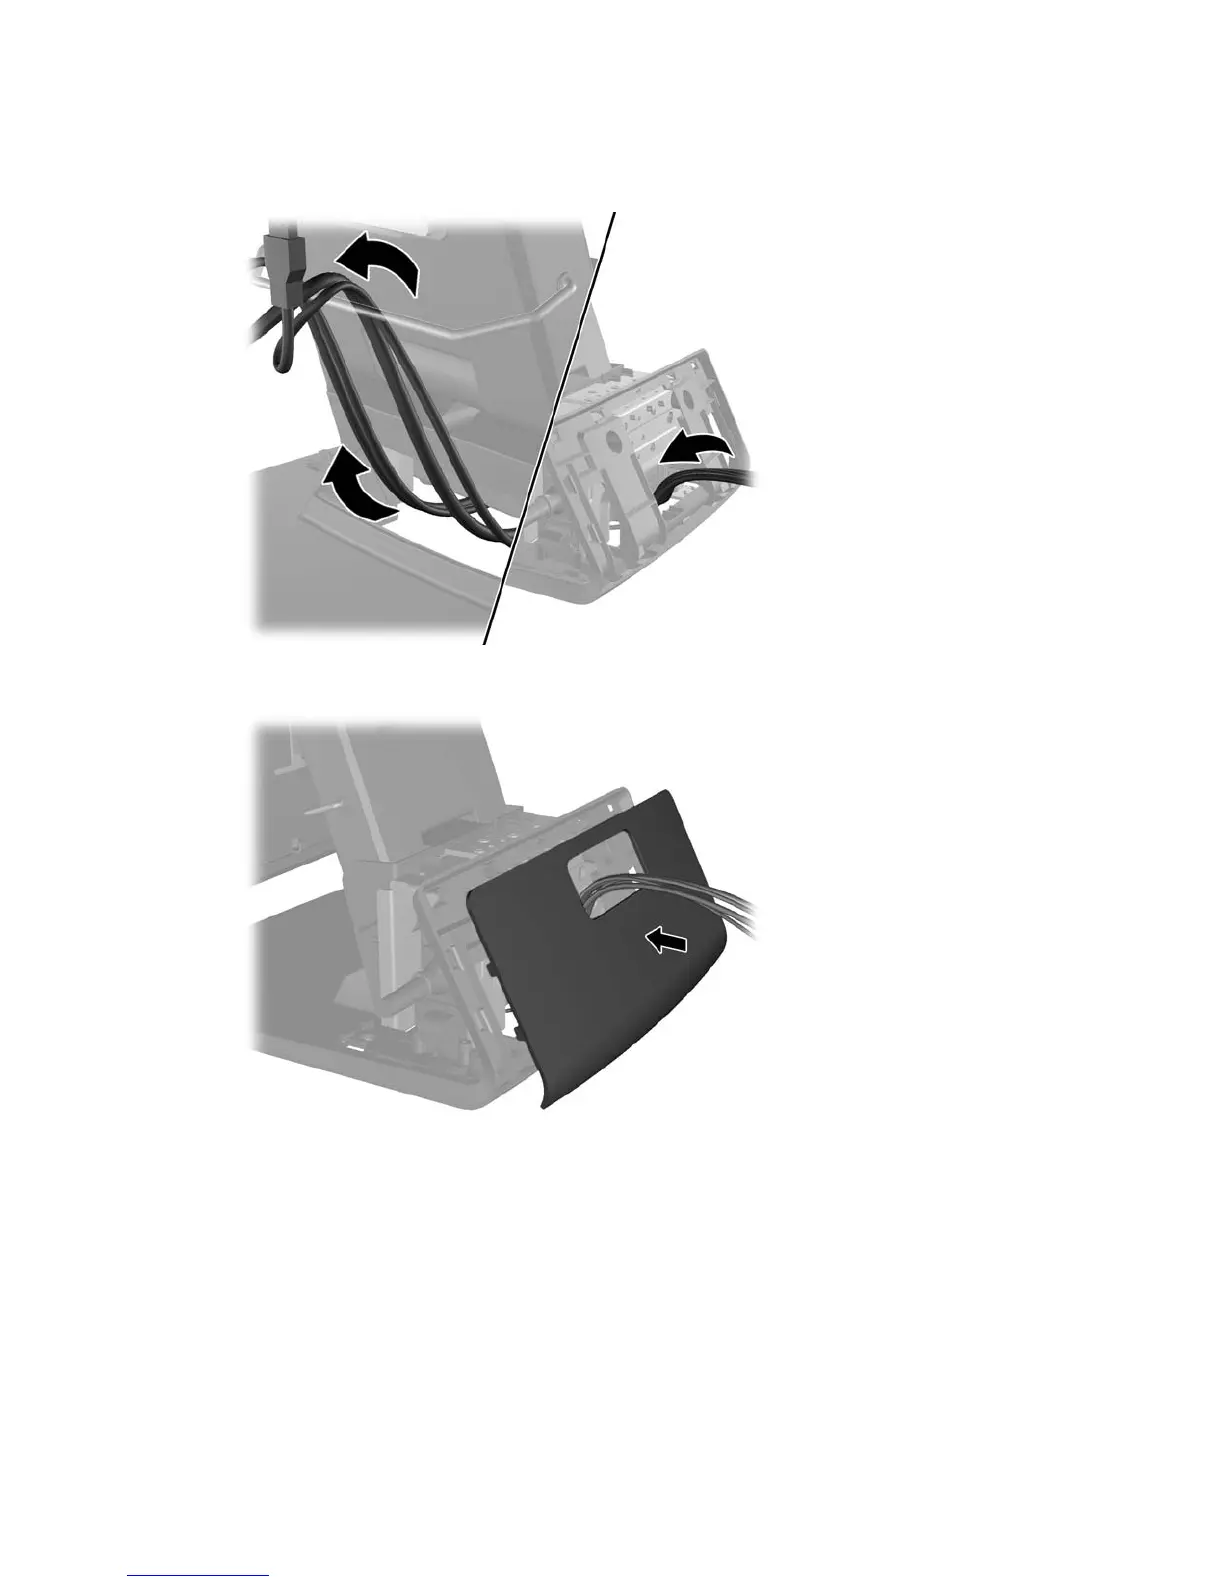
8. Route the audio, DVI, USB, and power cables through the rear of the base and out the front of
the base, then up through the cable retainer on the neck of the RP7 stand and connect the
cables to the RP7 I/O ports.
9. Snap the decorative panel onto the rear of the base.
32 Chapter 4 Removal and replacement procedures