Drive cables and drive cage
Description Spare part number
Drive cables and bracket assembly 712407-001
1. Prepare the computer for disassembly (Preparation for disassembly on page 19).
2. Remove the VESA plate cover (
VESA plate cover on page 23).
3. Remove the hard drive (
Hard drive on page 49).
4. Remove the display head from the stand (
Removing the display head from the stand
on page 52).
5. Remove the display head back panel (
Display head back panel on page 53).
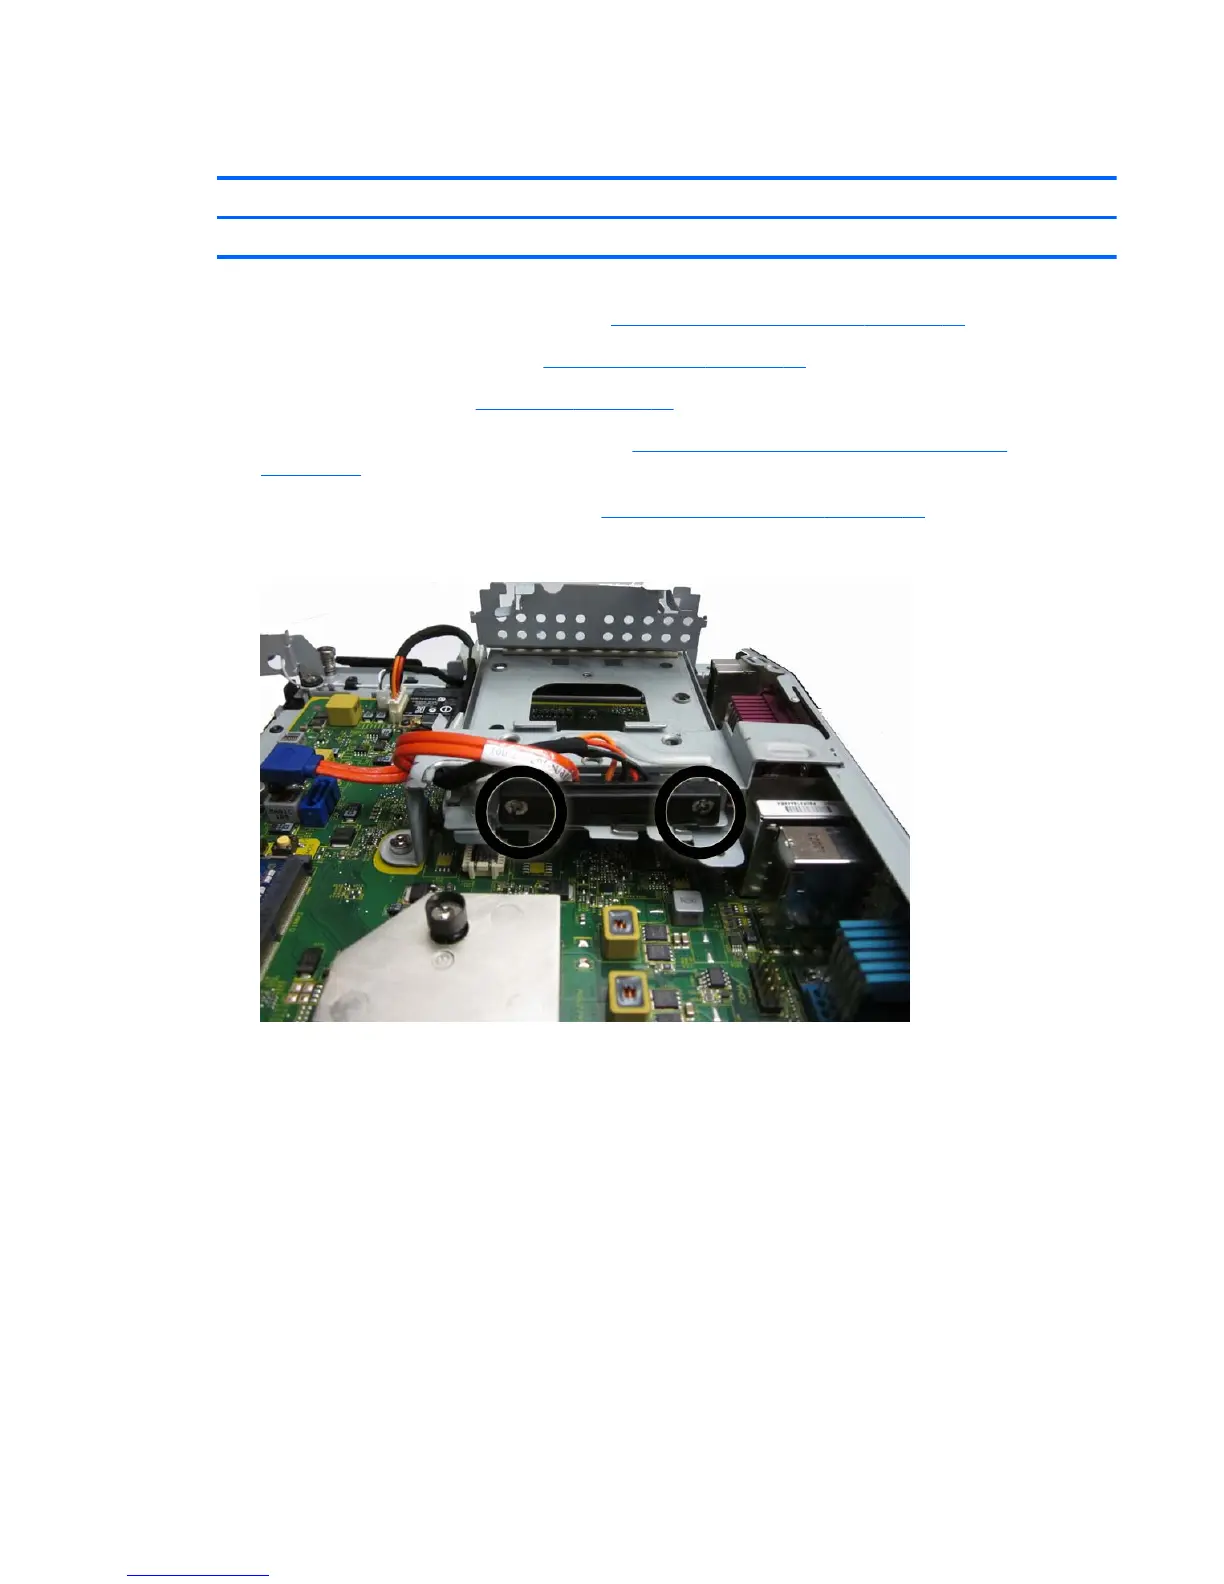
6. Remove the two Torx screws that secure the drive connector to the cage.
7. Remove the drive cable from the computer:
a. Disconnect the drive cables (1) from the system board.
b. Remove the power cable from the clips on the drive cage (2).
c. Remove the power cable by pulling it through the opening under the hard drive cage (3).
d. Rotate the drive cable connector off the drive cage and remove it from the computer (4).
Drive cables and drive cage 55