To replace the component, reverse the removal procedure.
Removing and replacing the PDB
Removing the PDB
CAUTION: Before replacing a DIMM, expansion card, or other similar PCA components due to a perceived hardware
error, make sure first that the component is firmly seated in the slot. Do not bend or flex circuit boards when
reseating components.
Prerequisites
Before you perform this procedure, make sure that you have the following items available:
• T-10 Torx screwdriver
• T-15 Torx screwdriver
Procedure
1.
Power down the servers.
2.
Remove all power:
a.
Disconnect each power cord from the power source.
b.
Disconnect each power cord from the chassis.
3.
If installed,
disconnect the tube set.
4.
Disconnect all peripheral cables from the servers and chassis.
5.
Remove the chassis from the rack.
6.
Remove the access panel.
7.
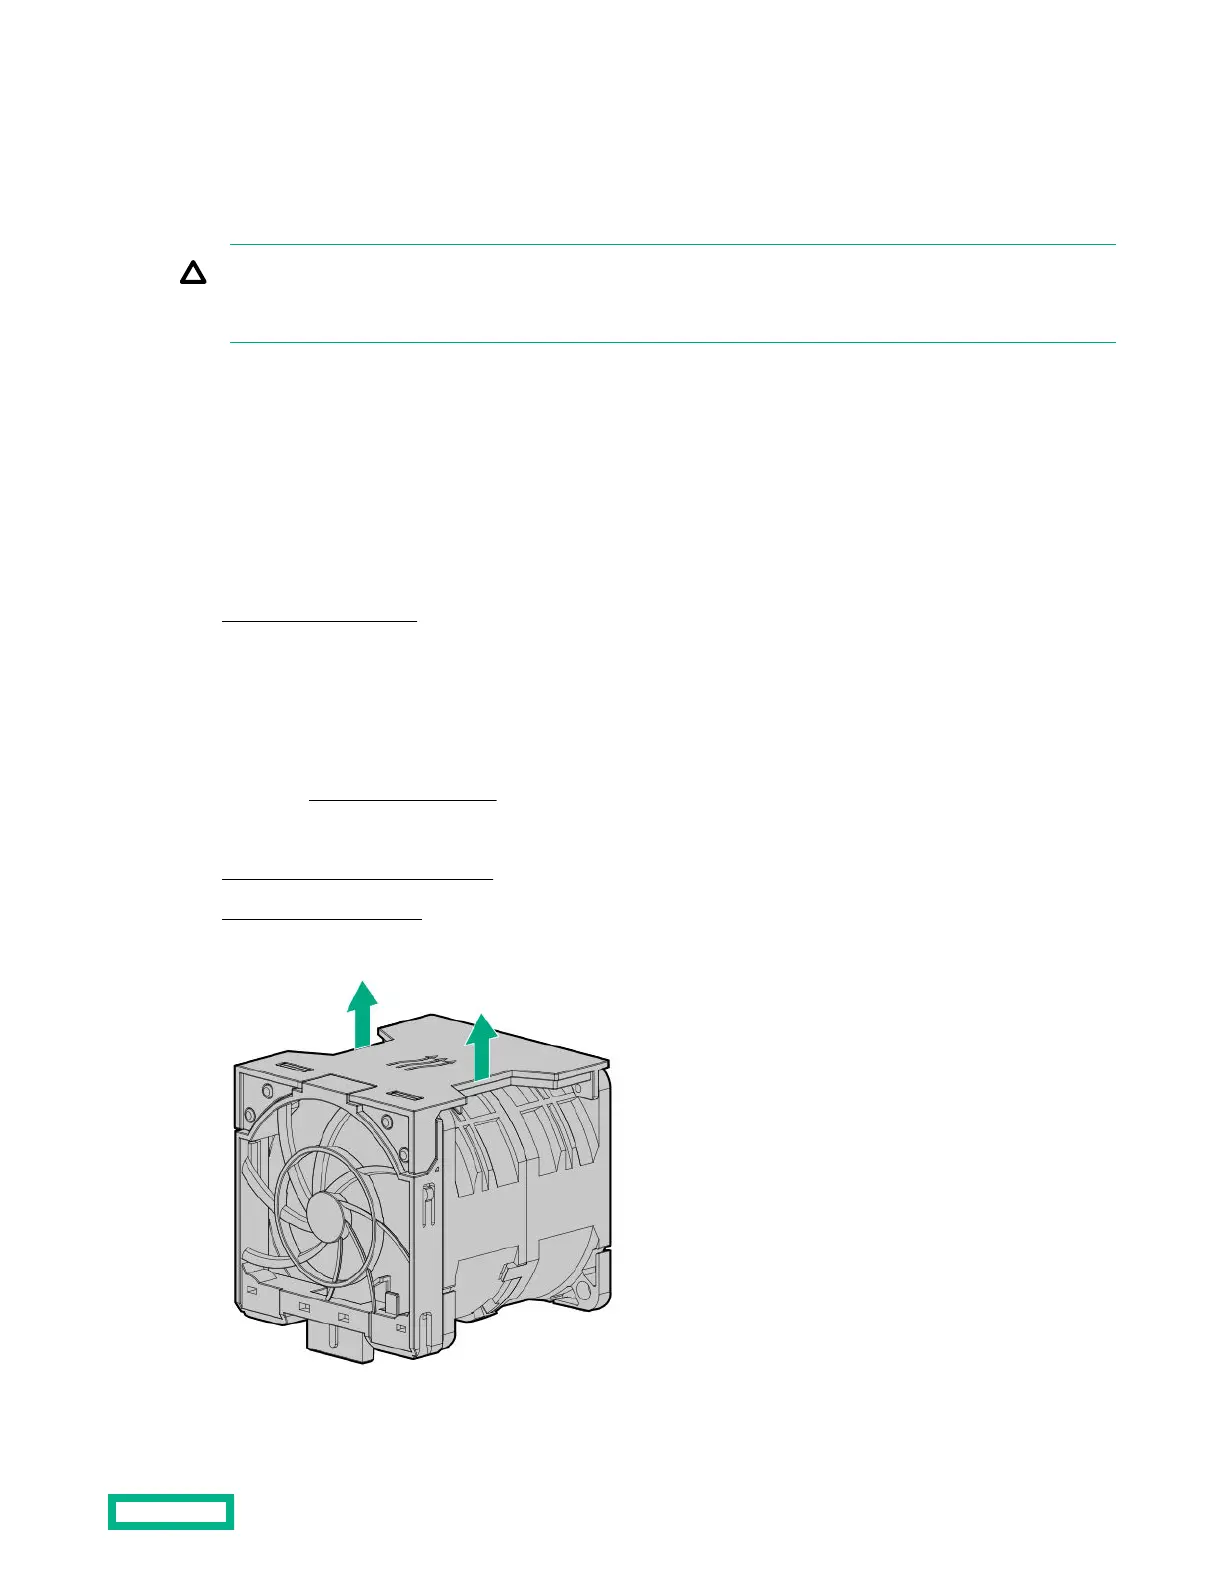
Remove all fans.
8. Grip both sides of the fan cage, and then lift the cage from the chassis.
Removal and replacement procedures
59

 Loading...


