Removal and replacement procedures 32
4.
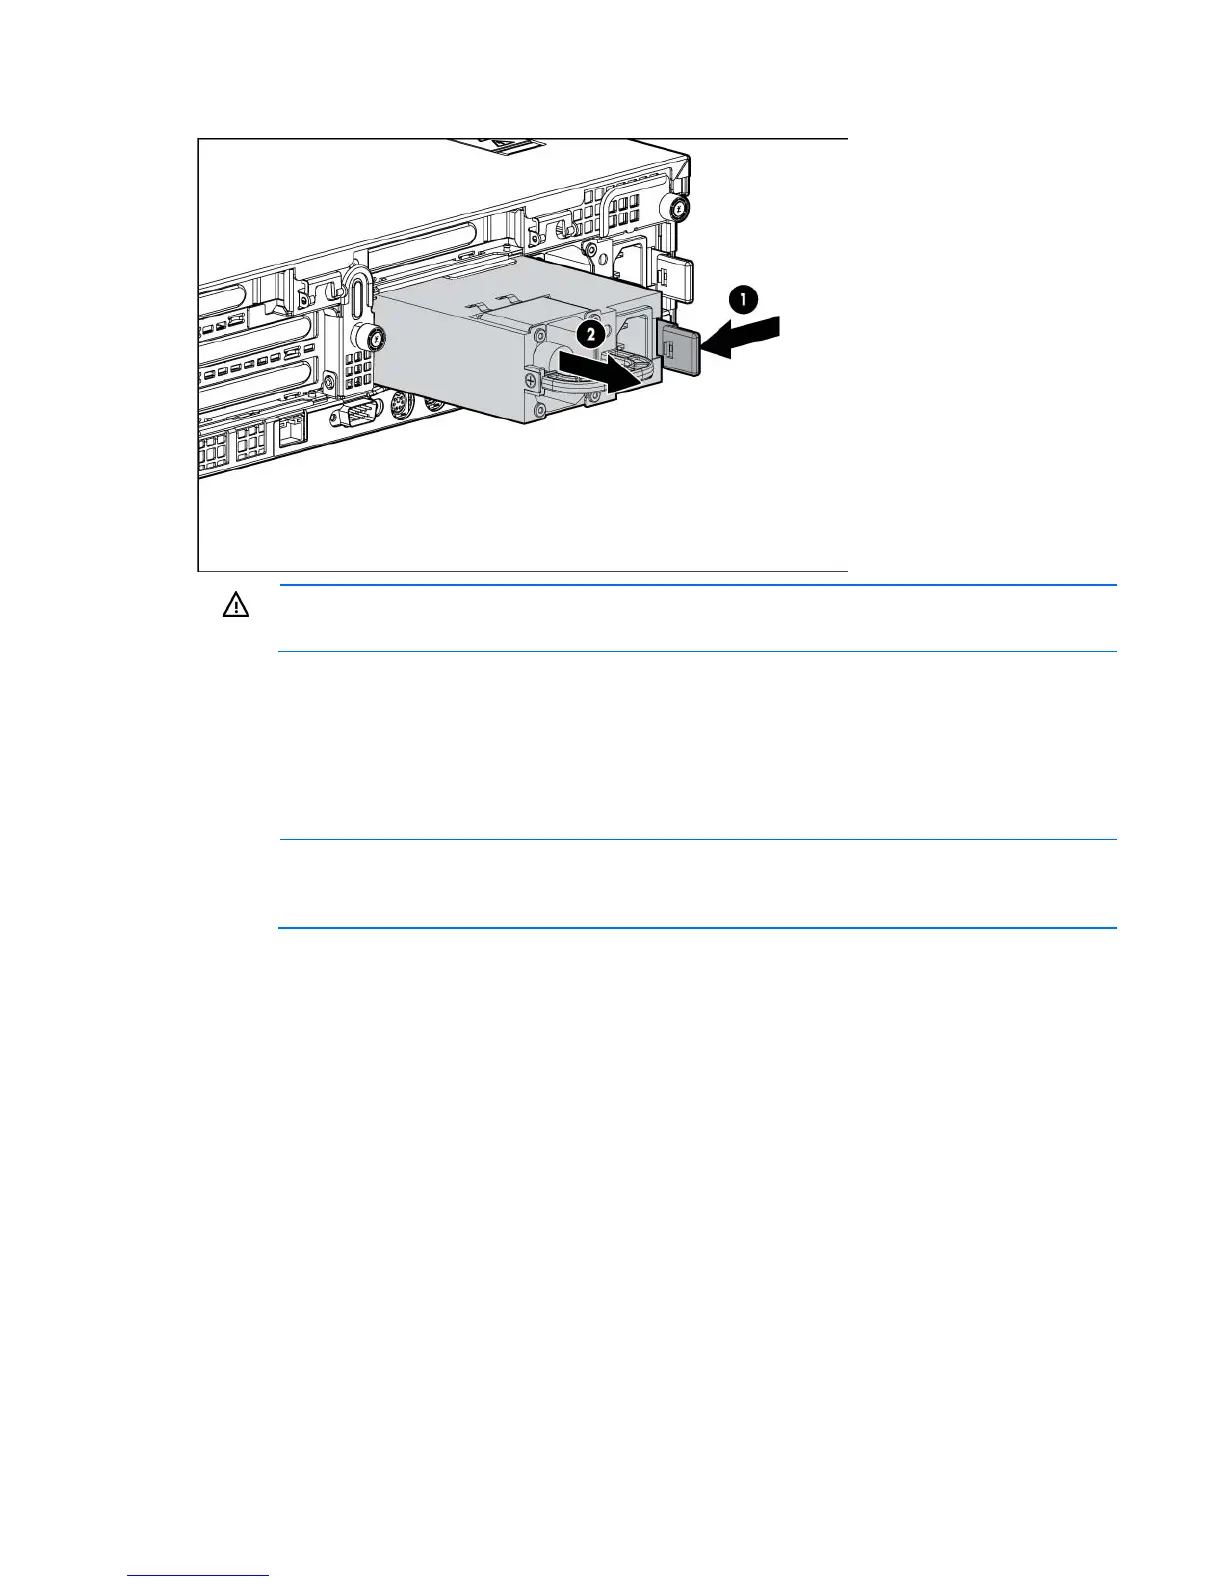
Remove the hot-plug power supply.
WARNING: To reduce the risk of electric shock or damage to the equipment, do not connect the
power cord to the power supply until the power supply is installed.
To replace the component:
1. Slide the hot-plug power supply into the power supply bay.
2. Connect the power cord to the power supply.
3. Install the cable management arm, if removed ("Access the product rear panel" on page 28).
4. Route the power cord through the cable management arm or power cord anchor.
NOTE:
If using the power cord anchor, be sure to leave enough slack in the power cord so that
the redundant power supply can be removed without disconnecting the power cord from the
primary power supply.
5. Close the cable management arm.
6. Connect the power cord to the power source.
7. Be sure that the power supply LED is green ("Rear panel components" on page 84, "Systems Insight
Display LEDs and health LED combinations" on page 89, "Rear panel LEDs and buttons" on page 85).
8. Be sure that the front panel external health LED is green ("Front panel LEDs and buttons" on page 83).
Front right bezel
To remove the component:
1. Extend or remove the server from the rack ("Remove the server from the rack" on page 27, "Extend the
server from the rack" on page 27).
 Loading...