165
Side Imaging
S
et the Range
Range controls how much of the water column is displayed on the view.
1. With a Side Imaging View displayed on-screen, tap Sonar (SI) in the status bar, or press the MENU key once.
2. Select Range.
3. Tap the slider to select Auto or Man (Manual), or press the ENTER key.
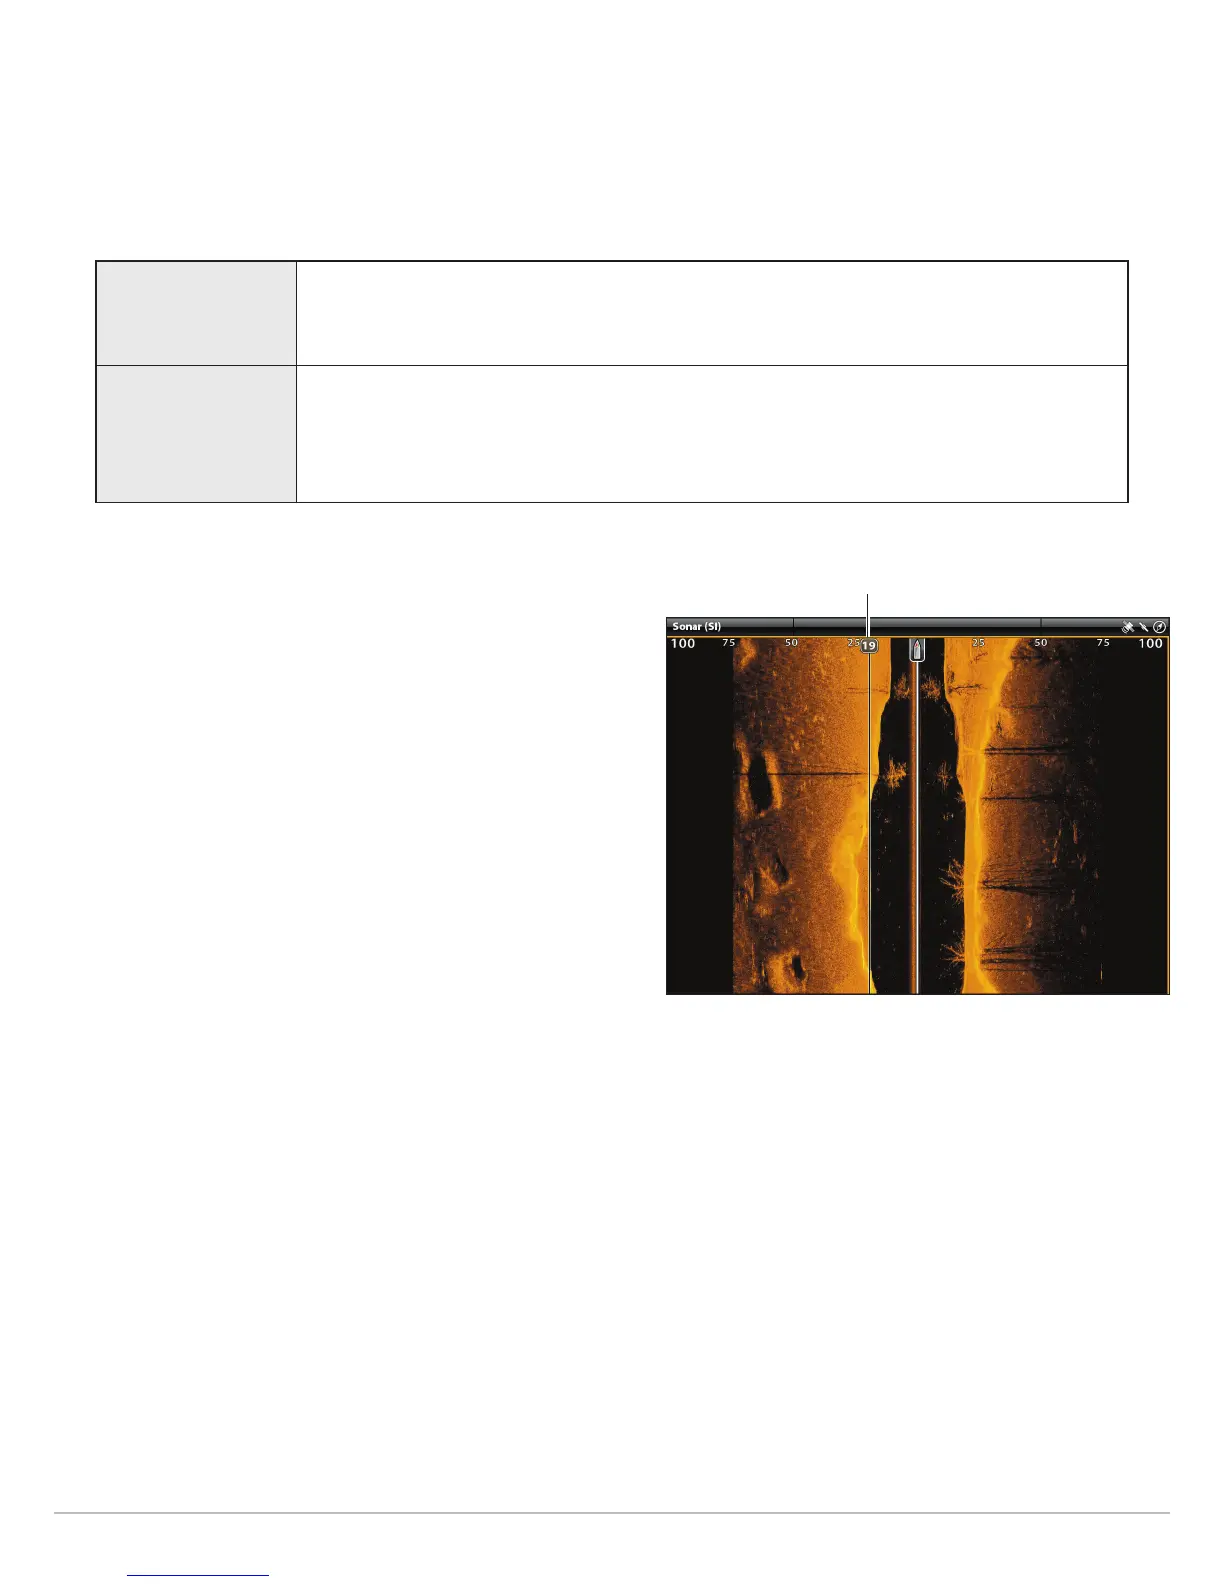
Display Range Markers
To mark a specific range on the view, turn on Range Marker.
1. With a Side Imaging View displayed on-screen, tap Sonar (SI)
in the status bar, or press the MENU key once.
2. Select Range Marker.
3. Select Left Marker or Right Marker.
4. Tap the on/off button, or press the ENTER key, to turn it on.
5. Press and hold the slider, or turn the Rotary dial, to adjust the
setting.
left marker turned on
Auto The Range will be adjusted by the control head to follow the bottom automatically.
Man (Manual)
To adjust the display range, press and hold the slider, or turn the Rotary dial. Select a low
range number to focus on a shorter distance of the water column and see greater detail on
the screen. Select a higher range number to view farther into the water and see an overview
of details on the screen.
 Loading...