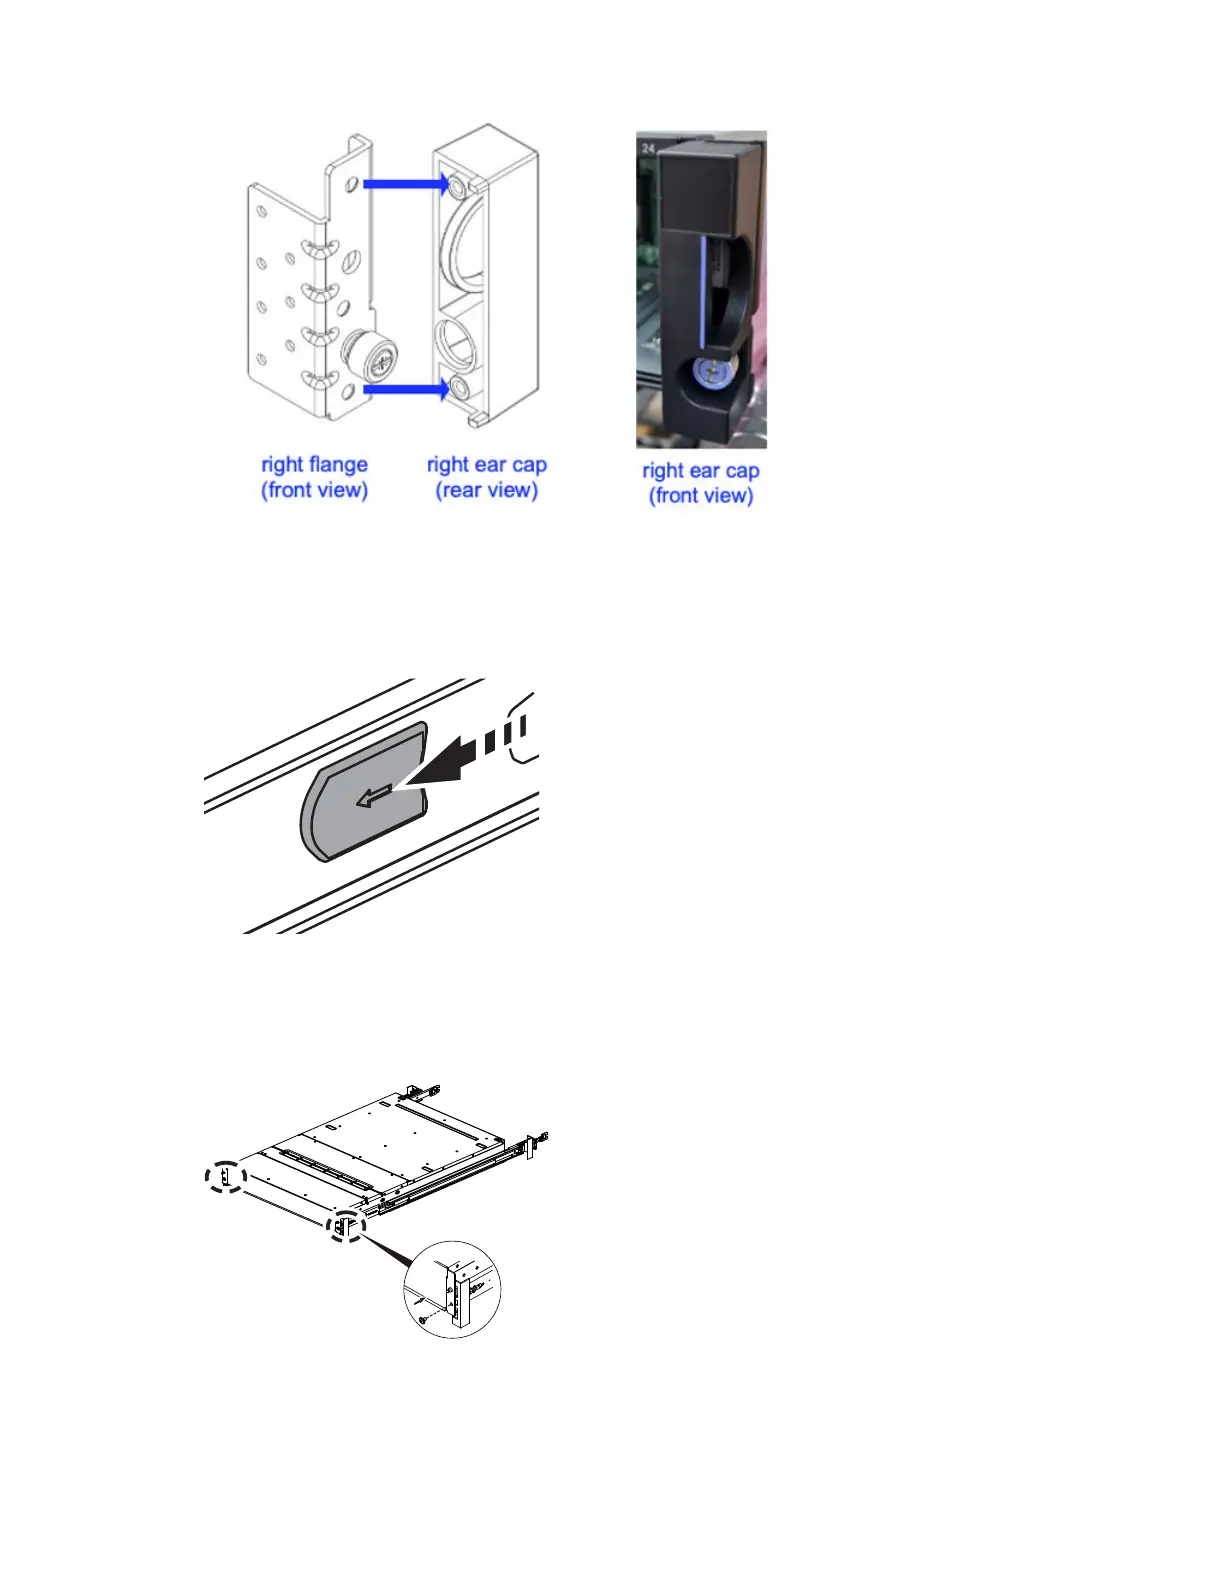
Figure 40. Replacing right ear cap
5. Push the enclosure into the rack while pulling the outer rail until the outer and the inner rails lock into
the serviceable position. This is accompanied by an audible click.
6. Press the release tab and push the enclosure fully into the rack.
Figure 41. Release tab
7. Secure the enclosure on the left and right front of the enclosure to the left and right front rack posts by
using the two M5 X 9 shipping screws as shown in the following gure.
Figure 42. Securing the enclosure
At this point, the rails and utility node enclosure are installed. The enclosure is mounted on the rail
with all the components that were removed, reinserted into the slots.
64
IBM Storage ScaleSystem Utility Node: Hardware Planning and Installation Guide
 Loading...