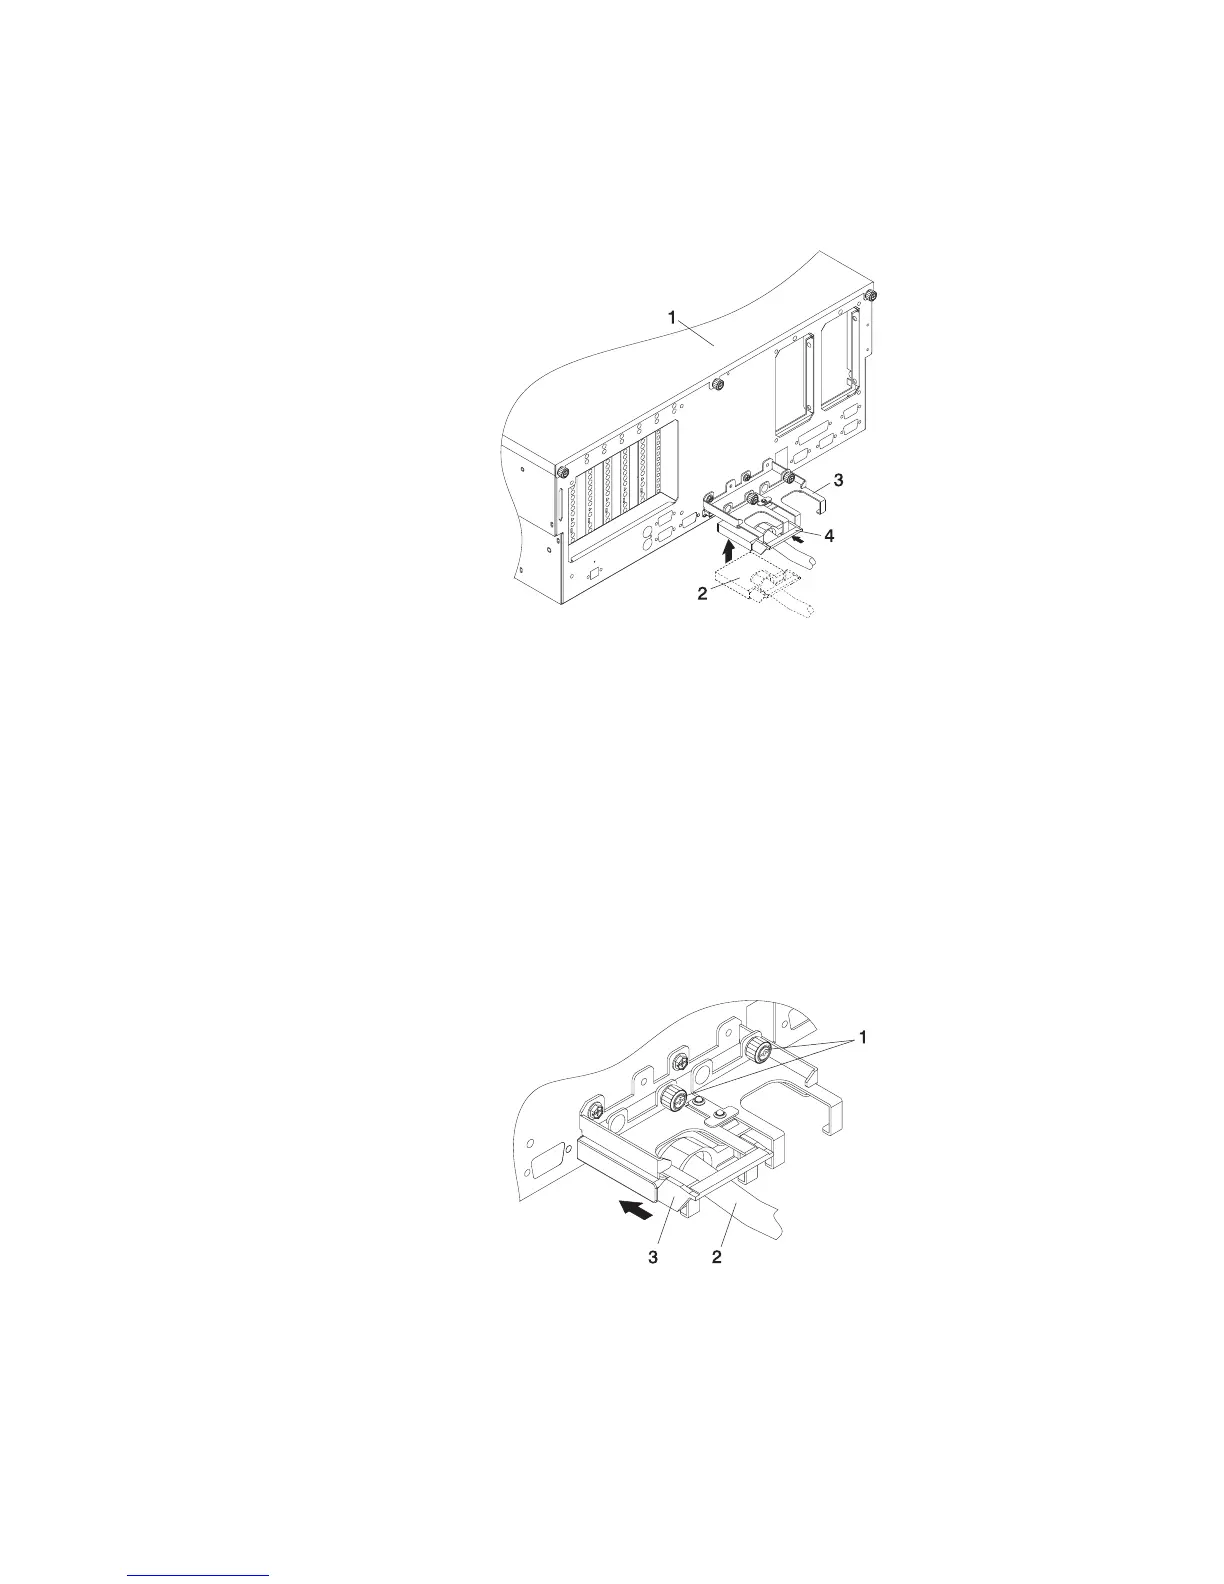
5. Lift the RIO-G cable and cable connector into the bottom of the RIO-G cable
support bracket.
1 Model 6C4
2 RIO-G Cable Support Bracket
3 Slide Portion of RIO-G Cable Support Bracket
4 RIO-G Connector Support Lever
6. Pull the RIO-G connector back until the connector is seated against the support
hook.
7. Push the RIO-G connector forward, ensuring that the RIO-G connector lever slides
over the top of the connector hooks.
8. Slowly push the assembly toward the chassis.
9. Secure with the captive thumbscrew, the RIO-G connector and slide portion of the
RIO-G support bracket to the back of the Model 6C4 chassis.
1 Captive Thumbscrews
2 RIO-G Cable and Connector
3 RIO-G Connector Support Lever
28 Eserver pSeries 7311 Model D10 and Model D20 Service Guide