Before you begin
To unlock the cartridge magazine manually:
Procedure
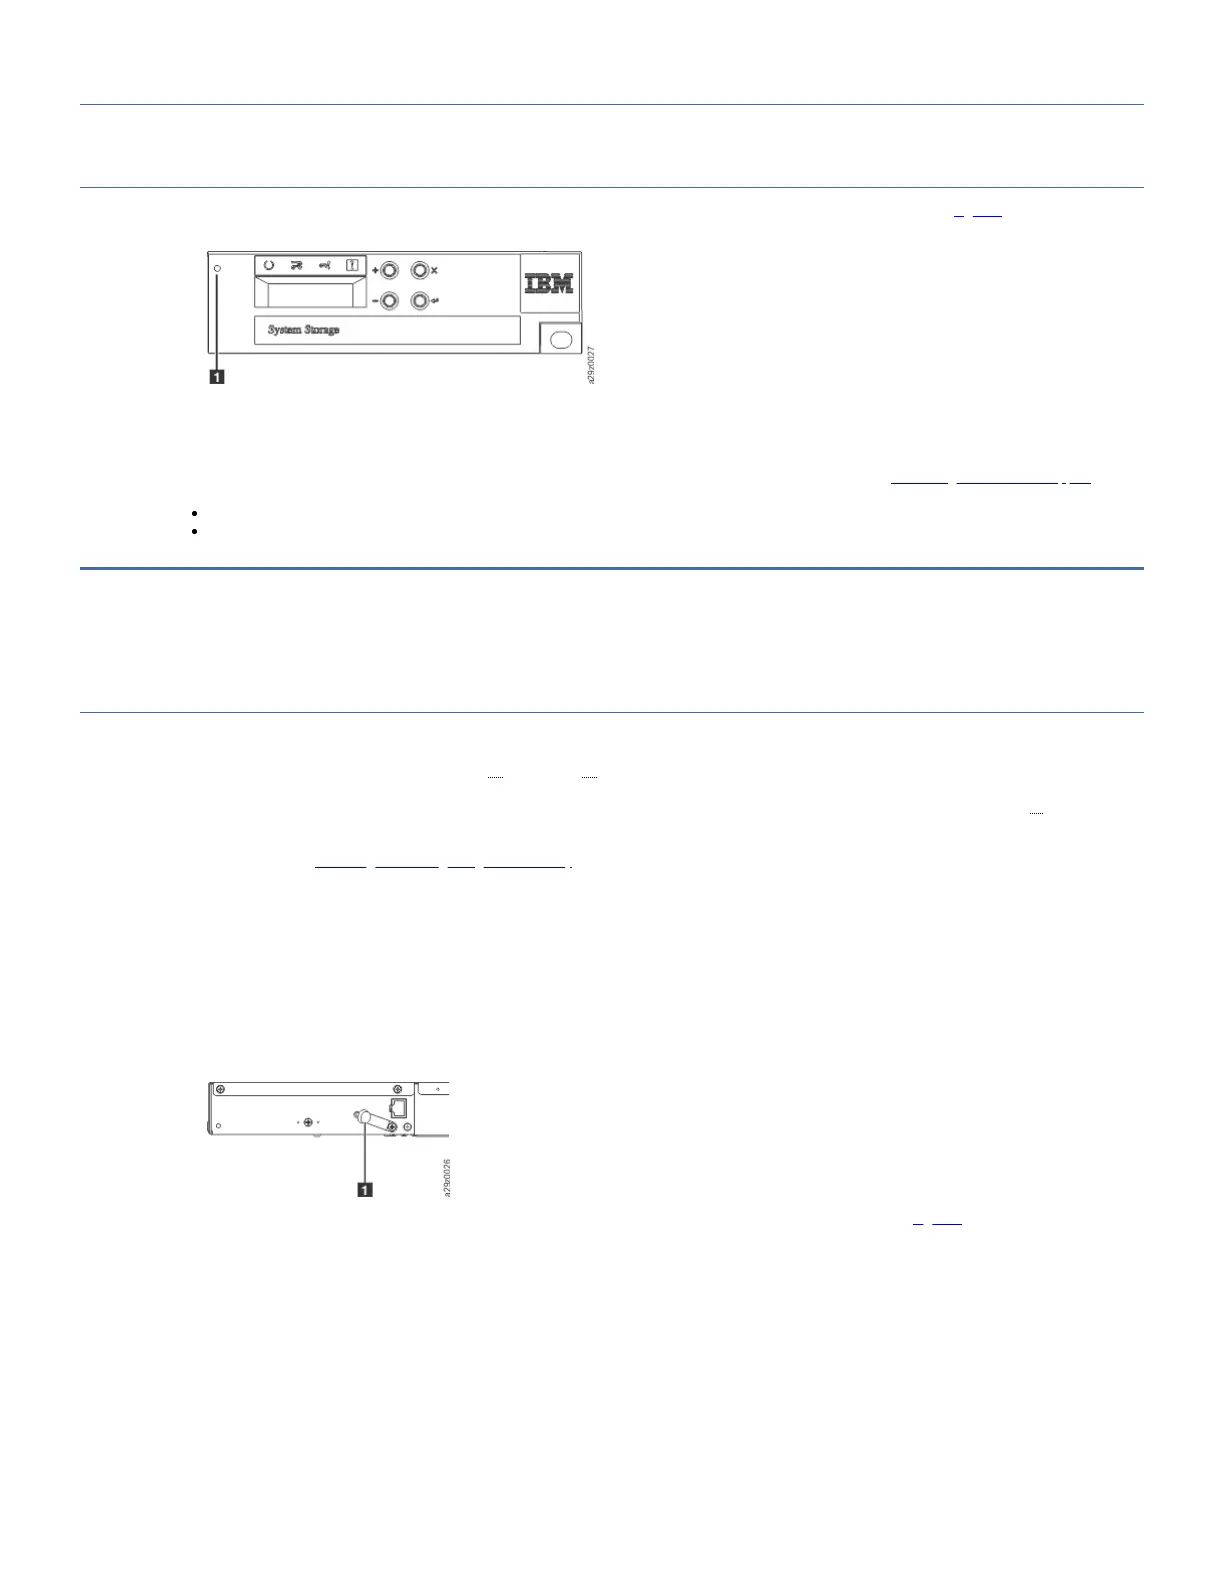
1. On the front panel, locate the access hole for the cartridge magazine lock release mechanism to the left of the Operator Panel (1 in Figure 1).
Figure 1. Cartridge magazine lock release access hole
2. Insert the end of a straightened paper clip, or similar object, into the lock release access hole. Gently push the lock mechanism to release the lock and eject the
cartridge magazine.
3. If the I/O station is enabled, push the lock mechanism twice or push and hold the lock mechanism until the cartridge is withdrawn far enough to clear the I/O
station lock.
4. Remove the cartridge magazine from the front of the library. If the magazine is stuck in the library and does not eject, see Contacting IBM technical support
5. Examine the magazine and cartridges for damage.
If there is damage to a cartridge, replace that cartridge.
If there is damage to the magazine, replace the magazine.
Moving the library from a rack to a desktop
This procedure is used to relocate a library that is mounted in a rack with the rack mount kit to a desktop with the deskside kit.
Removing library from a rack
1. Take the library offline.
Note: If the library is processing queued requests, wait for the library to finish the current library task.
2. From the Web User Interface, select Configure Library > Save/Restore > Save to save the current library configuration to a file for easy restoration.
3. After your configuration is saved, log out of the Web User Interface and close the Internet browser.
4. From the Operator Panel, select Unlock Magazine, and press Enter to remove the cartridge magazine or from Web User Interface: Manage Library > Unlock
Magazine (if necessary).
Note: If the cartridge magazine fails to unlock in response to the Unlock Magazine command from the Operator Panel and Web User Interface, you can unlock the
magazine manually. See Unlocking the cartridge magazine manually.
5. From the Operator Panel, select Move to Ship Position, and press Enter. This command moves the accessor assembly to a safe position ready for moving the library.
Note: If the library is to be transported any distance, this move is necessary to park the accessor in the position where it can be secured by the accessor locking
screw.
6. From the Operator Panel top menu, select Logoff, and press Enter.
7. On the rear panel of the library:
a. Power OFF the library by toggling the power supply switch to the OFF (O) position.
b. Disconnect the power cable from the library power supply.
c. Disconnect the Ethernet cable.
d. Disconnect the SAS host interface cable.
8. Insert and tighten the accessor locking screw 1.
Figure 1. Insert accessor locking screw
9. Remove the SAS cable, power cable, and Ethernet cable from the hook-and-loop fastener strap 12 on the rear of the library (Figure 2).
Figure 2. Removing cables at the rear of the library
 Loading...


