Installation, Support, and Maintenance Guide 13
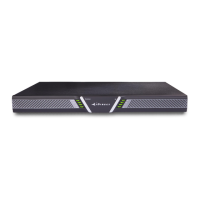
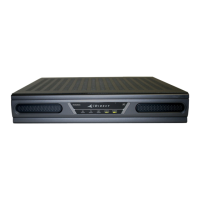
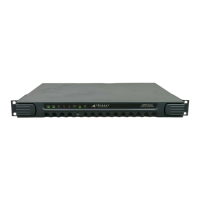
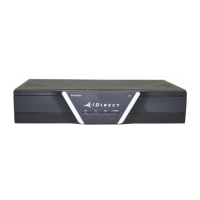
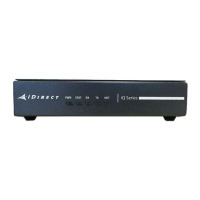
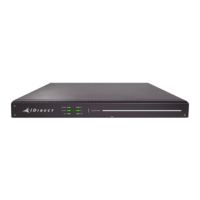
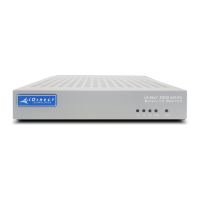
Evolution X7 Satellite Router
4X7 Router Installation
This chapter describes the guidelines and procedures for installing the X7 Router and contains
these sections:
• Section 4.1, Installation Steps at a Glance on page 13
• Section 4.2, Tools and Supplies Required for Installation on page 15
• Section 4.3, Unpacking iDirect Evolution X7 Router Equipment on page 15
• Section 4.4, Components Typically Included in an Order on page 15
• Section 4.5, X7 Router Mounting on page 16
• Section 4.6, Preparing the PC for Connection to the X7 Router on page 18
• Section 4.7, Web Interface LED Status Indicators on page 18
NOTE: See Document Conventions on page xii for a description of the warning
icons that are used in this manual.
NOTE: Thoroughly review all the information in Appendix B, Safety, before
attempting any of the procedures in the chapter.
4.1 Installation Steps at a Glance
The following steps must be followed for successful installation of the X7 Router. Each step
refers to other sections or appendices, as appropriate, with more detailed information.
4.1.1 Pre-Installation Guidelines
X7 Router installation guidelines:
• When selecting the site, consider accessibility, power availability, signal, network
connections, and the possibility of future expansion
• Install the X7 Router in a location where access is unobstructed
• Ensure the X7 Router has adequate ventilation
• Do not install the X7 Router on the floor
• Select a suitable dust free location