14 Installation, Support, and Maintenance Guide
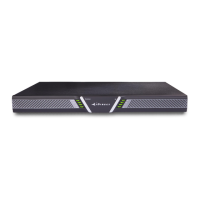
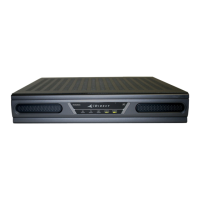
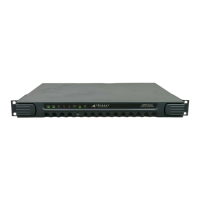
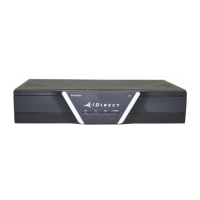
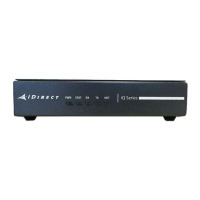
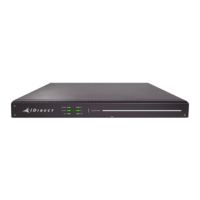
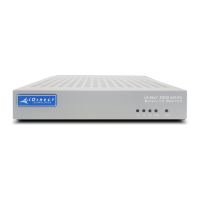
Evolution X7 Satellite Router
Installation Steps at a Glance
4.1.2 Installation Checklist
NOTE: The X7 Satellite Router is designed to be installed in a sheltered
environment per environmental specifications. See Section 2.1, on page 3.
NOTE: Where applicable, mating connectors must be prepared for
installation. See Appendix D, Cable Preparation on page 33 and Appendix E,
DC Power Supply Installation (for routers with DC power supply options, only).
1. Unpack the router according to the unpacking instructions in Section 4.3, Unpacking
iDirect Evolution X7 Router Equipment on page 15.
2. Account for all components for the installation. A typical list is given in Section 4.4,
Components Typically Included in an Order on page 15.
3. The recommended tools should be available for installation. See Section 4.2, Tools and
Supplies Required for Installation on page 15.
4. Prepare the coax cables as directed in Section D.1, Coax Cable Preparation on page 33 to
connect to RX 1 IN and TX Out.
CAUTION: Do not connect or disconnect the Tx or Rx IFL cable while the
satellite router is powered on; this action may result in damage to the BUC,
LNB, and/or X7 Router.
5. Prepare the Ethernet cable(s) and connector(s) as described in Section D.2, Ethernet Port
Pinouts on page 37. For connection to Web iSite, use LAN 1 port with an RJ-45 cable as
described in Section D.2.2, on page 38.
6. If using the Console port for servicing, prepare the console port cable and connector as
described in Section D.3, Console Port Connection on page 38.
7. Mount the router as directed in Section 4.5, X7 Router Mounting on page 16.
8. Connect the power as directed for either AC or DC power supplies:
• See Section 4.5.1, Installing With an AC Power Supply (Option 1 or 2) on page 16
• See Section 4.5.2, Installing With a 24-48 VDC Power Supply (Option 3) on page 17
9. Monitor front and rear panels during startup. See Section 3.1, X7 Router Front LEDs on
page 8 and Section 3.3, X7 Router Rear Panel Description on page 10.
10. Prepare PC for X7 Router connection as specified in Section 4.6, Preparing the PC for
Connection to the X7 Router on page 18.
11. Login PC to Web iSite as specified in Section 4.7, Web Interface LED Status Indicators on
page 18.
12. Install the firmware and configure the satellite router as specified in Section 4.8,
Configuring the X7 Router on page 18.
13. If the router needs repacking or maintenance see Chapter 5 on page 19.
14. When the X7 Router is physically installed, the firmware and configuration of the satellite
router need to be completed. Refer to the iDX Satellite Router Installation and
Commissioning Guide for the release of software installed on the system and for
instructions.