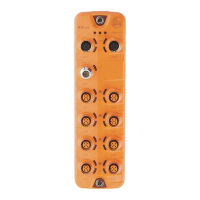
IO-Link Master with PROFINET Interface StandardLine 8 Ports IP 65 / IP 66 / IP 67
>
9.2.2 Integrate the IO-Link master in the project
52479
The AL1102 can be integrated from the hardware catalogue into the project.
► Create new project /open project
► Create and configure PROFINET controller and coupling units.
► Create and configure PROFINET connection.
► Drag the [AL1102] node from the hardware catalogue and drop it on the PROFINET connection.
> The AL1102 is displayed as part of the PROFINET network.
To integrate the AL1102 in the network infrastructure, the fieldbus interface must be configured
correspondingly.
► Double click on slot 0 to open the configuration of the AL1102.
► Configure the Ethernet interface of the IO-Link master.
► Drag the [8 Ports] node from the hardware catalogue and drop it on slot 1 of the IO-Link master.
► Save the project.
The IO-Link master is integrated in the project and can be configured.
>
9.2.3 Configure the IO-Link master
52480
You can access the configuration of the IO-Link master via slot 1.1 of the AL1102.
The parameter [Access Rights] determines which controller instance may have read and write access
to the data of the IO-Link master.
To set the parameters of the IO-Link master:
► In the project: Double click on slot 1.1 of the AL1102.
► Set parameters [Access Rights] as required (→ Parameter of the IO-Link master (→ S. 50)).
► Save the project.
If the parameter [Access Rights] = [PROFINET + IoT] in LR DEVICE and the PROFINET
projection software, the parameter values set in the PROFINET projection software will always
apply.
If the parameter [Access Rights] = [IoT only] in LR DEVICE, set the parameter [Access Rights]
= [Keep settings] in the projection software.
Changes of the parameter [Access Rights] will only be effective after restarting the IO-Link
master (→ Firmware: Reboot the device (→ S. 31)).