36
H1
H2
A
A
28
8
INSTALLATION OF
CHILLER LINES.
- Install the refrigerant pipe within the maximum allowed length,
dierence in height and width aer the rst branching pipe.
- e R-32 pressure is high. Use only a regulation refrigerant pipe
and follow the installation instructions.
- Use a free refrigerant pipe in an environment without dangerous
ions, oxide, dust, iron content or humidity.
- Use instruments and accessories suitable for R-32.
Manifold pressure
gauge
- Use the manifold pressure gauge only for R-32 to prevent the inflow of foreign substances
Intake pump
- Use an intake pump with non return valve to prevent the pumped oil
from flowing back when the intake pump is stopped.
- Use a vacuum pump suitable to reach the necessary degree of vacuum
Countersunk nut - Use only the countersunk nut supplied with the product
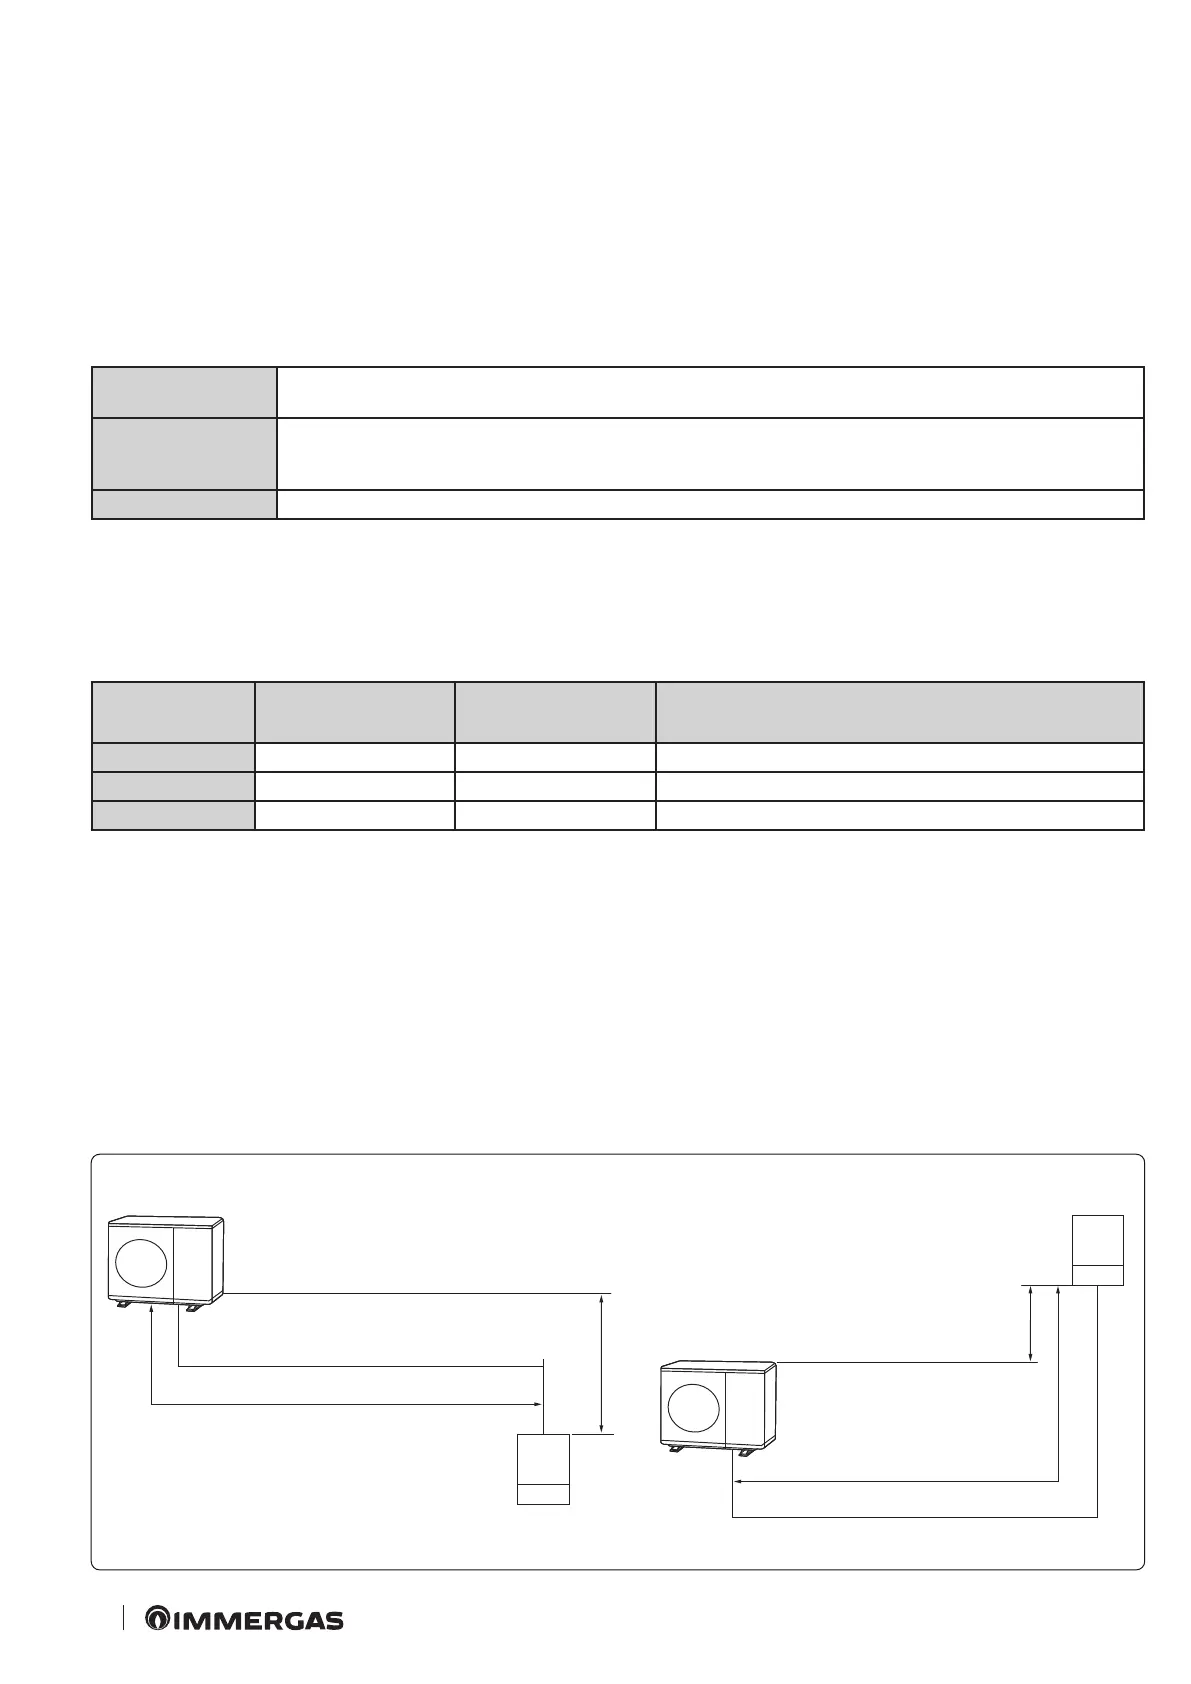
8.1 ALLOWED LENGTH OF THE REFRIGERANT PIPE
AND INSTALLATION EXAMPLES.
e maximum lengths of the chiller lines are listed below, based
o
n the condensing unit model and the type of installation.
Dimensions
Audax Pro 4-6 V2
(Outdoor unit)
Audax Pro 9 V2
(Outdoor unit)
Notes
A less than or equal to 30 m less than or equal to 35 m
H1 less than 20 m less than 20 m *If the outdoor unit is in a position equal to or less than 15 m
H2 less than 20 m less than 20 m *If the outdoor unit is in a position equal to or less than 15 m
* Contact the manufacturer if longer.
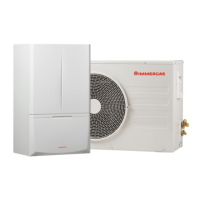
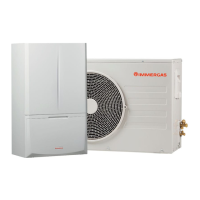
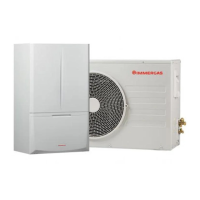
Outdoor unit
Outdoor unit
Indoor unit
Indoor unit