8 MECHANICAL INSTALLATION
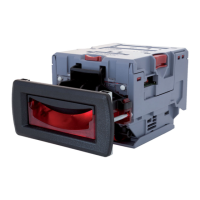
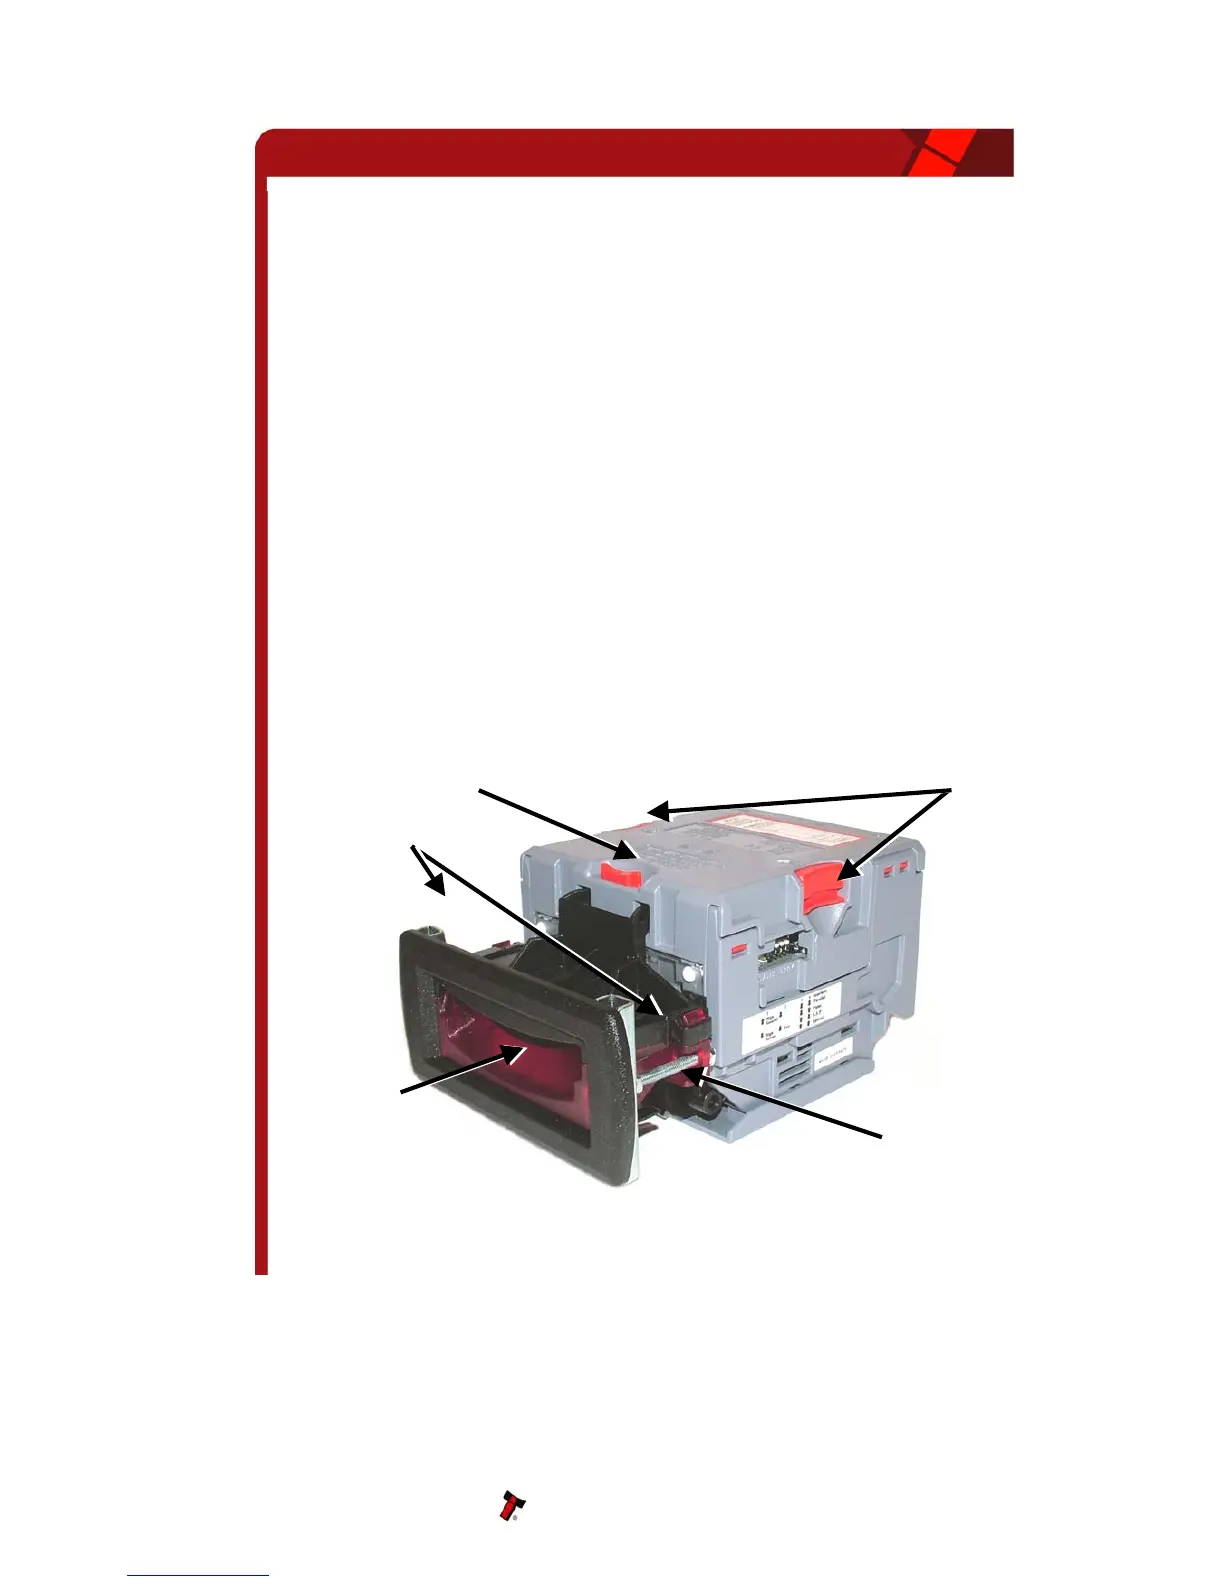
The NV10 validator is supplied with the Universal Bezel-PA231 (see figure 10).
8.1 CHANGING OR REMOVING THE BEZELS
• Push the red Bezel Release Catch in the centre and top of the NV10.
• The bezel can then be unhooked from the 4 locating points on the NV10.
• To refit, hook the bezel onto the bottom 2 locating points and then lift to
fit onto the top 2 locating points on the NV10.
• The bezel will click home into NV10 when fitted correctly.
8.2 FITTING THE BEZEL INTO A MACHINE
CAUTIONS:
• ENSURE THERE IS A CLEARANCE AROUND THE INITIAL EXIT (SEE DRG GA334
IN APPENDIX A) SO THERE IS NO OBSTRUCTION TO THE BANKNOTES AS THEY
ARE BEING READ BY THE NV10.
• A SUITABLE CASH BOX IS NEEDED SO THAT THE NOTES SECURELY STORE
AWAY FROM THE NOTE EXIT (SEE APPENDIX C), TO PREVENT NOTES
ACCUMULATING AT THE NOTE EXIT.
Figure 10 – Bezel and NV10 Installation
NV10 Operations Manual 25
Universal Bezel
PA231
Note Path