34
Zone 2—Continued
This section explains how to turn Zone 2 on and off, how
to select an input source for Zone 2, and how to adjust
the volume for Zone 2.
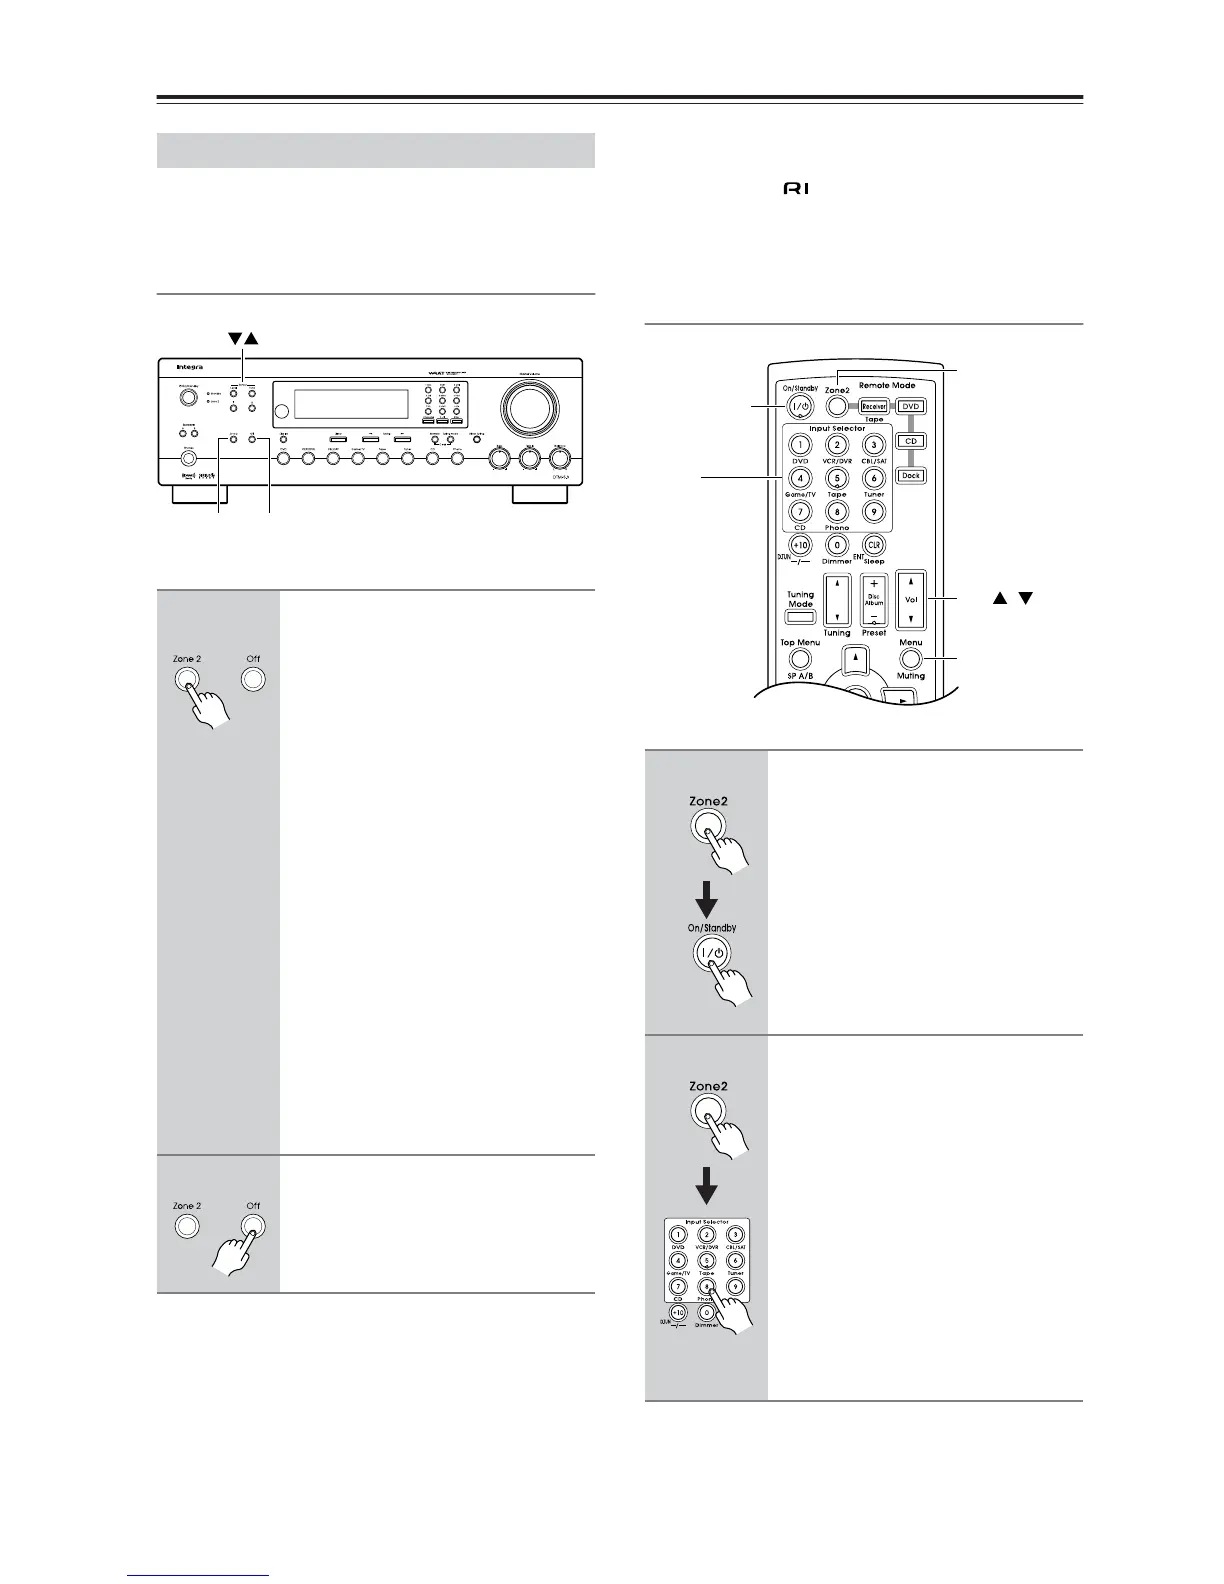
Controlling Zone 2 from the receiver
Notes:
• While Zone 2 is on, the Auto Power On/Standby and
Direct Change functions do not work.
• When you control Zone 2 with the remote controller
while main room is standby, the display doesn’t work.
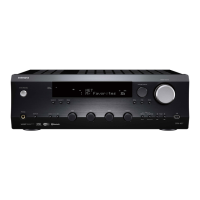
Controlling Zone 2 with the Remote
Controller
Using Zone 2
1
To turn on Zone 2 and select an
input source, press the [Zone 2]
button repeatedly.
Alternatively, press the [Zone 2]
button followed by an input
selector button within 8 seconds.
Zone 2 turns on and Zone 2 indicator
lights up.
To select the same source as that of the
main room, press the [Zone 2] button
repeatedly until “Zone 2 Sel: Source”
appears.
To select AM or FM, press the [Tuner]
Input Selector button repeatedly. On
the North American model, you can
also select XM/SIRIUS.
Note:
• You cannot select different AM or
FM radio stations for your main
room and Zone 2. The same AM/FM
radio station will be heard in each
room.
2
To turn off Zone 2, press the Zone
2 [Off] button.
Zone 2 Level/Tone
OffZone 2
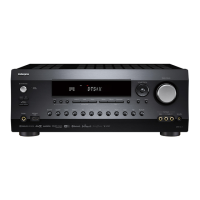
1
Press the [Zone 2] button, then
point the remote controller at the
receiver and press the
[On/Standby] button.
Zone 2 turns on and Zone 2 indicator
lights up.
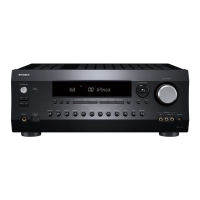
2
To select an input source for
Zone 2, press the [Zone 2] button,
followed by an Input Selector
button.
To select AM or FM press the [Tuner]
Input Selector button repeatedly. On
the North American model, you can
also select XM/SIRIUS.
Note:
• You cannot select different AM or
FM radio stations for your main
room and Zone 2. The same AM/FM
radio station will be heard in each
room.
On/Standby
Input
selector
buttons
/
Muting
Vol
Zone 2