D-0116684-B – 2020/03
OtoRead™ - Instructions for Use - US Page 12
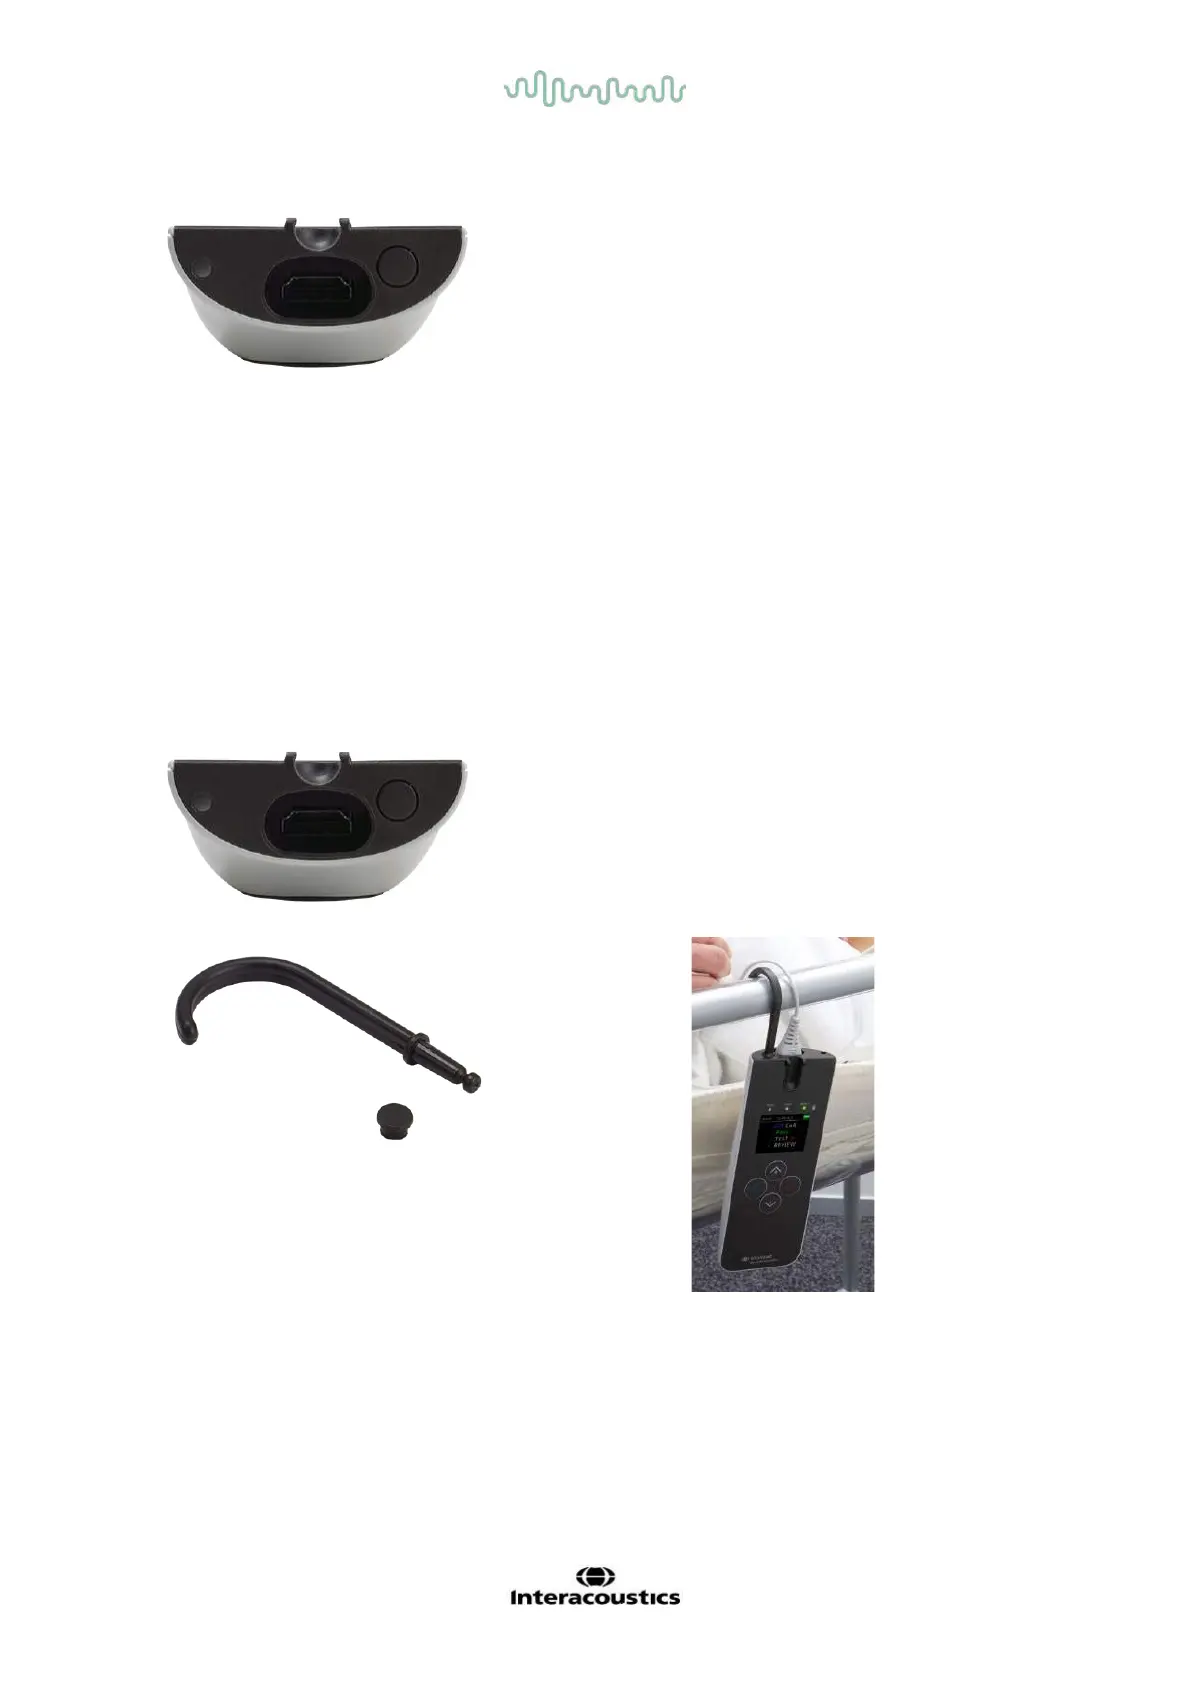
2.4.2 Connecting the Micro-Probe to the OtoRead
TM
Turn off the OtoRead
TM
and insert the Micro-Probe plug into the
socket on the top of the OtoRead
TM
. The plug will only fit in one
orientation.
The Interacoustics logo on the probe plug will align with the
instrument control panel.
Misalignment of the plug and socket can cause damage. The plug
and socket should be visually inspected prior to each installation of
the remote probe.
Note: Do not remove or connect the probe from the probe socket
unless the device is off.
2.4.3 Micro-Probe calibration
The Micro-probe transducer used with OtoRead
TM
uses a HDMI connector that allows the calibration data to
be stored within the cable/plug (also known as an ID tranducer). Micro-probe transducers can be swapped
between devices without requiring recalibration to the specific OtoRead
TM
instrument. OtoRead
TM
will
automatically detect the Micro-probe when connected.
2.4.4 Connecting the hook to the OtoRead
TM
Remove the plug on the top of the OtoRead
TM
Insert the hook into the plug.
Store the plug for future use.
The instrument can now be placed safely anywhere near you and
gives you the benefit of handsfree operation.