3
NOTE Removing the right side panel is necessary only for servicing internal bay disk drives, the
plastic cowling on the right panel, or the face panel.
To open the case:
1. Ensure the system is shut down and that you have disconnected the system and any
attached external devices from AC power.
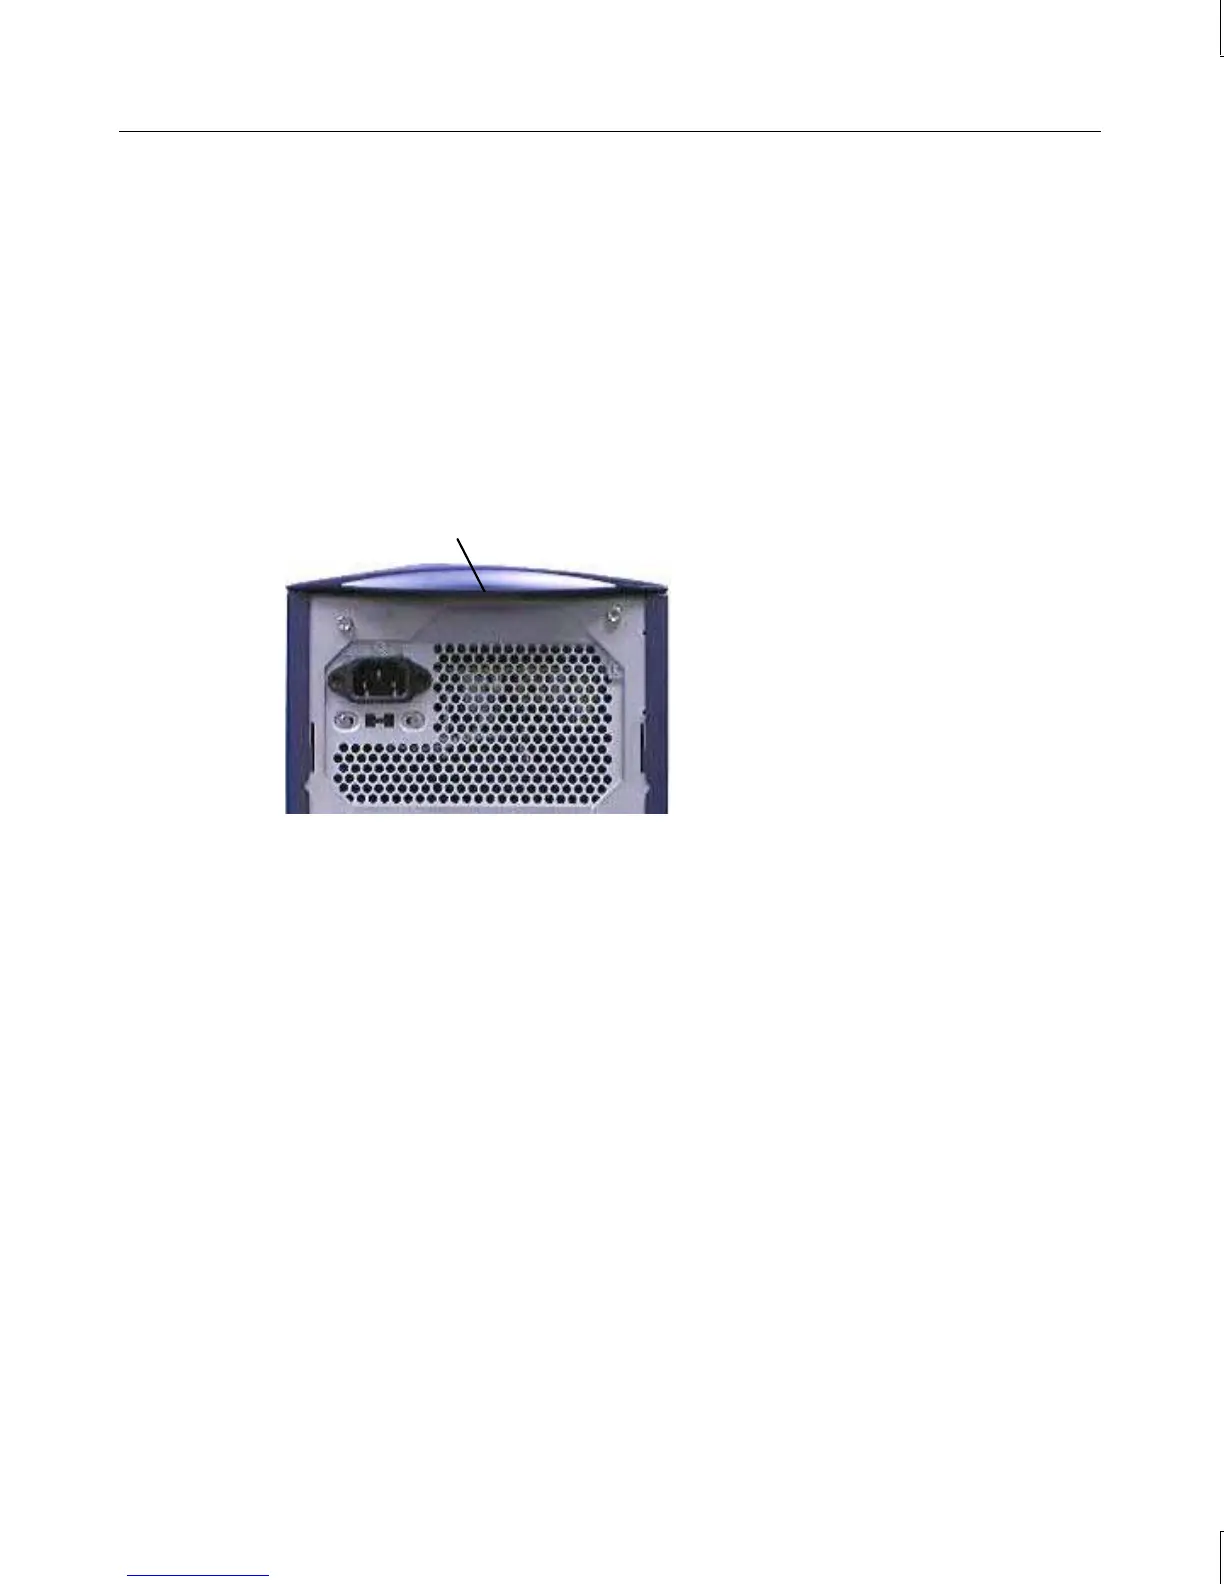
2. Grasp the lip on the top cover at the rear of the system and press up on the release. See
the following figure.
3. Keep pressing the release, slide the top cover back until it stops, remove it from the
chassis, and set it aside.
Press up on release,
located under lip
4. Grasp the cowling at the bottom of the left side panel and lift.
5. Slide the left side panel back until it stops, remove it from the chassis, and set it aside.
6. Repeat steps 4 and 5 to remove the right side panel, if necessary.
To close the case:
1. Place the side panel on the chassis so that all tabs on the rear of the chassis insert into
their slots.
2. Push the side panel toward the front of the chassis, then push down to seat the panel.
3. Repeat steps 1 and 2 to install the remaining side panel, if necessary.
4. Place the top cover on the chassis so that all tabs are inserted into their slots.
5. Slide the top cover forward until it locks into place.
CAUTION After servicing or upgrading the system, always replace the covers that were removed. The
covers ensure the system maintains proper air flow, so internal components do not overheat
and fail. The covers also ensure that electromagnetic interference (EMI) emissions remain
below the standard requirements.