14
External bay
mounting screws
3. From inside the chassis, push the tray out of the external bay, grasp the front of the tray,
and then slide it out of the bay.
4. Remove the screws that secure the disk drive to the tray and remove the drive.
5. Do one of the following:
−
If installing an EIDE drive, set the master/slave jumper setting on the new drive to
match that of the old drive
−
If installing a SCSI drive, set the SCSI ID on the new drive to match that of the old
drive.
See Chapter 6, “Peripherals,” for details on these tasks.
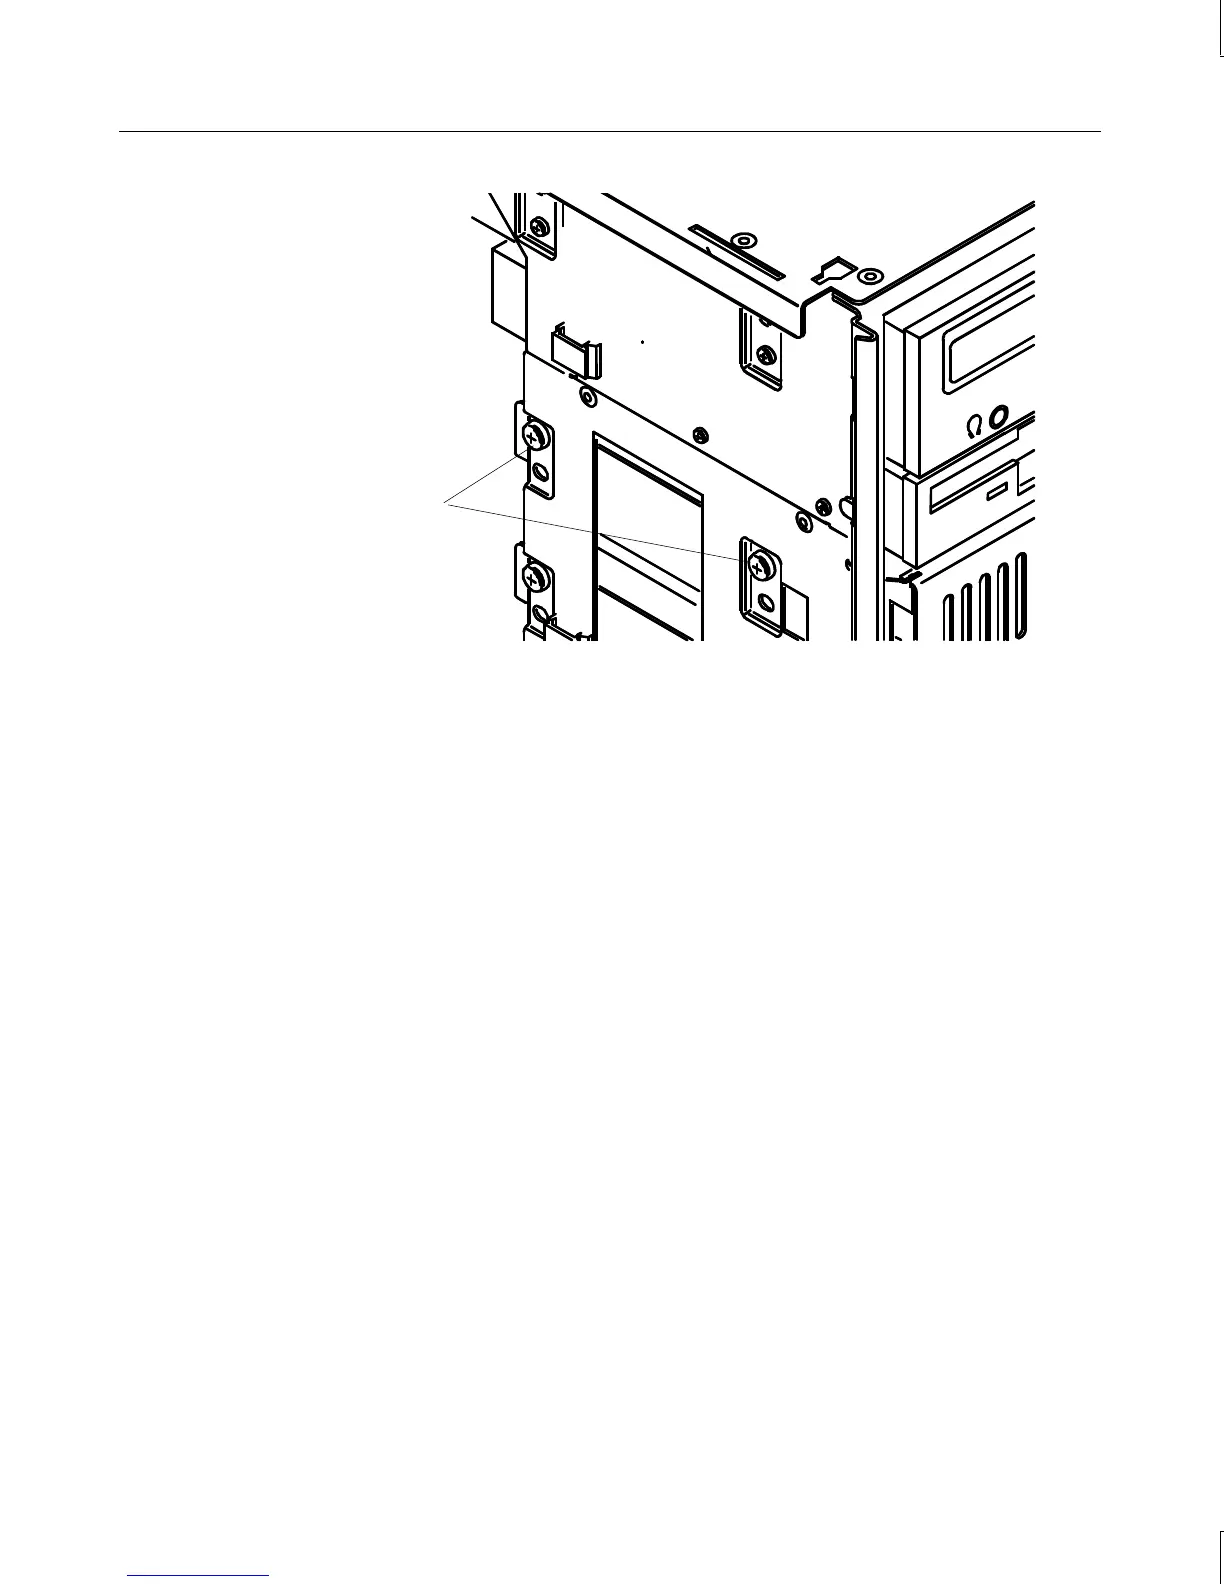
6. Place the disk drive in the tray, align the mounting holes, and install the mounting
screws that secure the disk drive to the tray. See the following figure.