ZeroWire User Manual 35
ZeroWire Web Server
ZeroWire has a built in web server which makes it easy and simple to set up advanced
features of your system from a web browser instead of the ZeroWire keypad.
Features
• Simple forms to set up most commonly used features
• View status of partitions
• View system conditions
• Remotely arm and disarm partitions
• Turn chime mode on and off
• Bypass/Un-bypass zones
• Add, remove and edit users
• Add, remove and edit Z-Wave devices
• View Z-Wave device status
• Control Z-Wave devices
• Enter Installation menu and perform advanced programming for ZeroWire
Connecting over Wireless LAN
To connect via local WiFi you will need a router supporting 802.11 b or 802.11g.
1. Power on - Connect power to your ZeroWire.
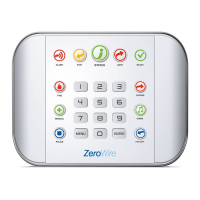
2. Enable WiFi on ZeroWire - On the ZeroWire press Menu – 9 – [PIN] – 8. This will
enable WiFi Discovery Mode for 10 min.
3. Enable WiFi on your device - Turn on WiFi on your device (such as a smart phone,
tablet computer or laptop).
4. Connect to ZeroWire - Browse for available WiFi networks and select the
‘ZeroWire_xxx” network to connect to it. Only a single user can connect at any time
and there is no password. Once connected the ZeroWire will be assigned a fixed IP
address of 192.168.1.3 and a domain name of ZeroWire.
5. Open Web Browser - Open your web browser and enter http://192.168.1.3 or ZeroWire.
The ZeroWire login screen should appear.
 Loading...
