43
Chapter 4: Routine Maintenance
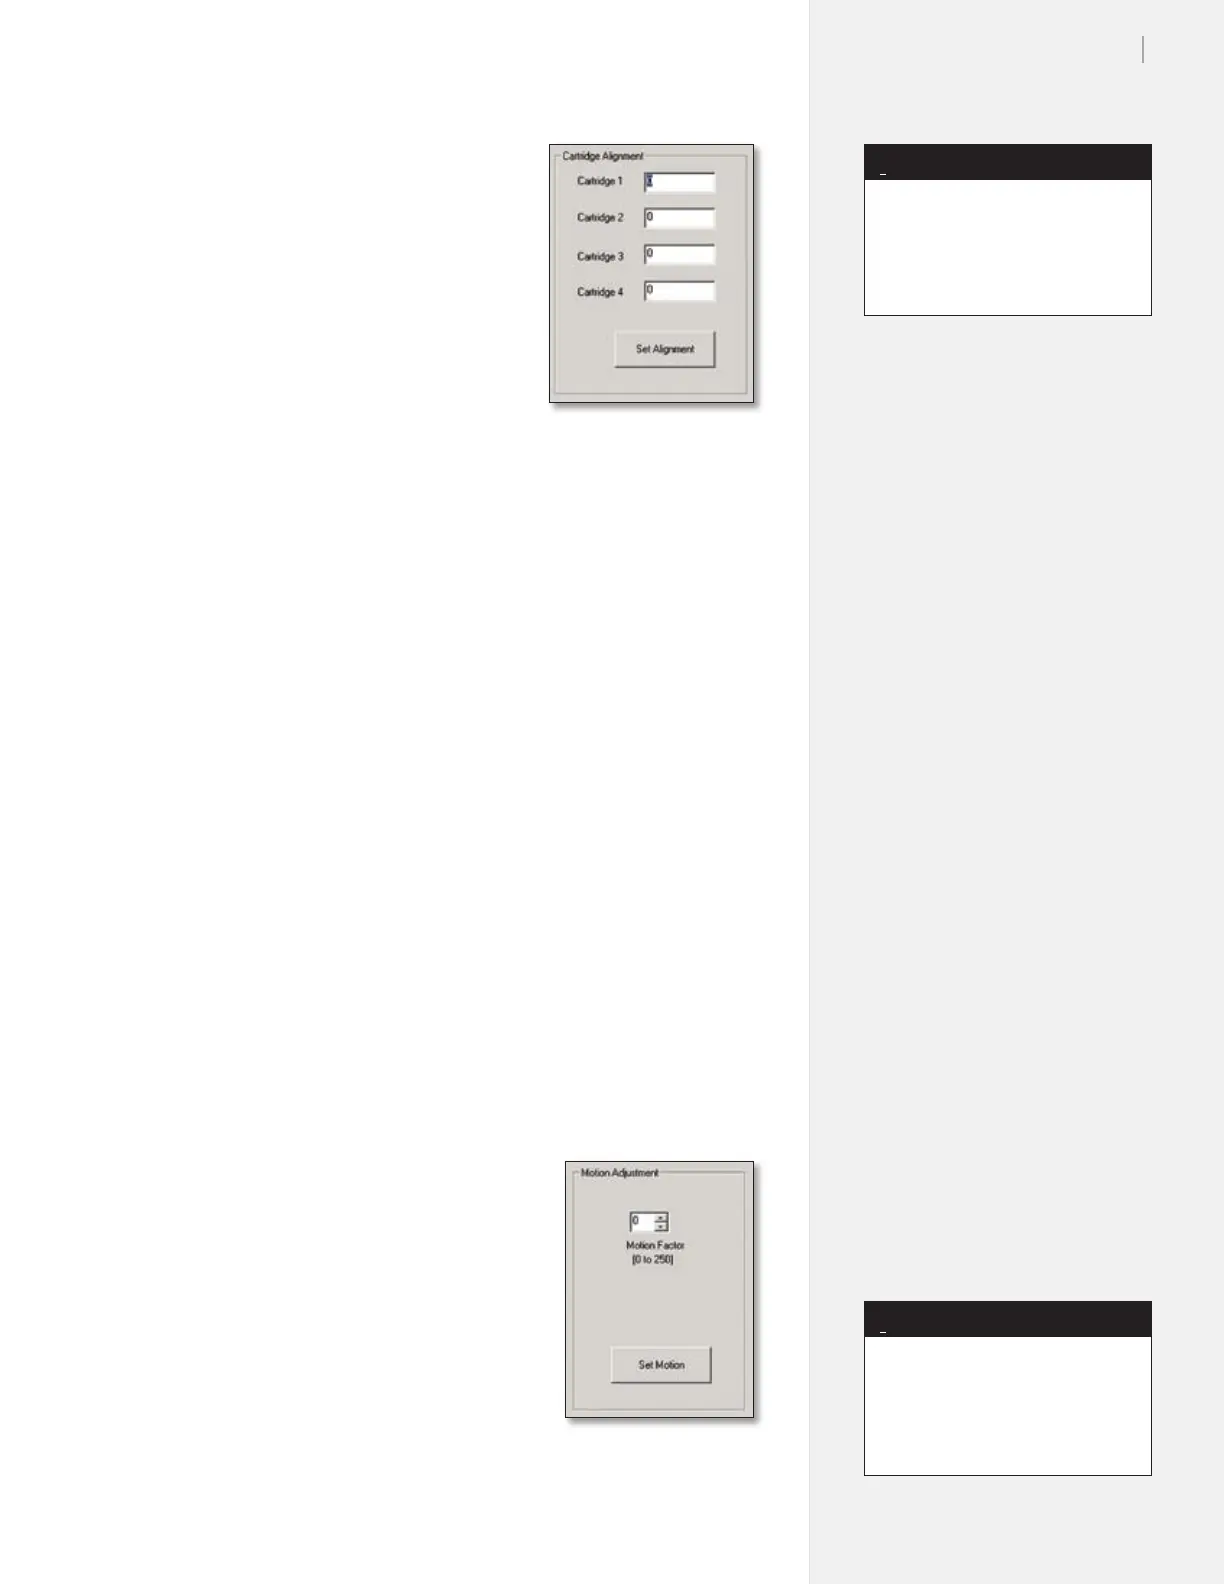
Cartridge Alignment
1. Enter -50 in the Frame Gap Window
to add a 0.05-in gap after each scan.
2. Press Select Alignment Plot.
3. Browse to the
c:\Ioline\Calibration
folder. Select the 40X8.plt test le.
4. The boxes in the
Cartridge Align-
ment window correspond to the
print cartridges. The cartridge on the
side closest to the keypad is Car-
tridge 1. This cartridge also prints
closest to the front of the machine.
The rst 0.5-in of each scan is from
the rst cartridge; the second 0.5-in
is from the second cartridge.
5. Changing the values will move the line closer or further from the
line made by the previous cartridge. Adding 1 to the adjustment
moves the cartridge alignment about ½ line width either direction.
6. Adjust the values, then press the Set Alignment button.
Example (using the rst cartridge as reference):
a. Lines from the second cartridge must shift one line width (2 units) left
to align with the rst cartridge.
b. Subtract 2 from the number displayed in the box (negative numbers
are okay) and enter it in the Cartridge 2 window.
c. Press the Set Alignment button.
d. Resend the 40X8.plt test le to ensure the results are satisfactory.
Repeat until the results are correct.
7. Perform the Frame Gap adjustment detailed later in this chap-
ter to reset the Frame Gap.
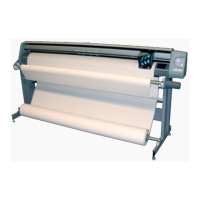
Motion Adjust (Carriage Scan Alignment)
1. Press Select Alignment Plot.
2. Browse to the c:\Ioline\Calibration folder. Select the 40X8.plt test le.
3. The Motion Adjust box has one number for adjustment. The
default value is 0.
4. Changing the values affects the next scan,
created when moving from left to right.
5. Press the Set Motion button after
making adjustments to the values.
Example:
a. Lines from the second scan shift left to
align with the rst scan.
b. Decrease the Motion Adjust value by 1.
c. Press the Set Motion button.
d. Repeat the test until alignment is correct.
6. Click on Done when nished.
Figure 31. The Motion
Adjust Box.
Figure 30. The Cartridge
Alignment Box.
Adding (+) numbers moves the
lines right.
Subtracting (-) numbers moves
the lines left.
Note
i
Adding (+) numbers moves the
second scan left.
Subtracting (-) moves the second
scan right.
Note
i