Operating and Maintenance Instructions – 27
Verifying Insertion Loss
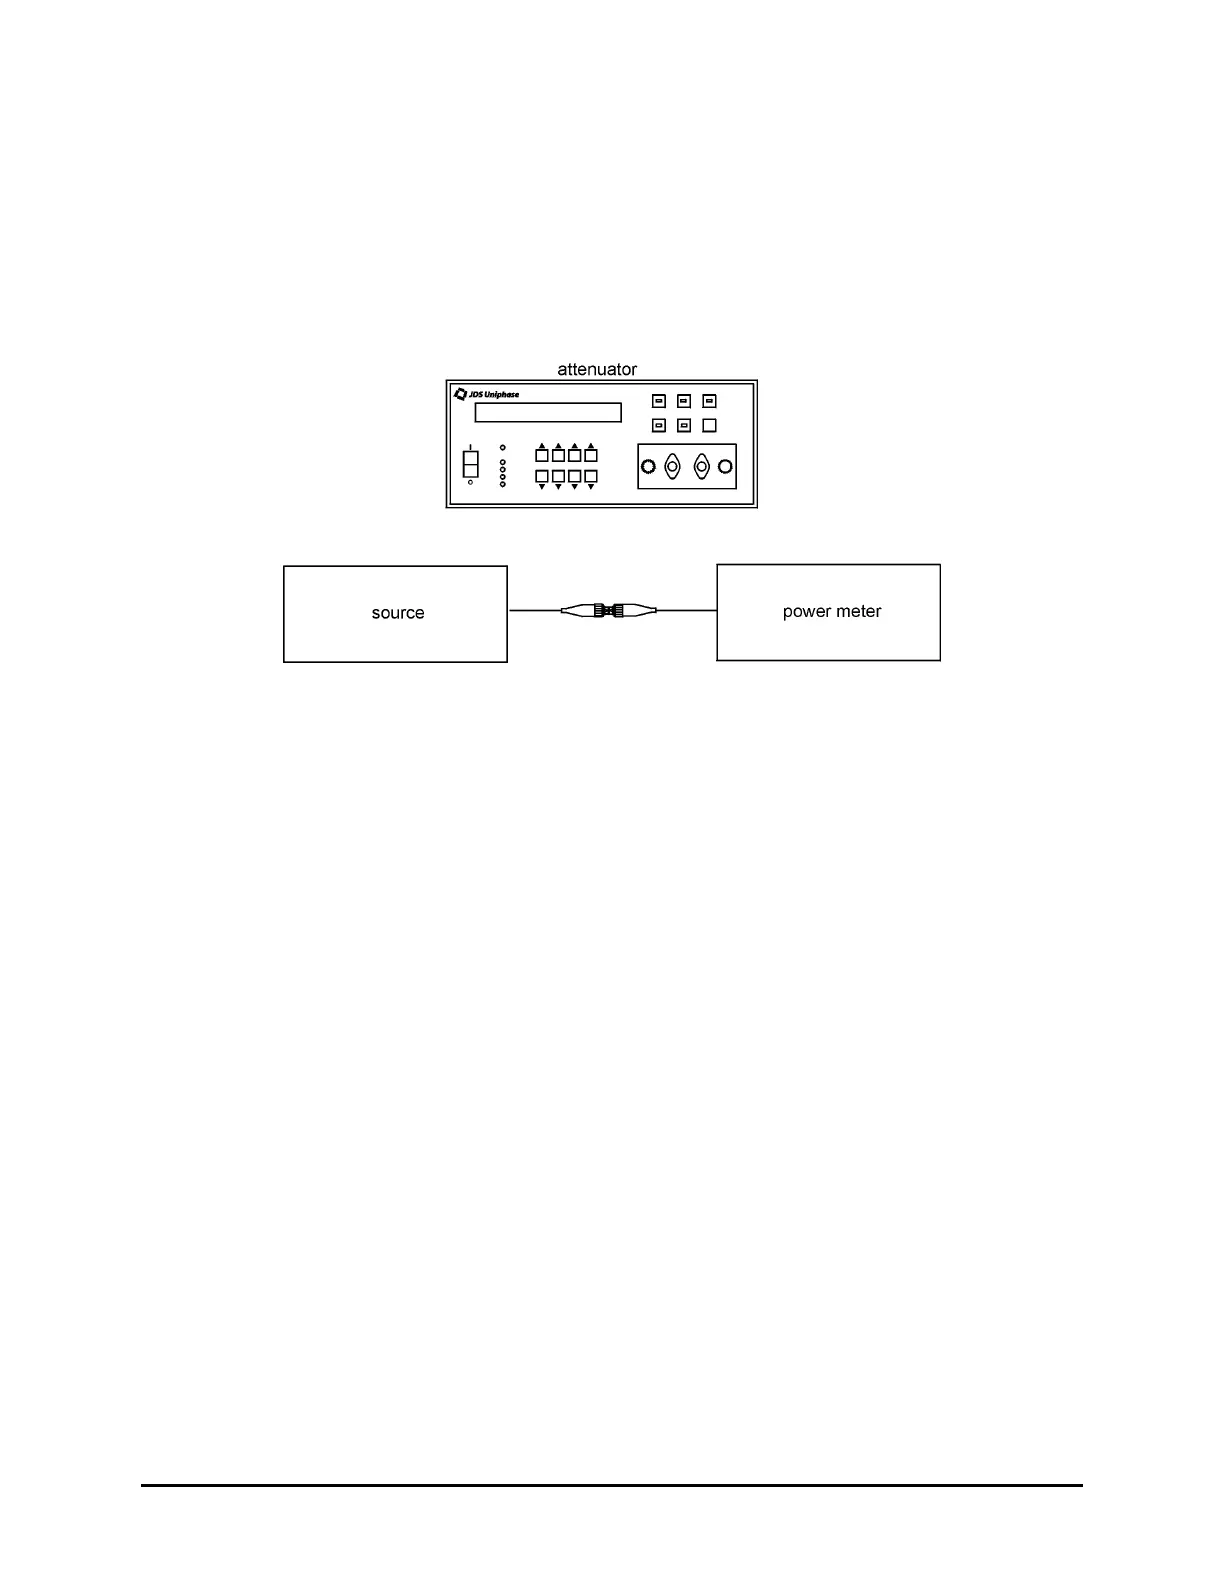
To verify insertion loss:
1. Zero the power meter.
2. Connect the source directly to the power meter by bypassing the attenuator and
connecting the two jumpers or pigtails together (Figure 11).
Figure 11: Insertion Loss Verification Setup
3. Record the value displayed on the power meter.
4. Connect the source to the attenuator, and connect the attenuator to the power meter
(Figure 10).
5. Set the attenuator to 0 dB.
6. Record the value displayed on the power meter. The difference between this reading and
the reading taken in step 3 is the insertion loss.
If the resulting data indicates that the attenuator is no longer operating within the specifications
stated in the Specifications section, return the attenuator to the factory for recalibration.
Recalibration is recommended every two years.
Maintaining the Attenuator
Clean the connector ends with a lint-free tissue and alcohol before every mating. See the
Cleaning Connectors section.
Also clean the connectors inside the unit:
1. Loosen the retaining screws of the connector panel.
2. Pull the panel out carefully, extending it no more than 10 cm (4 in) from the body of the
attenuator (Figure 12)
.
Artisan Technology Group - Quality Instrumentation ... Guaranteed | (888) 88-SOURCE | www.artisantg.com
 Loading...