35
CCPM Servo Centering with the Sub-Trim Function
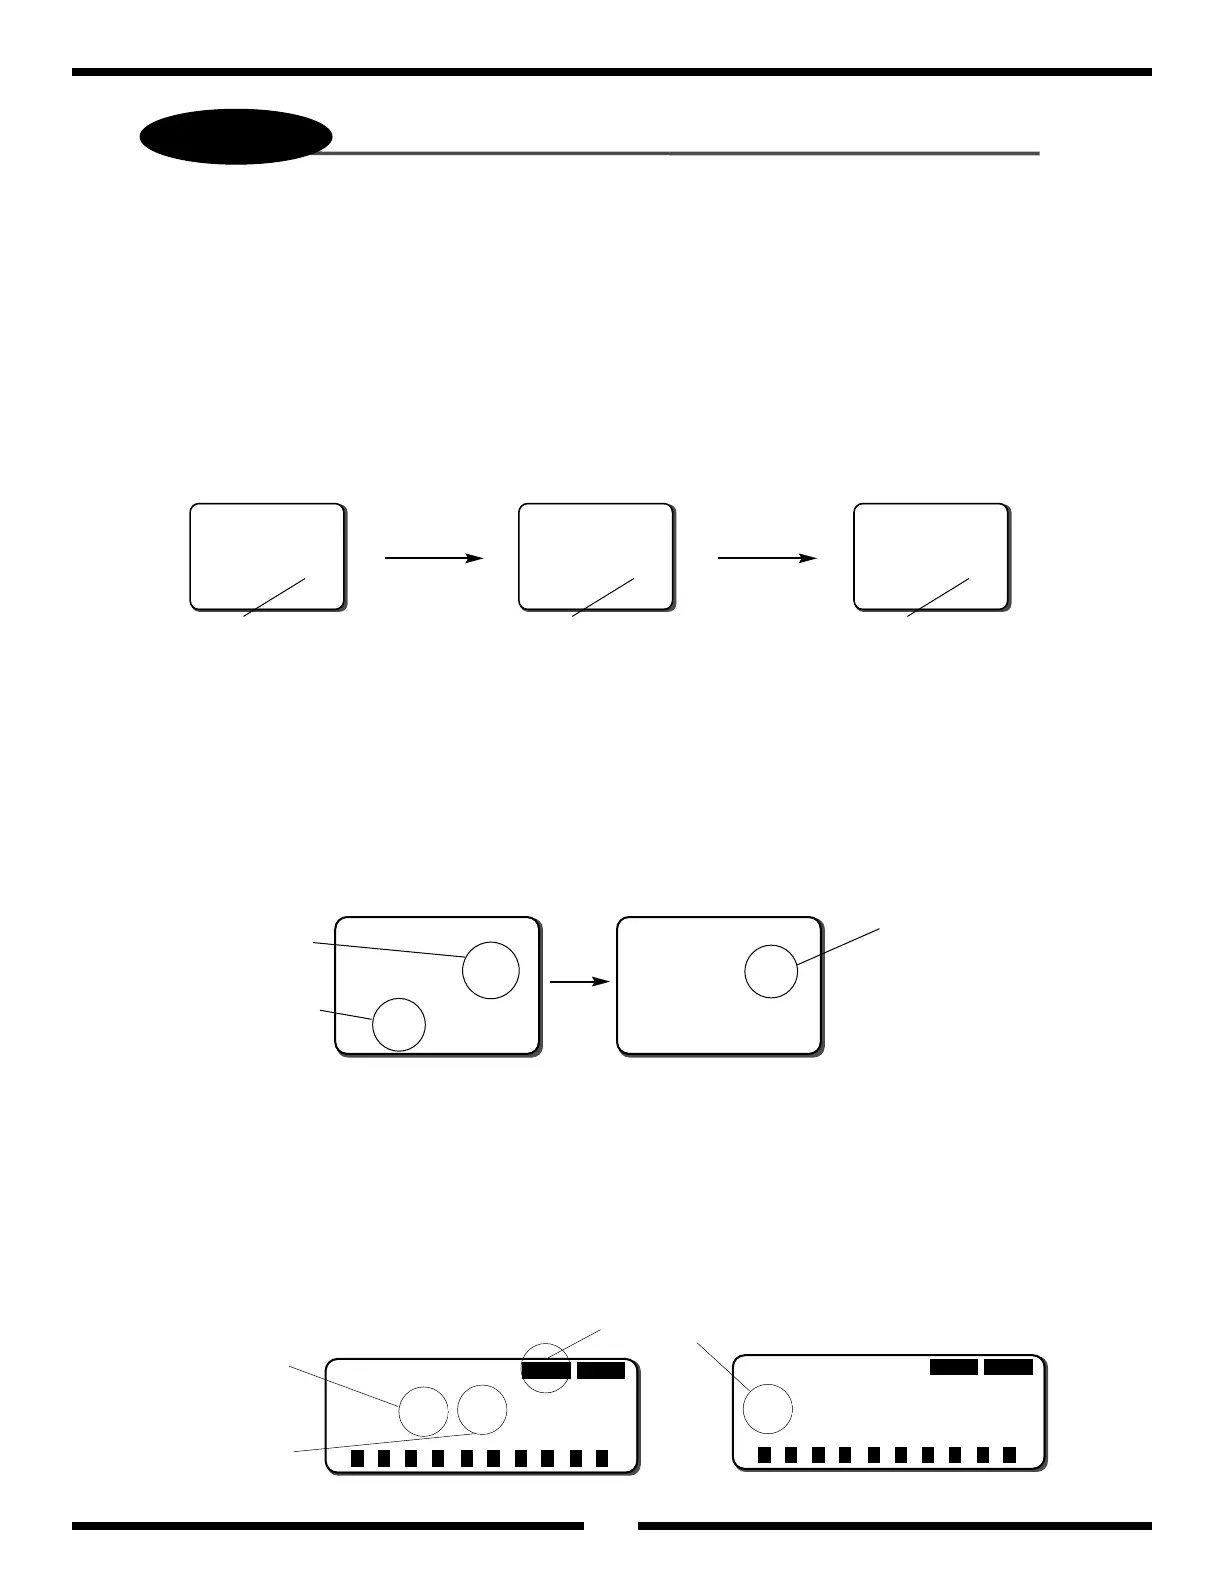
1. XP652 SYSTEM
1) With the radio power switch on, press the Mode and Channel keys simultaneously to enter the function mode.
2) Press the Mode key until “SB-trim” (sub-trim) appears on the screen.
3) Adjust the left (aileron), right (Aux 1), and front (elevator) servos as needed until the servo arm is exactly parallel to the
servo as shown when the collective stick is in the center position. It will be necessary to press the Channel key to access the
necessary channels to be adjusted.
4) Press the Mode and Channel keys simultaneously to exit the function mode.
CHANNEL CHANNEL
sb-trim ail
0
Increase or decrease value to center the left servo.
sb-trim ele
0
Increase or decrease value to center the front servo.
sb-trim pit
0
Increase or decrease value to center the right servo.
2. XP8103, XP8103
1) With the radio power switch on, press the Up and Down keys simultaneously to enter the function mode.
2) Press the Up key until “Sub Trim” appears on the screen.
3) Adjust the left (aileron), right (Aux 1), and front (elevator) servos as needed until the servo arm is exactly parallel to the
servo as shown when the collective stick is in the center position. It will be necessary to press the SEL key once to access
the right servo (Aux 1) sub-trim.
4) Press the Up and Down keys simultaneously to exit the function mode.
[Sub Trim]
£THRO ∞AILE
00
ELEV RUDD
00
[Sub Trim]
£GEAR ∞ PIT.
00
AUX2 AUX3
00
Increase or decrease
the value to the center
of the front servo.
Increase or decrease
the value to the center
of the right servo.
Increase or decrease
the value to the center
of the left servo.
SEL
3. JR PCM10, 10S, 10SX, 10SXII, 10X SYSTEMS
1) Enter the sub-trim function (code 15).
2) Adjust the left (aileron), right (Aux 1) and front (elevator) servos as needed until the servo arm is exactly parallel to the servo
as shown when the collective stick is in the center position. It will be necessary to press the Page button to access the right
servo (Aux 1) sub-trim value.
3) Press Enter to exit the sub-trim function.
[SUB TRIM]
THRO AILE ELEV RUDD GEAR
00000
ENTERPAG E
+ –
CL
+ –
CL
+ –
CL
+ –
CL
+ –
CL
Press Page to
access the second
screen.
Increase or decrease
the value to the center
of the left servo.
Increase or decrease
the value to the center
of the front servo.
[SUB TRIM]
PIT. AUX2 AUX3 AUX4 AUX5
00000
ENTERPAG E
+ –
CL
+ –
CL
+ –
CL
+ –
CL
+ –
CL
Increase or decrease the value to
the center of the right servo.
It may be necessary to make minor servo centering adjustments with the use of the sub-trim function to achieve the
desired servo arm positions. Please refer to your particular radio’s section as listed below or consult your radio instruction
manual for more information.