..................................... 6 pcs
42
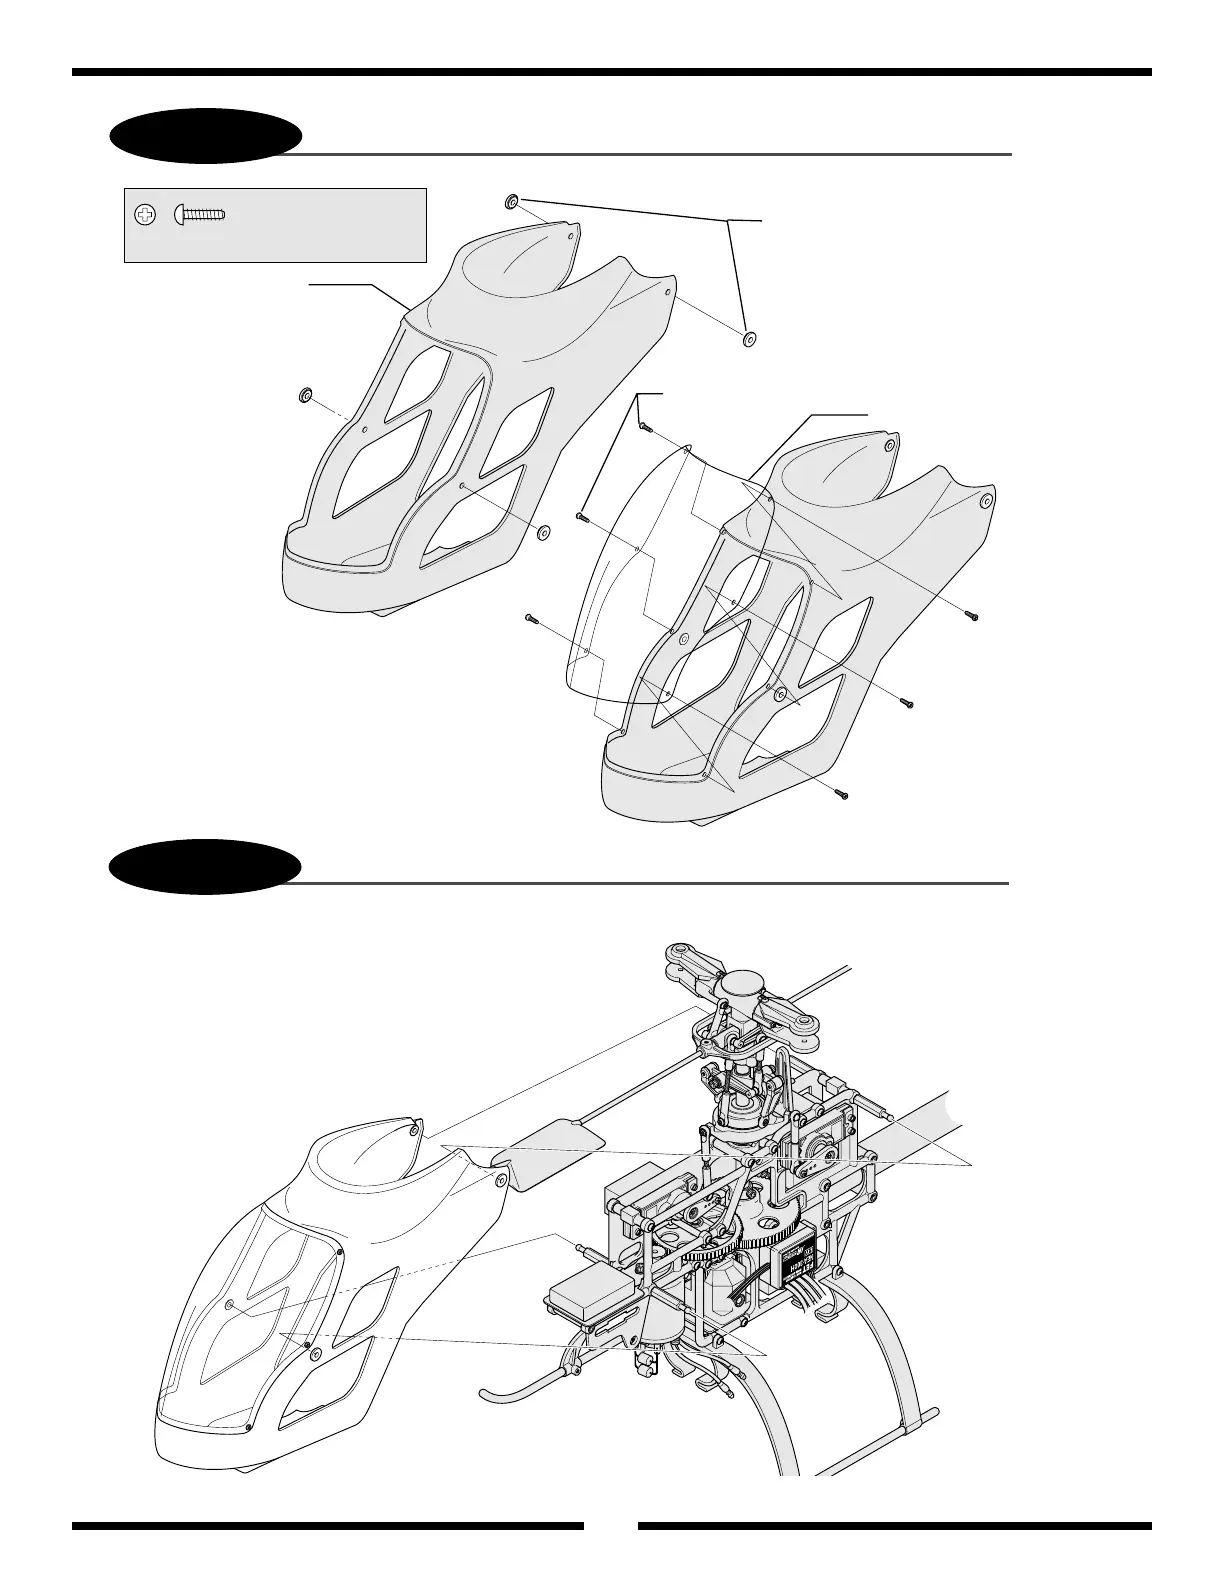
Body Mounting/Decal Attachment
Body Attachment/Final Trimming
It is suggested that
the body decals be
applied at this
time. Use rubbing
alcohol to clean oil
from the body
before decal
attachment.
Drill the 4
mounting holes
(6 mm in diameter)
in the body and
insert the rubber
grommet as shown.
Attach the canopy with self tapping screw,
2.3 x 8 mm through the holes drilled in Step 6-2.
Test fit the completed body set to the helicopter. Check to insure
that the edges of the body do not come into contact with the
frame or the control system components.
Remove and trim the body as necessary to achieve the proper fit.