CoMA Mode
Many DAWs and performance software tools like Ableton Live and Apple’s Logic have MIDI
Mapping modes that will recognize MIDI data from a controller and map it to whatever you
choose. Since the QuNeo can have multiple data sources for one control, it is often
necessary to use the Controller Mapping Assistant (CoMA). CoMA mode allows quick
mapping of each available data source one at a time, enabling rapid and efficient software/
controller pairings.
Here is an example of how to use CoMA mode to map the Y-Axis data from a pad on QuNeo
in Ableton Live:
1 Enable MIDI Mapping mode in Ableton Live by clicking the MIDI button at the top
right-hand corner. Select the control you’d like to map QuNeo to in Live. Live is now
listening for a MIDI commant to assign to this control. If Live receives more than
one MIDI message, it won’t know which to map. CoMA only sends one MIDI
message at a time for exactly this reason.
2 Put QuNeo into CoMA mode by holding down blue Mode button in the upper left-hand
corner for 1 second. All the LEDs will flash and the blue mode LED will turn on (and
stay on), showing that you have successfully entered CoMA mode.
3 Pick the pad you’d like to map to Live and press the bottom right (south-east) corner
of the pad. The SE corner is designated to send out the CC# for the Y-Axis.
4 Exit CoMA mode by pressing the Mode button again.
5 Take Live out of MIDI Map mode and try out your new mapping by pressing and
sliding your finger from top to bottom (the Y-Axis) of the pad you mapped.
CoMA Mode Mapping Guide
To enter CoMA Mode using the Mode Button, hold down on the Mode Button for 1 second
until all the LEDs flash. When in CoMA mode it is necessary to be familiar with how each
data source from QuNeo is mapped. Here is how to do this for each sensor type:
●
Pads -
○
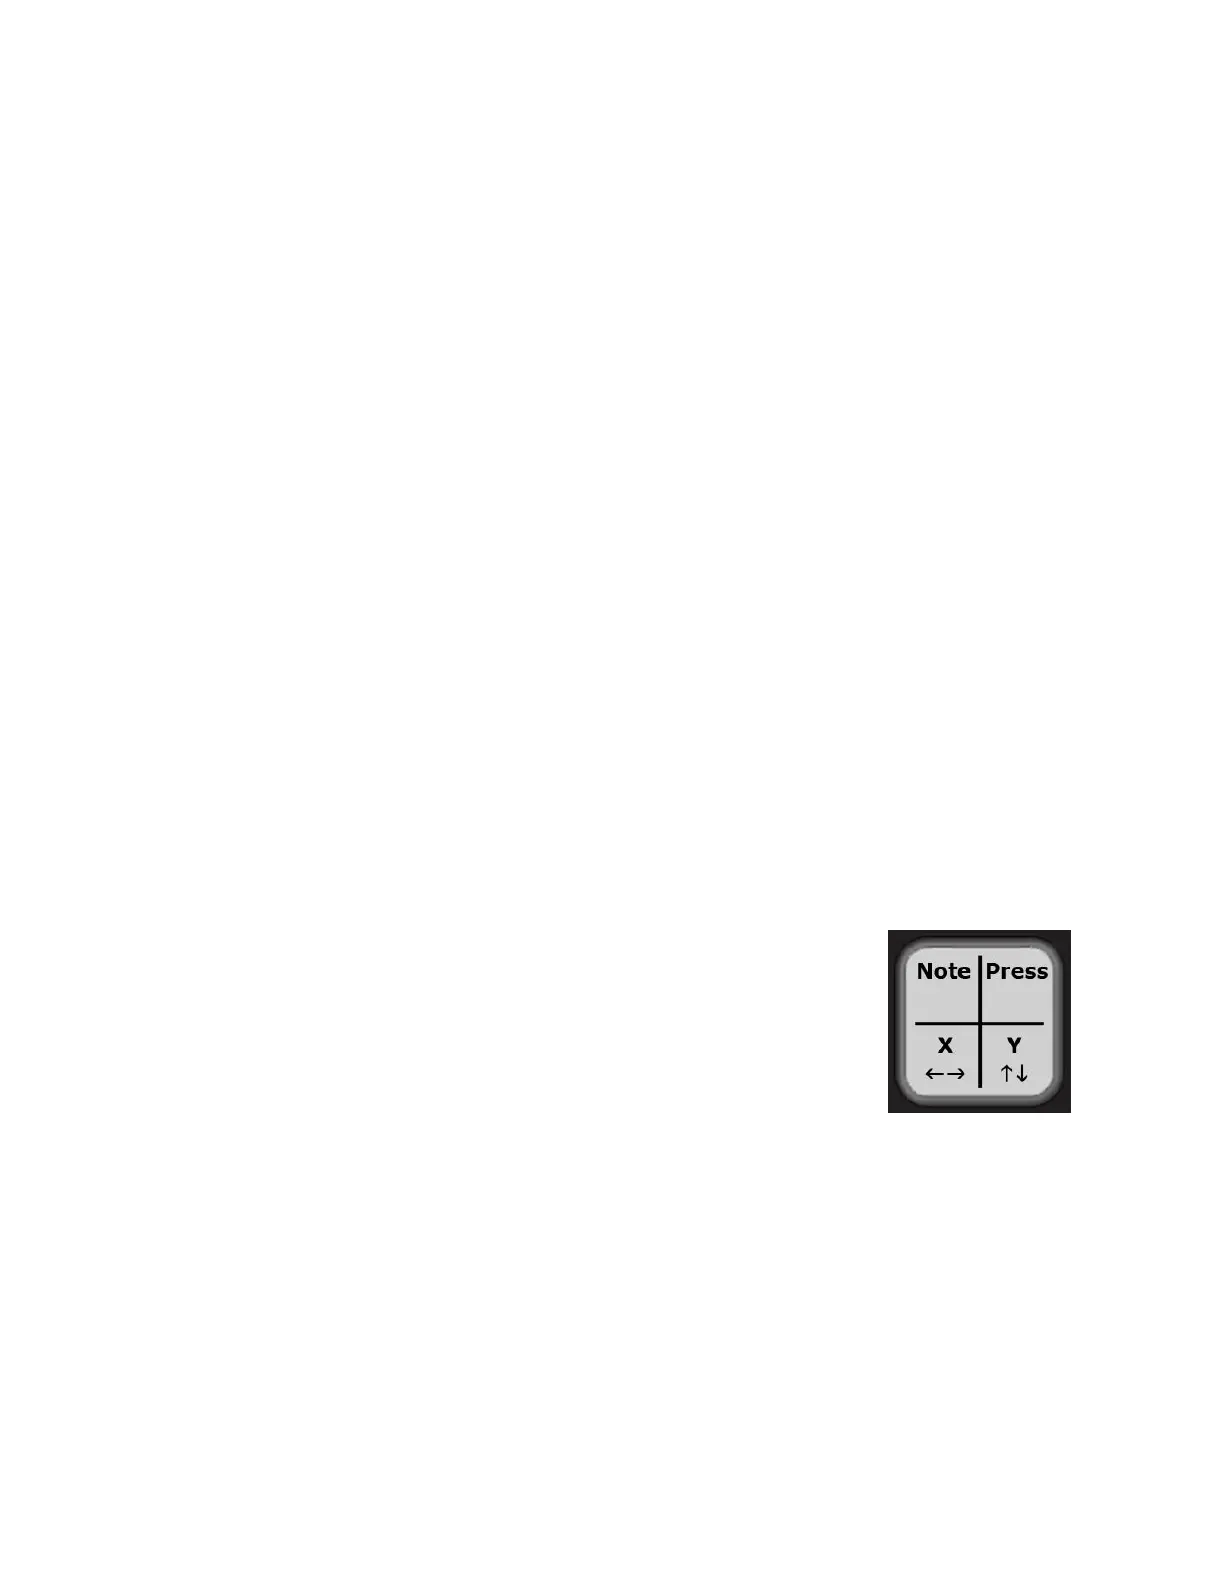
When in Drum Mode each corner outputs a different data
source. Pressing the NW (North-West) corner outputs the
Note, the NE corner outputs the Pressure CC#, the SW
corner outputs the X-Axis CC#, and the SE corner outputs
the Y-Axis CC#.
■
For your convenience the red LEDs for each corner
will illuminate after the note or CC# is sent out.
○
When Pads are in Grid Mode a Note and Pressure CC# are in each corner.
Quickly tap the corner to output the Note. Press and hold for 1 second to
output the Pressure CC#.
■
A red LED will illuminate for each Note sent out and a green LED will
illuminate for each Pressure CC#.
●
Sliders - to output the Note quickly tap the slider, press and hold for 1 second to
output the Pressure CC#, and press and drag a finger to output the Location CC#.
To output the Width CC# for the Long Slider press and hold with 2 fingers.
○
The red LEDs will illuminate when the Note is sent out, the green LEDs will
illuminate for the Pressure CC#, and the yellow LEDs will illuminate for the
Location CC#. The blue LED on the Long Slider will illuminate when the Width
CC# is sent out.
13
 Loading...