36 X-Series EMI Receiver Getting Started Guide
Using the EMC32 Software
How to Set Up and Run the EMC32 Software
How to Set Up and Run the EMC32 Software
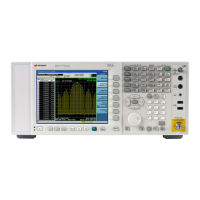
To be compatible with the EMC32 software, the MXE EMI Receiver must
behave like the R&S ESU. The following procedure details the steps necessary
to correctly configure the instrument to emulate the ESU.
Configuring the MXE
Step Action Notes
1. MXE connection — Connect the GPIB cable between
the PC and the MXE
2. Set the MXE GPIB
address
a. Press
System > I/O Config >
GPIB
b. Press GPIB Address > 20 > Enter
This is what ESU defaults to
3. Set the EMI Receiver
Mode
— Press
Mode > EMI Receiver
The EMI Receiver Mode has the ability to
identify as an ESU, which is required by the
EMC32 software. Most other modes in the
MXE do not have this ability.
The EMC32 software does an ID query when it starts up a test, so the MXE should
always be set to the EMI Receiver Mode before setting up the EMC32 software.
4. Set the EMI Receiver
Mode to ID as an ESU
a. Press
Meas Setup > Advanced
tab > Mode IDN Response
b. Press R&S ESU
3. Set the MXE to preset
to the EMC Standard
For a CISPR test:
a. Press
Meas Setup > Meas
Standard tab > EMC Std
, CISPR
b. Press EMC Std > Preset To, and
ensure that it is set to
CISPR
Or
For a MIL test:
a. Press
Meas Setup > Meas
Standard tab > EMC Std
, MIL
b. Press EMC Std > Preset To, MIL
The MXE uses the EMC Standard to choose
which RBW’s to make available, and how to
couple them.
Note that CISPR is the default at instrument
startup, but if you have set MIL to be the
preset and you press the Mode Preset key,
the instrument will preset to MIL.
 Loading...


