Page 10
6. Alarm / relay settings
F400
6.a - Activation / Deactivation of BEEP alarm
1
> F 100
Step
Entrer en mode configuration (cf. page 2). Le numéro de dossier affiché
correspond au dernier dossier de configuration utilisé.
2
> F 400
Step
Select the folder “400” and validate with .
01
3
F 400
Step
Select sub-folder “400” and validate with .
The cursor > goes to available choices.
>
4
Step
With and keys, select 01 to activate the BEEP alarm or 00 to
deactivate. Validate with .
01
F 400
>
01
5
F 400
Step
The cursor > goes to sub-folders line.
• press twice to return to reading mode.
• press once to return to another folder selection.
• with and keys you can choose another sub-folder from the folder 400.
>
6.b - Relay security
1
> F 100
Step
Enter in configuration mode (see page 2). The folder number displayed
corresponds to the last configuration folder used.
2
> F 400
Step
Select folder “400” and validate with .
01
3
F 401
Step
Select sub-folder “401” and validate with .
The cursor > goes to available choices.
Le curseur > descend sur la ligne des choix possibles.
>
4
Step
With and keys, select 01 for a positive security or 00 for a negative
security. Validate with .
01
F 401
>
01
5
F 401
Step
The cursor > returns to sub-folders line.
• press twice on to return to reading mode.
• press once on to return to another folder selection.
• with and keys, you can choose another sub-folder from the folder 400.
>
The relay outputs are by default, in negative security: the relay is energized when a set point is reached.
With the keypad, you can swap the relays in positive security : then, the relay is de-energized when a set point is
reached or during a power outage.
The beep alarm (audible alarm) is activated when a set point is reached.
For more details on the setpoint settings, see page 16.
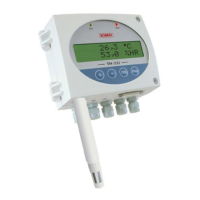
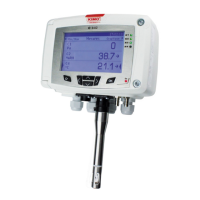
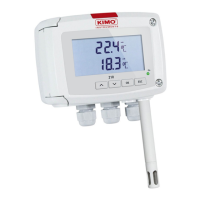
Class 200 transmitter configuration via keypad