Adjustments
SM8720-1 – 15APR10 35
• 2 additional files are written to the MEMORY CARD.
• If you have only one LIGHT BOX, you must do this section of the calibration with the same LIGHT BOX.
• If you have more than one LIGHT BOX, you must do this section of the calibration with the other LIGHT BOX.
[11] Do Step 5
to Step 6 again to run the 2nd section of the calibration.
[12] Select “Master Small Lamp”.
[13] Press the “OK” BUTTON.
[14] If necessary, use the “Zoom” BUTTON to set the “Small Lamp” number to 1.
[15] Press the “Delete” BUTTON to execute the test.
[16] When the test is completed, check that the LCD displays “ISO Calibration Success”.
[17] De-energize the CAMERA.
[18] Remove the MEMORY CARD.
• The additional file “Small_Lamp_WK8_1.fig” was written on the MEMORY CARD.
• If you have more than one LIGHT BOX, you must remove the file “Small_Lamp_WK8_1.fig” from the MEMORY
CARD and do the calibration with the other LIGHT BOX.
• The additional files made by this procedure are necessary before you do Preparing the “C140
ISO_DBP_Shading” MEMORY CARD on Page 62.
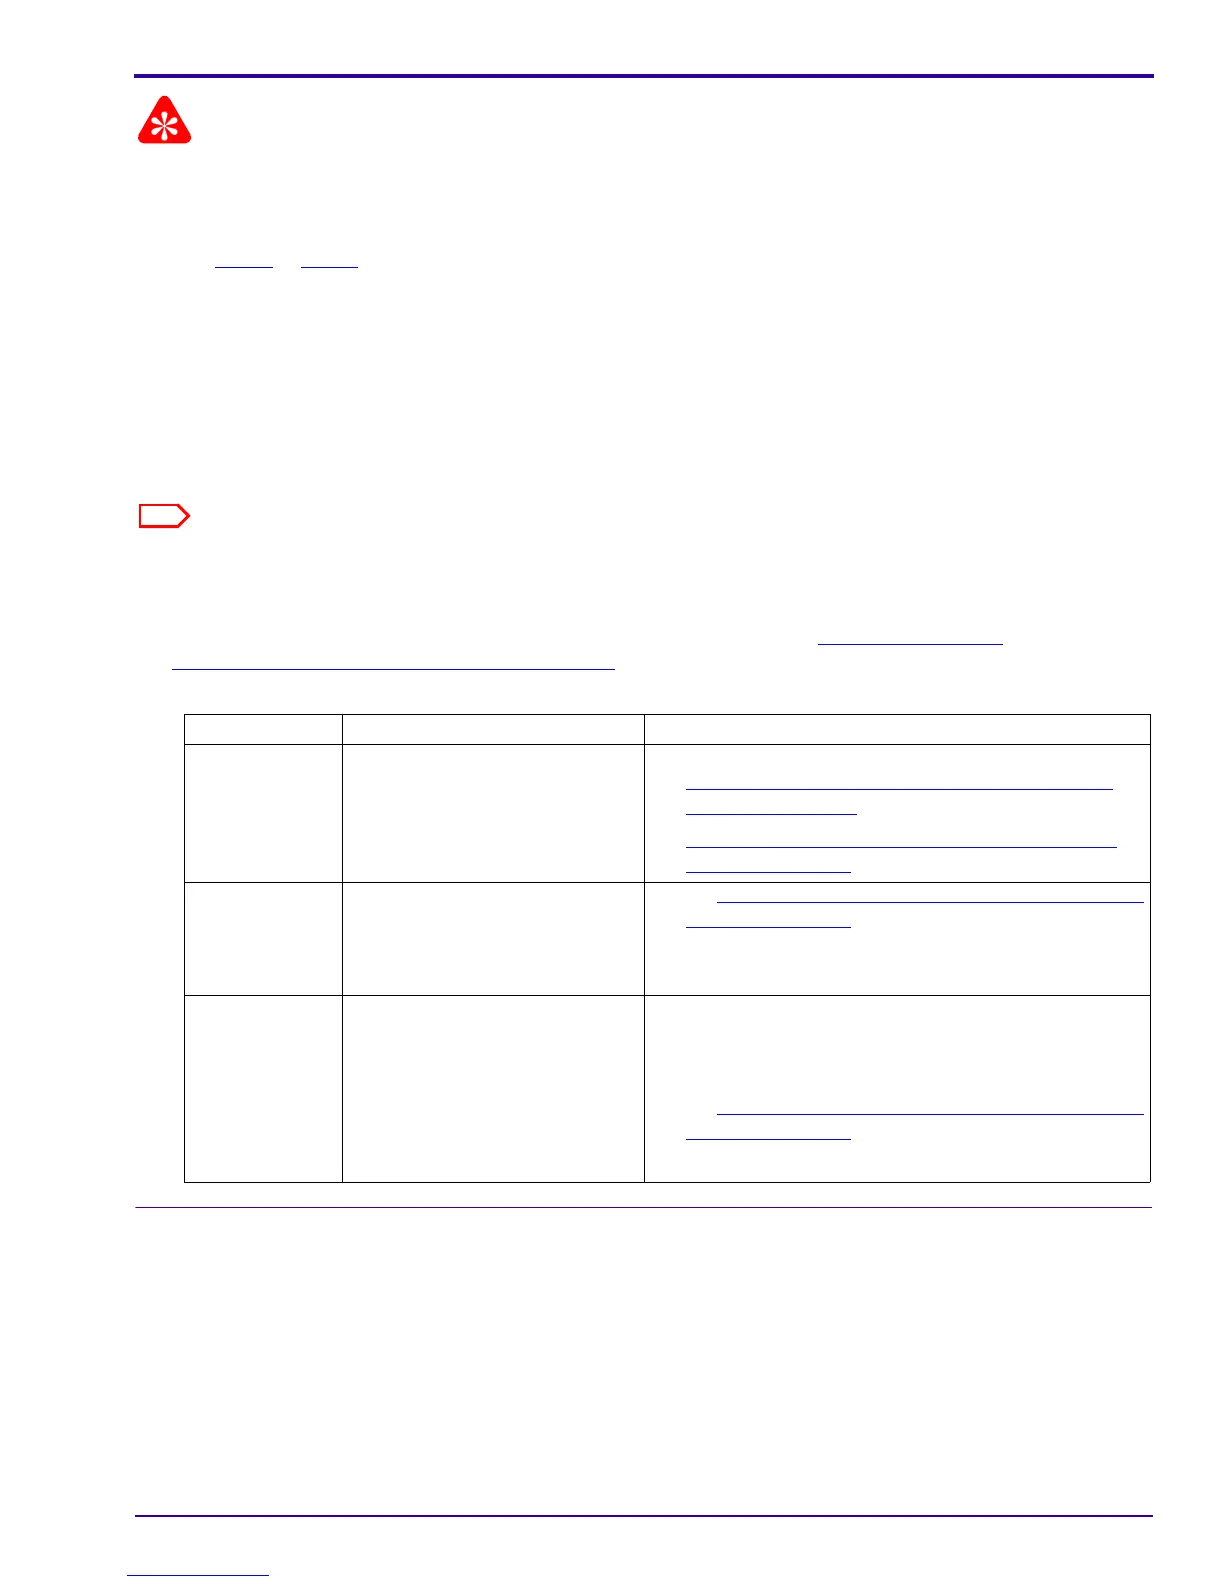
[19] If the LCD displays a failure message, do the correction:
Postrequisites:
None
Failure Cause Correction
“W/O Shutter K” The calibration of the SHUTTER
was not correct.
Do:
1. “
Preparing the “C140 Shutter_Delay” MEMORY
CARD” on Page 61
2. Preparing the “C140 Master Camera” MEMORY
CARD on Page 61 again
“Memory Fail” A failure occurred during a test
of the memory.
1. Do Preparing the “
C140 Master Camera” MEMORY
CARD on Page 61 again.
2. If the message occurs again, use a new MASTER
CAMERA.
“ISO Cal Fail” A failure occurred during the
calibration.
1. Check:
• LIGHT BOX
• LV value
2. Do Preparing the “
C140 Master Camera” MEMORY
CARD on Page 61 again.
3. If necessary, use a new MASTER CAMERA.
 Loading...