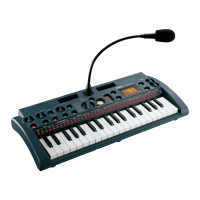
microSAMPLER
26
7. Sampling using Key Gate
Sample parameter values automatically set when using “KEY GATE”
1. Use the [SAMPLING TYPE] switch to select “KEY GATE.”
2. Use the [INPUT SELECT] button to select “AUDIO IN.”
If you’re using “KEY GATE,” and want to play samples from the keyboard
and resample your performance, refer to “8. Resampling” (☞p.26).
3. Press the [SAMPLING] button.
The [SAMPLING] button will blink green, and you’ll be in sampling-
setup mode.
4. Set the sampling parameters (☞p.23), and press the [SAMPLING] but-
ton.
The [SAMPLING] button will blink orange; the microSAMPLER is in
sampling-standby mode.
5. Press the key to which you want to assign the sample; sampling will
start.
While you hold down a key, the key LED and the [SAMPLING] button
will light-up red, and sampling will occur.
Sampling will occur for each key whose key LED is blinking.
When the specified TIME (☞p.24) is reached, sampling will end auto-
matically and the microSAMPLER will be in sampling-standby mode.
The microSAMPLER will also enter sampling-standby mode if you
release the key before the specified TIME (☞p.24) is reached.
6. Press the [SAMPLING] button or [EXIT] button to stop sampling.
8. Resampling
Resampling is the process of directly sampling the sound that’s being played
by the microSAMPLER. By resampling, you can create a sample that mixes
multiple samples, or create a new sample that contains an existing sample
processed by an effect.
The sample parameter LEVEL will initially be set to “+12.0 dB” for a resampled
sample.
Resampling a performance on the microSAMPLER’s keyboard
1. Use the [SAMPLING TYPE] switch to select the desired sampling type.
2. Use the [INPUT SELECT] button to choose “RE-SAMPLE,” making the
LED light.
3. Press the [SAMPLING] button.
The [SAMPLING] button will blink green, and you’ll be in sampling-
setup mode. If the keyboard had been in Keyboard mode, it will auto-
matically switch to Sample mode.
4. Select the current sample (☞p.18) by pressing the key to which you want
to assign the sample.
Since you’ll use the microSAMPLER’s keyboard to switch the key to
which the sample will be assigned, resampling with “KEY GATE” means
that you’ll have to play the samples either by using the pattern
sequencer or by receiving note-on messages from a MIDI device.
5. Make settings for the sampling parameters.
6. When you’ve finished setting the sampling parameters, press the [SAM-
PLING] button. The [SAMPLING] button will blink orange, indicating
sampling-standby mode.
At this point, it’s suggested to set the sampling parameter TRIGGER to
“NOTE ON” so that sampling will start automatically when you play the
keyboard.
7. Start sampling as specified by the TRIGGER setting.
The [SAMPLING] button will light-up red, and the key LED will change
from blinking to steadily lit.
8. When you want to stop sampling, press the [SAMPLING] button or
[EXIT] button.
Sampling will stop, and the key LED where the sample is assigned will
blink.
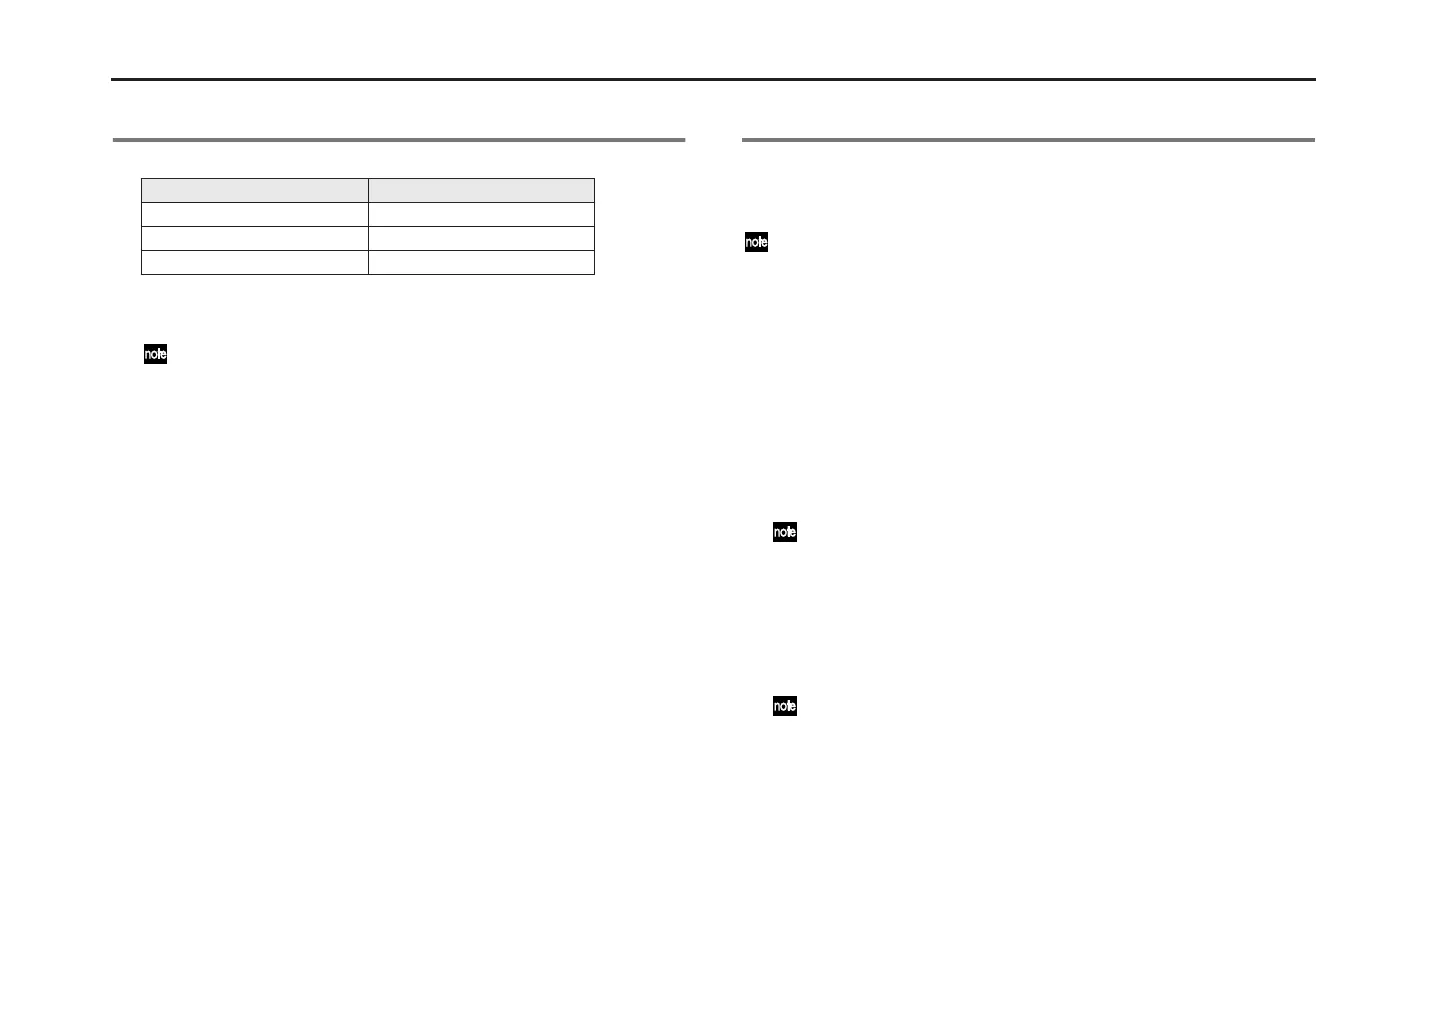
Sample parameter Automatically-set value
PLAY.TYPE (☞p.28) LOOP OFF
DECAY (☞p.29) 127
RELEASE (☞p.29) 0