Enabling Auto Switching
If the auto-switching was disabled (for example, by following the procedure described above),
you can enable it once again.
To enable the auto-switching:
1. On the KIT-400T rear panel, set both video DIP-switches 1 and 2 to Off (up),
(see Setting KIT-400T DIP-switches on page 13).
2. Power-cycle the device.
3. In the Navigation pane click Device Settings and perform Factory reset (see Performing
a Factory Reset on page 33).
4. In the Navigation pane, click Automation. The Automation page appears (see
Figure 29).
5. Click Triggers. The Triggers area opens.
6. Select Last Off trigger.
7. In the Trigger area, next to Script to run, click Enabled.
8. Repeat the last 2 steps for the next three triggers:
▪ Port Connectivity 1.
▪ Port Connectivity 2.
▪ Port Connectivity 3.
9. Click Save All.
10. Make sure all 5 default triggers are enabled.
11. On the KIT-400T rear panel, set both video DIP-switches 1 and 2 to OFF (up),
(see Setting KIT-400T DIP-switches on page 13).
12. Power-cycle the device.
Auto-switching is enabled.
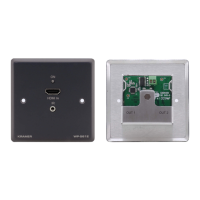
Operating via Room Automation Panel
You can control KIT-400 via any of Kramer’s touch panels (for example, KT-1010) which
include the Kramer Aware app.
KIT-400 enables performing the following actions:
• Viewing and Carrying out actions via the control panel in the Automation Page.
• Editing the device control panel.